


Stretch It Body Jewellery
SIBJ is one of the world's leading online specialist retailers and wholesalers in ear stretching kits, plugs, aftercare and body jewellery. We have over 10 years of experience in selling high-quality, unique ear stretching jewellery providing the knowledge, expertise and tools to stretch up confidently and safely.
"Think of dead stretching as finesse not force"
Ear stretching continues to soar in popularity with trailblazers of the alternative. But first and foremost, it’s important to trash a common myth of dubious DIY techniques and blowout horror stories. So, if it’s your first ear stretch, you’ll be pleasantly surprised how simple, easy and safe the process is.
This is especially the case with the art of dead stretching. To be clear, this isn’t the fastest way to stretch your ears. But it’s better than that, because it’s the safest. So, hold your horses, even if you’re mad keen to go all-in. Instead, think of dead stretching as finesse not force.
In this article, we’ll be delving into the nitty-gritty of the safest and easiest way to stretch your ears. But before we run through five guaranteed steps to perfect ear stretching, let's quickly set the scene with the stuff you need to get started.
What Ear Stretching Kit Should I Use?
Choosing the right ear stretching kit is key for achieving your desired gauge comfortably and safely. But how do you decide?
Well, you couldn’t place a better bet than a SIBJ's revolutionary dead stretching kit. Now, we’ve already said it once. But it’s worth repeating for impact… This isn’t the fastest way to stretch ears, but the safest. It’s the tiny 0.5mm increments between stretches that make a giant difference. Ultimately, slow and steady wins the race.
And here are some of the best dead stretching kits on the market today, for your first ear stretch, or more seasoned stretchers:
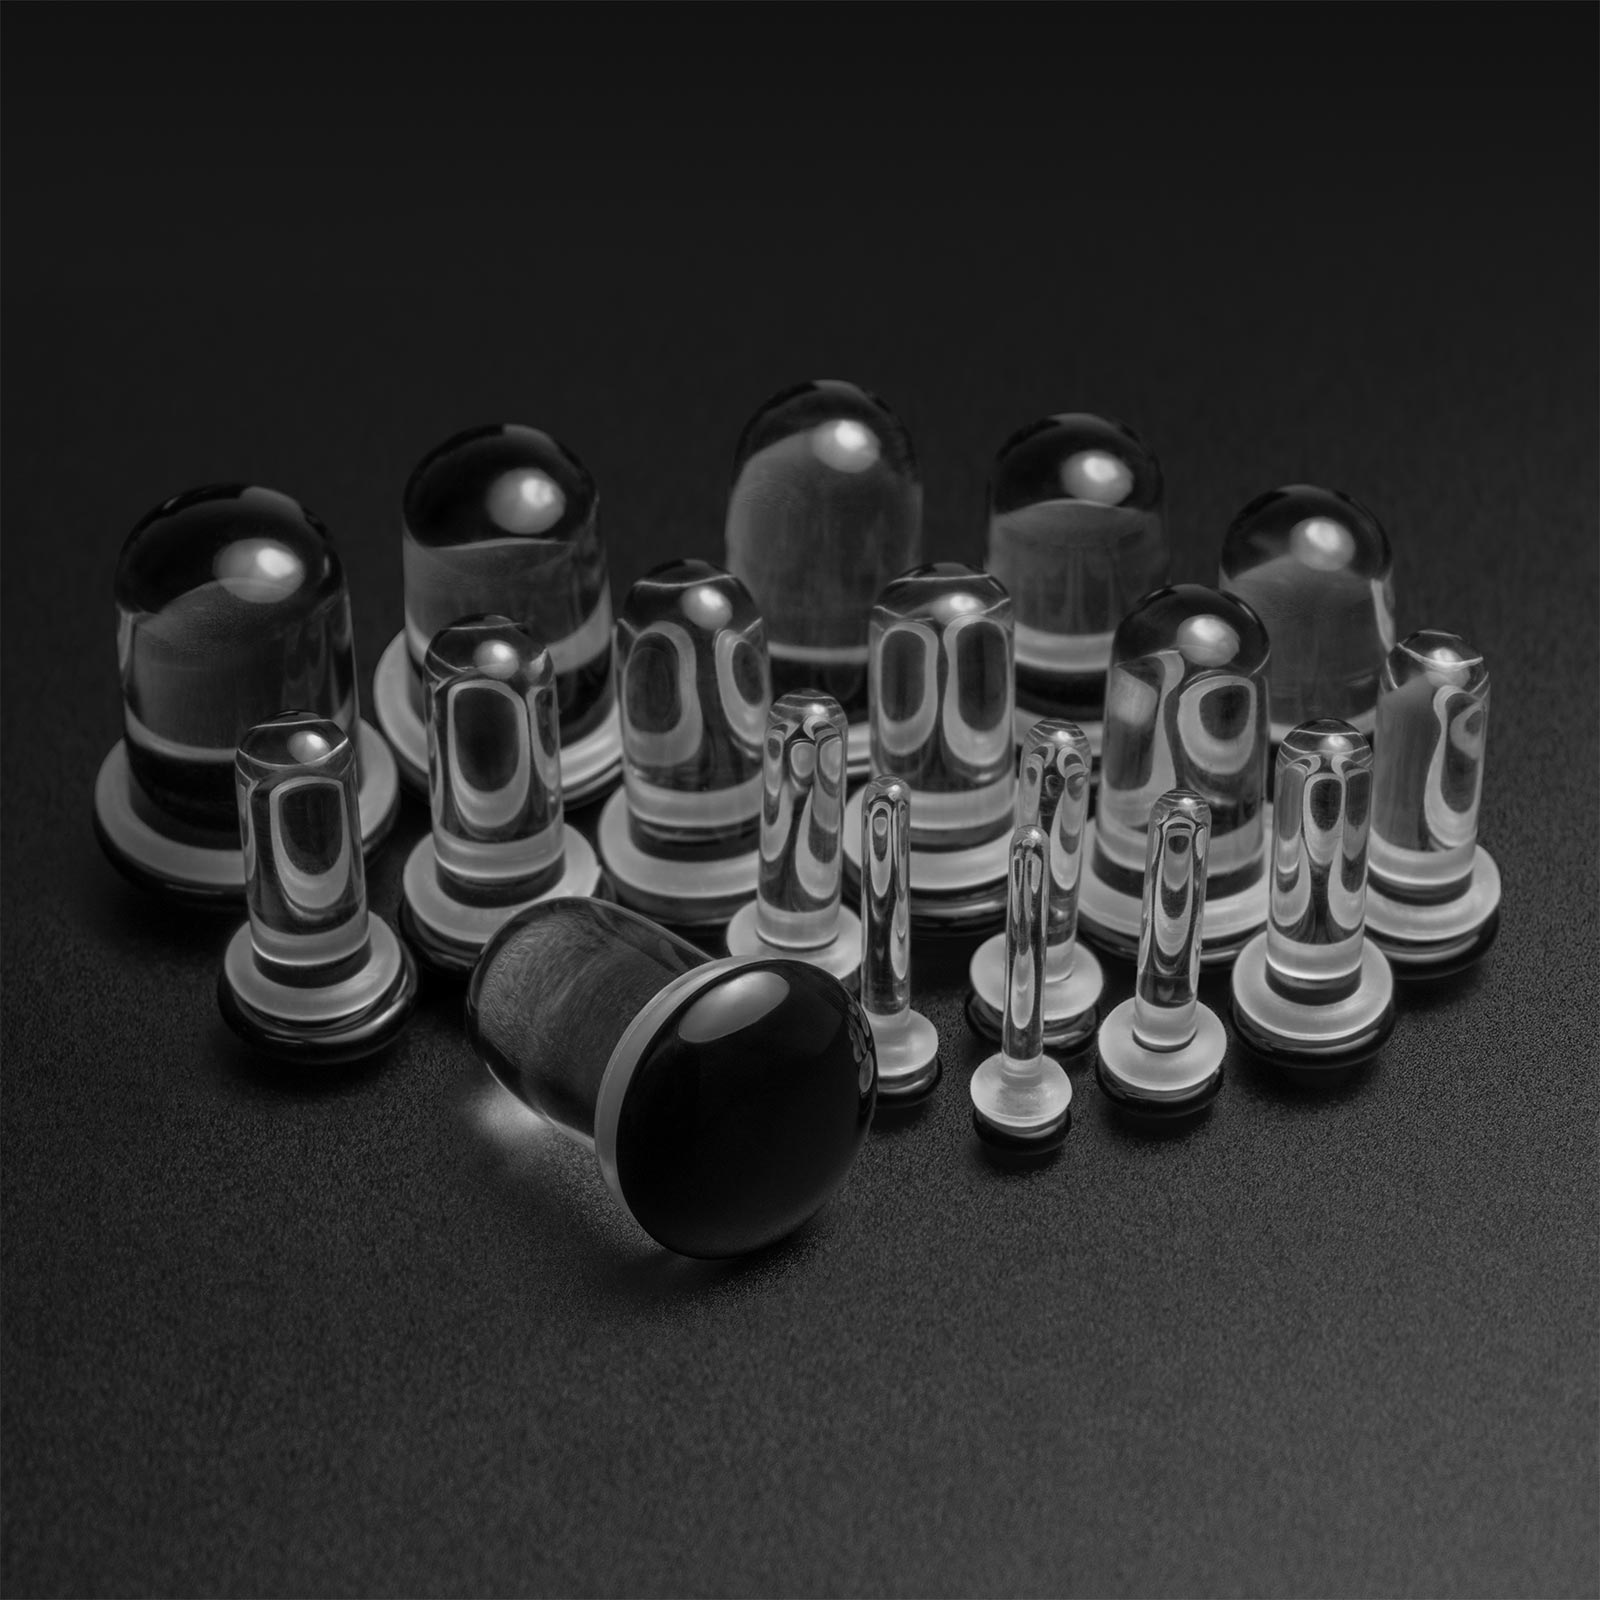
Crafted from 316L surgical steel, this kit offers a seamless dead stretching experience. The flesh plugs are designed with tiny 0.5mm increments, ensuring each stretch is safe, comfortable and stress-free. They have a smooth mirror shine finish, they’re fresh-stretch-friendly, and come complete with a clear hypoallergenic o-ring. Each size is labelled in individual bags and every order comes with a free measuring card.
Titanium is the failproof choice when you’ve got sensitivity concerns. This kit is made from grade ASTM F-136 implant-grade titanium for the pinnacle in strength, lightness, and biocompatibility. While the raw material is different, the titanium dead stretching kit boasts the same features and benefits as the surgical steel kit.
This is the daddy of ear stretching kits, purpose-designed specifically for 10mm stretched ears and larger stretches. It includes specially designed 316L surgical steel single flare tunnels instead of flesh plugs. These flare tunnels are better suited for the job, due to increasing weight differences for higher ear gauges. The kit comes complete with that all-important measuring card for accurate sizing.
Whether you opt for surgical steel or titanium, you can rest assured every dead stretching kit focuses on pain-free progress when stretching your ears. And with that out of the way, it’s time to unravel the five steps to ear stretching with confidence.
How to Stretch Your Ears
Step 1: Pre-Stretch Ritual
Prepare by indulging in a warm shower or bath, and finish by scrubbing your hands with fragrance-free antibacterial soap. Good hygiene is paramount in ear stretching. But this pre-stretch prep is more than a pampering session, (although there’s an element of soothing your psyche). There’s science behind it too. The gentle heat opens up your blood vessels. This primes your lobes for the stretch ahead.

Step 2: Ear Gauges at the Ready
This is where it starts to get interesting —choosing the right flesh plugs for your first ear stretch, or the next size if you’re no longer an ear stretching virgin. Out kits are labelled but you can also use digital calipers to be extra sure about the right ear gauges for your next stretch.
Additionally, it’s essential to pre-cleanse your kit besides your lobes. This can be achieved by cleaning your jewellery with antibacterial soap or soaking it in boiling water for added sterilisation, just ensure you let them cool before proceeding.

Step 3: Lobe Love
Lavish clean lobes with the pre-stretch TLC they deserve. Massaging them gently with jojoba oil prepares the skin for stretching. Better still, it also stimulates blood flow, which promotes healing and vitality.

Step 4: Plug and Progress
It’s the moment of truth! Your flesh plugs are lubricated and ready to go. Let the ear stretching begin. Slowly but intentionally insert the plug from the front into your existing lobe piercing. You'll experience minimal resistance and maximum satisfaction when using a leading dead stretching kit. It’s testament to the artistry of ear stretching done right.

Step 5: Aftercare
Proper aftercare is a non-negotiable step for ear stretching success. On the other hand, getting ear stretching wrong or rushing the process can result in blowout or keloid scars to the delicate ear cartilage. So, let’s run through the ideal aftercare routine to prevent anything nasty happening –
- Clean consistently: Once you’ve given your stretch a couple of days to rest, remove your jewellery and wash your lobes at least once daily with warm water and mild, chemical-free soap to keep it clean and bacteria-free.
- Soak with salt water: Soak your earlobes twice daily with a cup of warm water mixed with a quarter teaspoon of salt. This promotes healing and prevents infections.
- Massage with oil: Massage your earlobes daily with jojoba oil to keep them moisturised and healing nicely.
- Have patience: Louder for the people at the back… Dead stretching isn’t the fastest way to stretch ears. But safety first. Wait at least eight weeks between stretches to allow for proper healing. And even then, proceed with caution. Any signs of ongoing redness, swelling or irritation can mean your ears aren’t fully healed. So, steady as you go. Don’t move up to the next gauge until your ears are good and ready.
- Wash your hands: Avoid touching the stretch with dirty hands to prevent any unintentional introduction of bacteria.
- Be careful with clothes: Catching or snagging your stretch on your clothes, bed linen, etc, can cause pulling or stretching. For these reasons, be mindful of what you’re doing and check for loose threads.
- Sniff out problems: It's normal for ear gauges to give off a light odour. This is caused by trapped dead skin cells during ear stretching. But keep your nose to the ground and seek medical advice if the smell persists.
- Use professional products: Fortunately, there’s a lineup of brilliant aftercare products to look after your stretched lobes. In the next section, you’ll learn about some of the best.
What Are the Best Products to Use for Safe Ear Stretching?
There are some great quality ranges of specific ear stretching products that are really pleasant to use. Check out our top picks below:
Indulge your lobes with luxurious golden goodness. This high-quality oil has a thing or two going for it. It’s certified organic by the Soil Association. It’s guaranteed 100% pure, natural, and cold-pressed, ensuring maximum effectiveness. And it’s a staple go-to in the ear stretching community.
This superior jojoba oil mimics the skin's sebum, promoting rejuvenation and hydration of your ear gauges. Obviously, it’s what’s inside that matters. But there’s the added bonus the bottle’s mess-free drip top means more applications and less wastage. In fact, it lasts for ages, making it ideal for your daily massage to thicken up your lobes and make the next stretch even easier. Whether it’s you first ear stretch or your tenth, your lobes will thank you for the love.
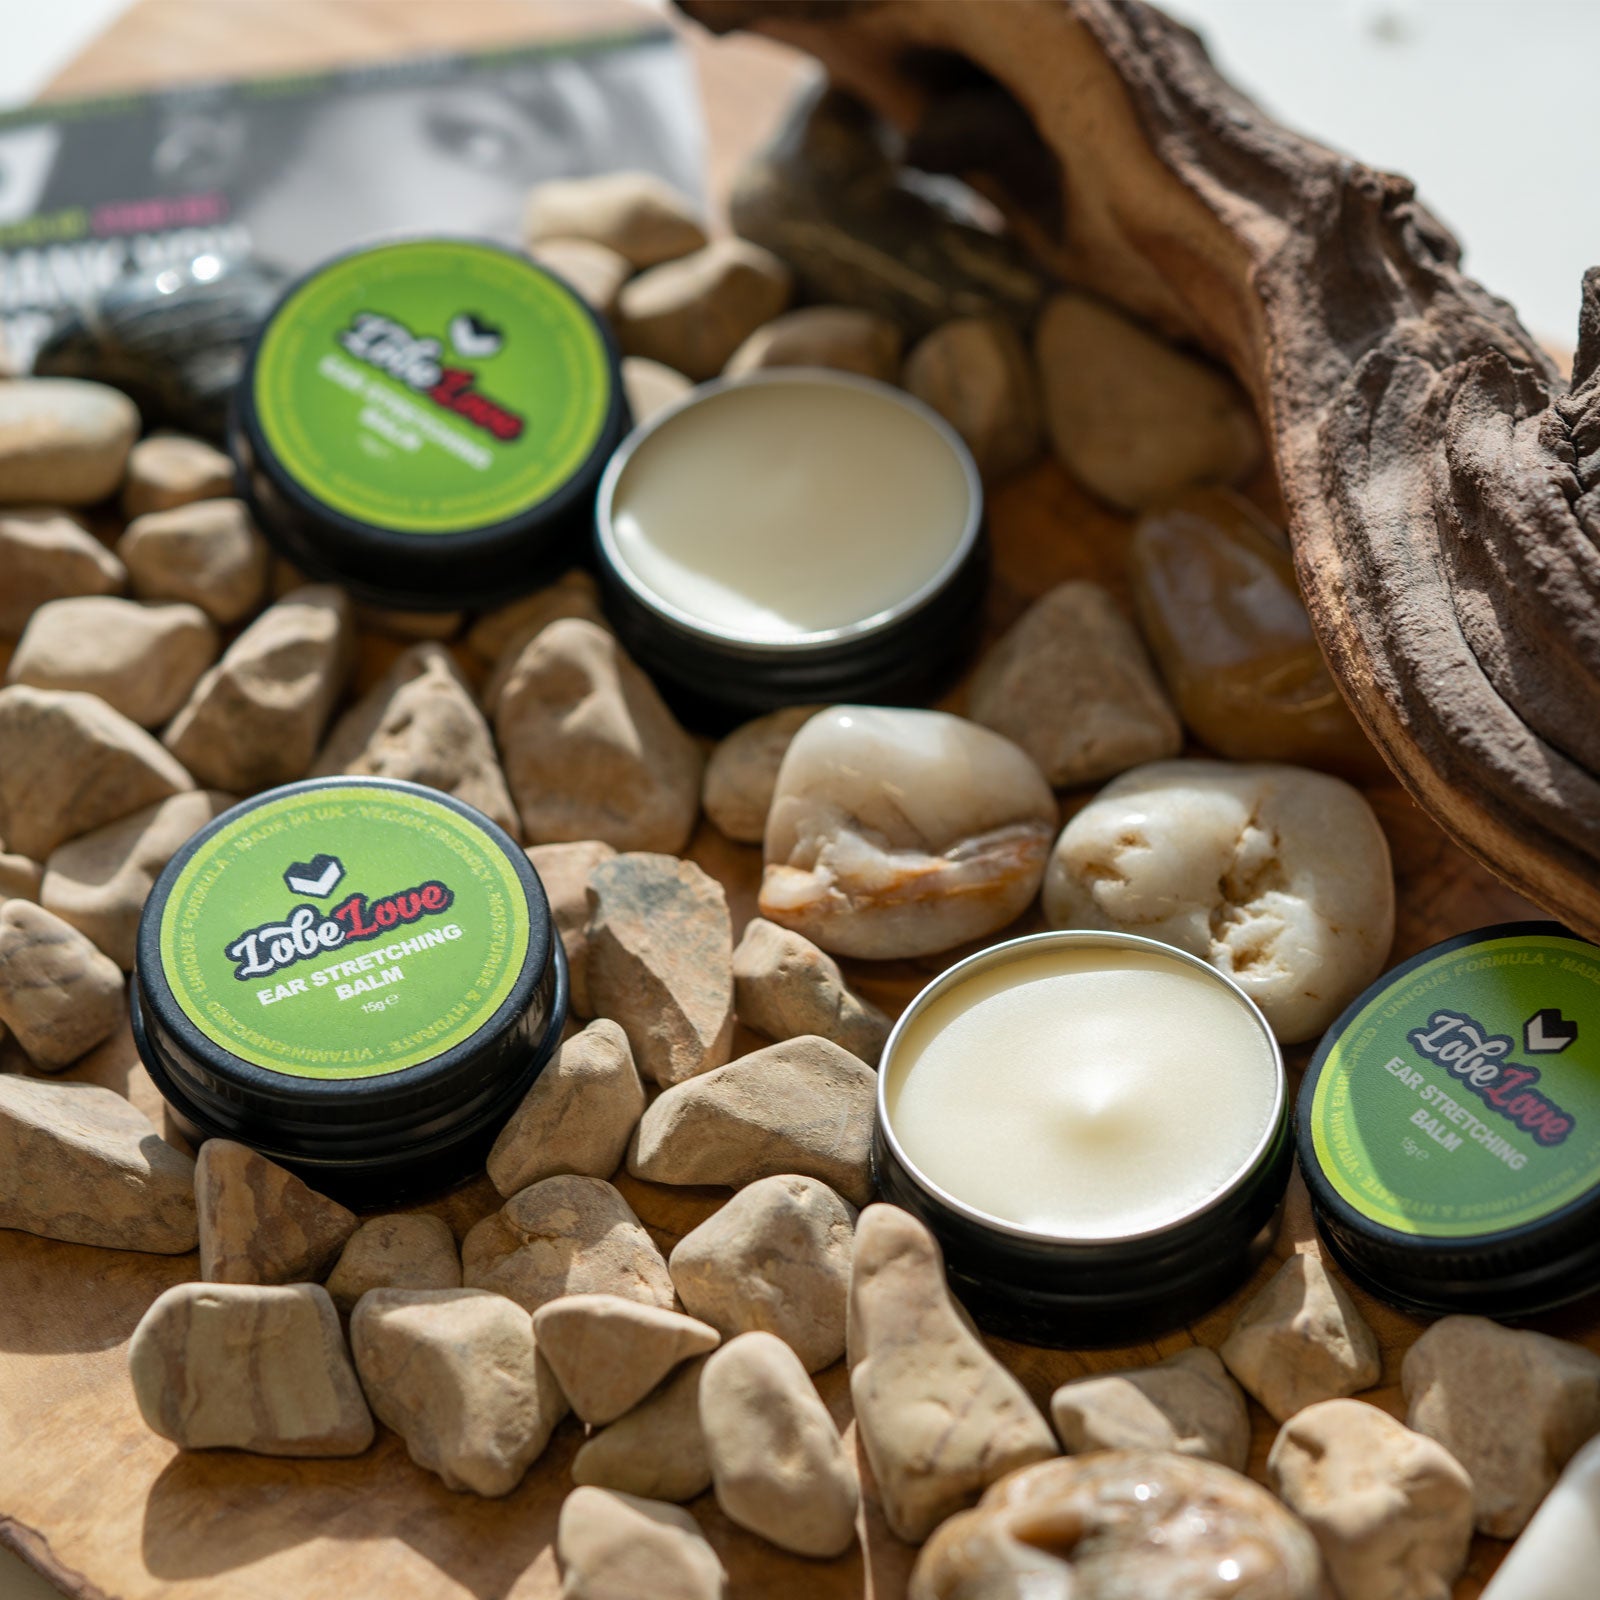
This beloved balm is an all-natural must-have companion for first-timers and ear stretching aficionados alike. It’s an all-in-one wonder, combining antiseptic, moisturisers, and protection in a convenient tin, harnessing powerhouse ingredients such as:
- Jojoba oil and castor oil for exceptional hydration
- Apricot kernel oil to alleviate itching and dry skin
- Rice bran oil to maintain the skin’s smoothness and flexibility
- Candelilla Wax to lubricate your lobes and form a protective barrier on the skin's surface, shielding it from external irritants and pollutants
Wave goodbye to unsightly piercing bumps and hypertrophic scars. This miracle silicone piercing disc works its magic in just two to four weeks by performing the following functions:
- Comforting new piercing during swelling getting you ready for your first stretch when the time comes
- Protecting piercings and surrounding areas from irritation
- Healing hypertrophic scars fast, not keloids
Now, you might be asking, “What’s this keloid scarring?” Good question. Let us explain…
Keloid scars occur when healing doesn’t happen as it should. This leads to a collagen rush, resulting in a scar that’s raised and firm to the touch, with a smooth, shiny texture. Left unseen to, keloid scars can gradually surpass the size of the ear gauge, causing itching or pain.
You can learn more about keloid scars on the NHS website. But don’t delay in seeking medical advice promptly if you suspect your lobe is affected by a keloid scar. Early intervention can mitigate further growth and improve the scar's appearance.
Uplevel your ear stretching prowess with this non-adhesive PVC tape. It’s your golden ticket to safe and gradual dead stretching, especially for 10mm stretched ears and above.
All it takes is a wrap of tape and a generous lather of golden organic jojoba oil. Ba-da-boom! It’s not the fastest way to stretch ears. On the contrary, this process is slow and methodical. But it’s smooth and safe.
No skin irritation. No hair entanglement. Just thriving lobes.
This professional-grade solution ramps up your aftercare routine by flushing out any nasties with ease. What’s more, it comes conveniently packaged in a small spray bottle, perfect for on-the-go maintenance. Serious about trouble-shooting potential issues? We’d say this saline elixir is a must-have secret weapon in your armoury.
Readying yourself for your first ear stretch or your next one? Prep your piercings to perfection. This solution nourishes, cleanses, and enriches your skin, leaving it primed for stretching. Its bodacious blend of natural plant ingredients and vitamin goodness makes it the ultimate ally for healthy dead stretching.
Plus, it's effective in preventing keloid scars, which is a win for your ears and your peace of mind.
There You Have it! Ear Stretching 101
When you know how to stretch your ears properly, you’re set up for a safe, smooth and satisfying journey of self-expression. And if you’re going in for your first ear stretch, you’re about to discover that more experienced ear stretching folks already know…
The practicalities are vital. But beyond them, ear stretching is about pushing boundaries of self-expression. It becomes a passion, offering limitless possibilities for making it your own. So, what are you waiting for? Go forth, stretch and conquer!
If you’re ready for your first ear stretch or your next level of growth, then visit the Stretch It Body Jewellery website to securely order online in a few simple clicks. You can rely on market-leading dead stretching kits made with precision and passion, using exceptional materials and components.
This is why Stretch It Body Jewellery has become synonymous with quality, safety, and trust in the world of ear stretching.
Subscribe To Our Awesome Mailer
No spam. Just discounts, exclusive promotions and ear stretching tips & tricks you won't want to miss.
Our Best Selling Products
Our Favourite Products
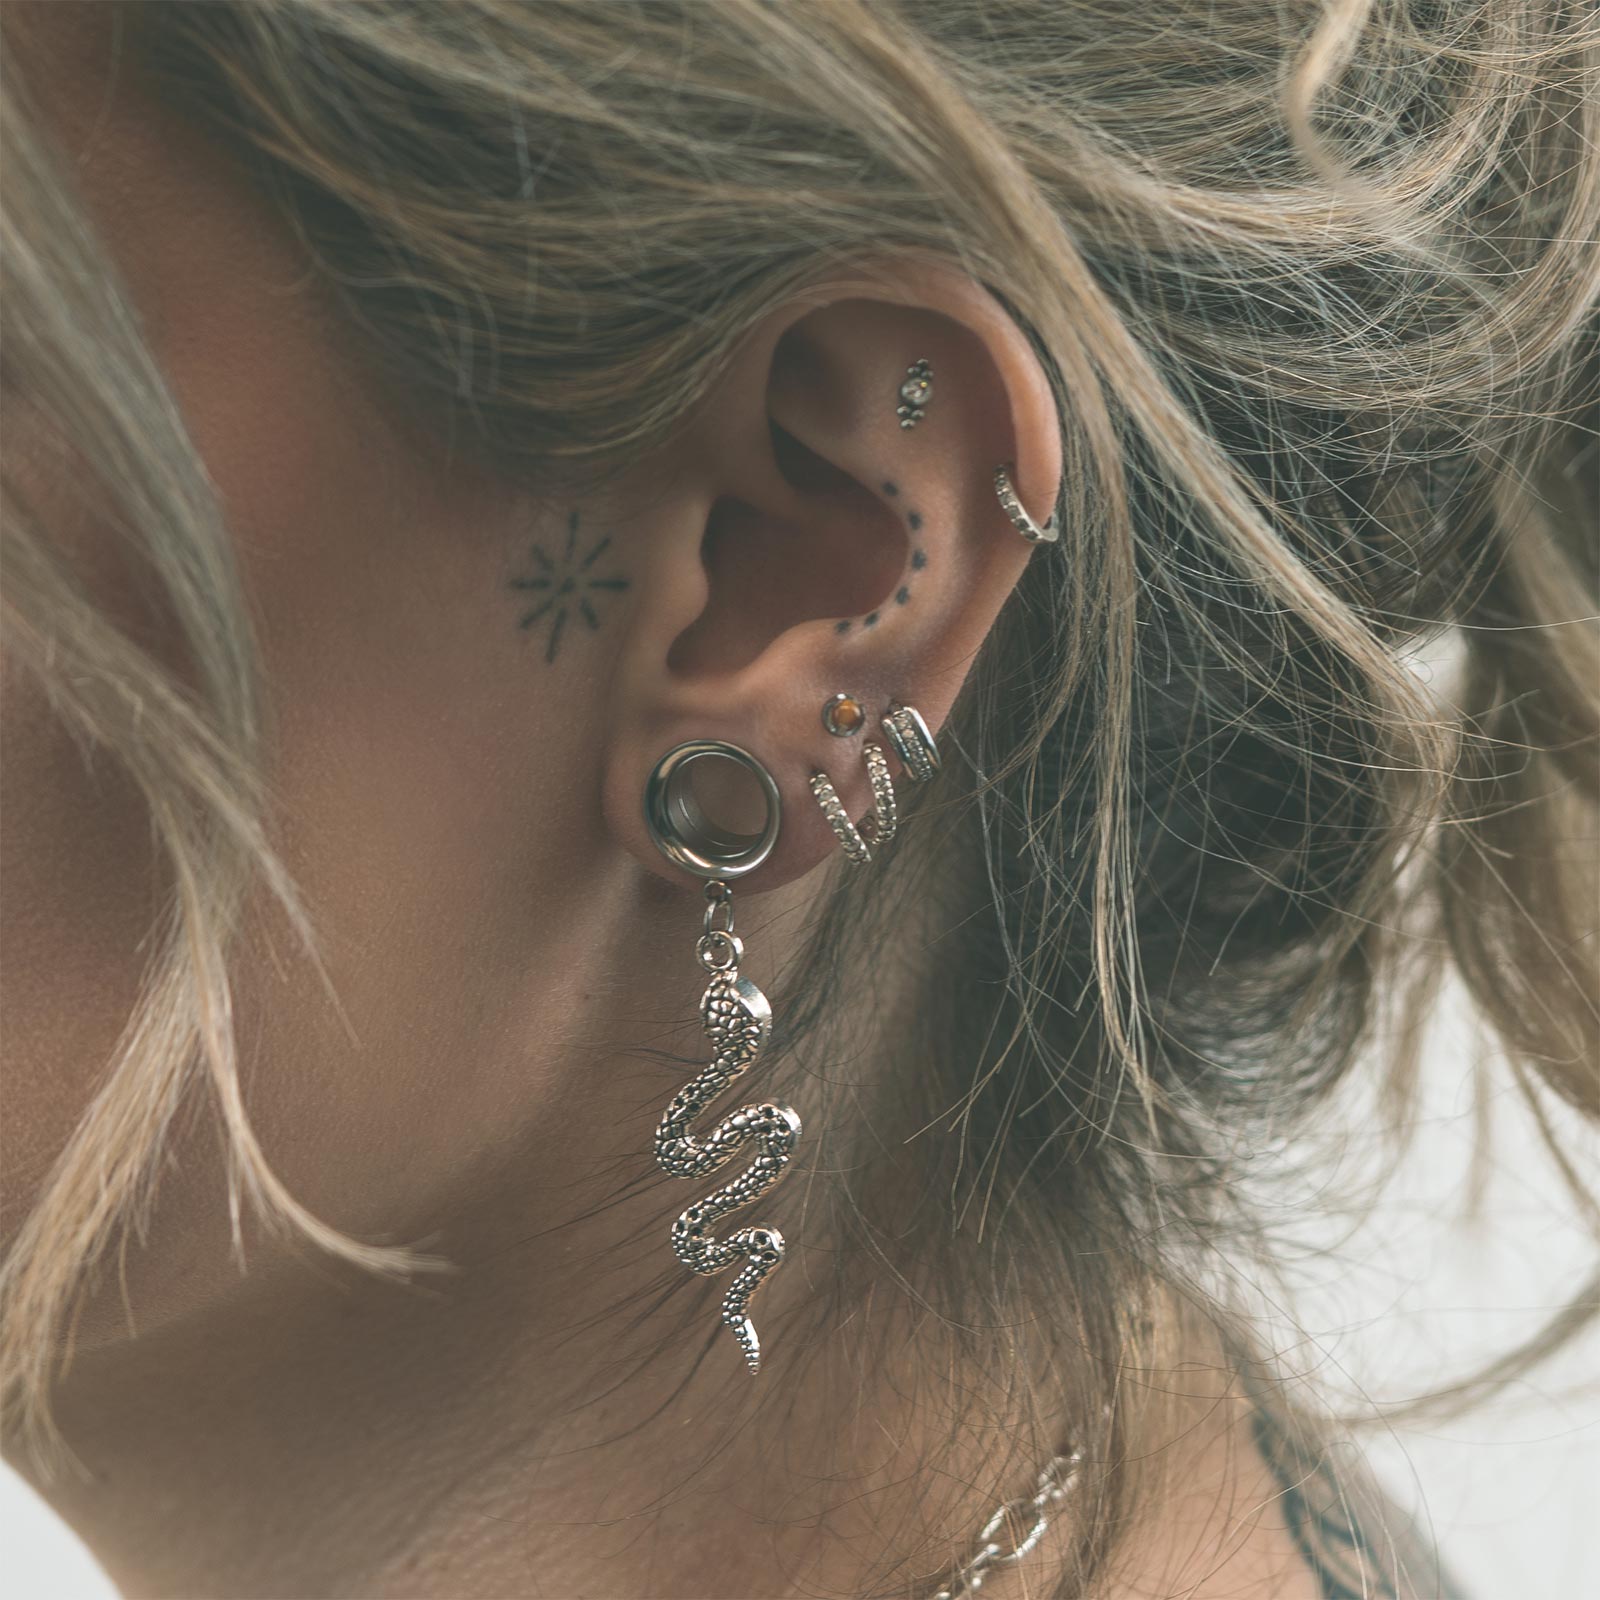
Ear Stretching Inspo