








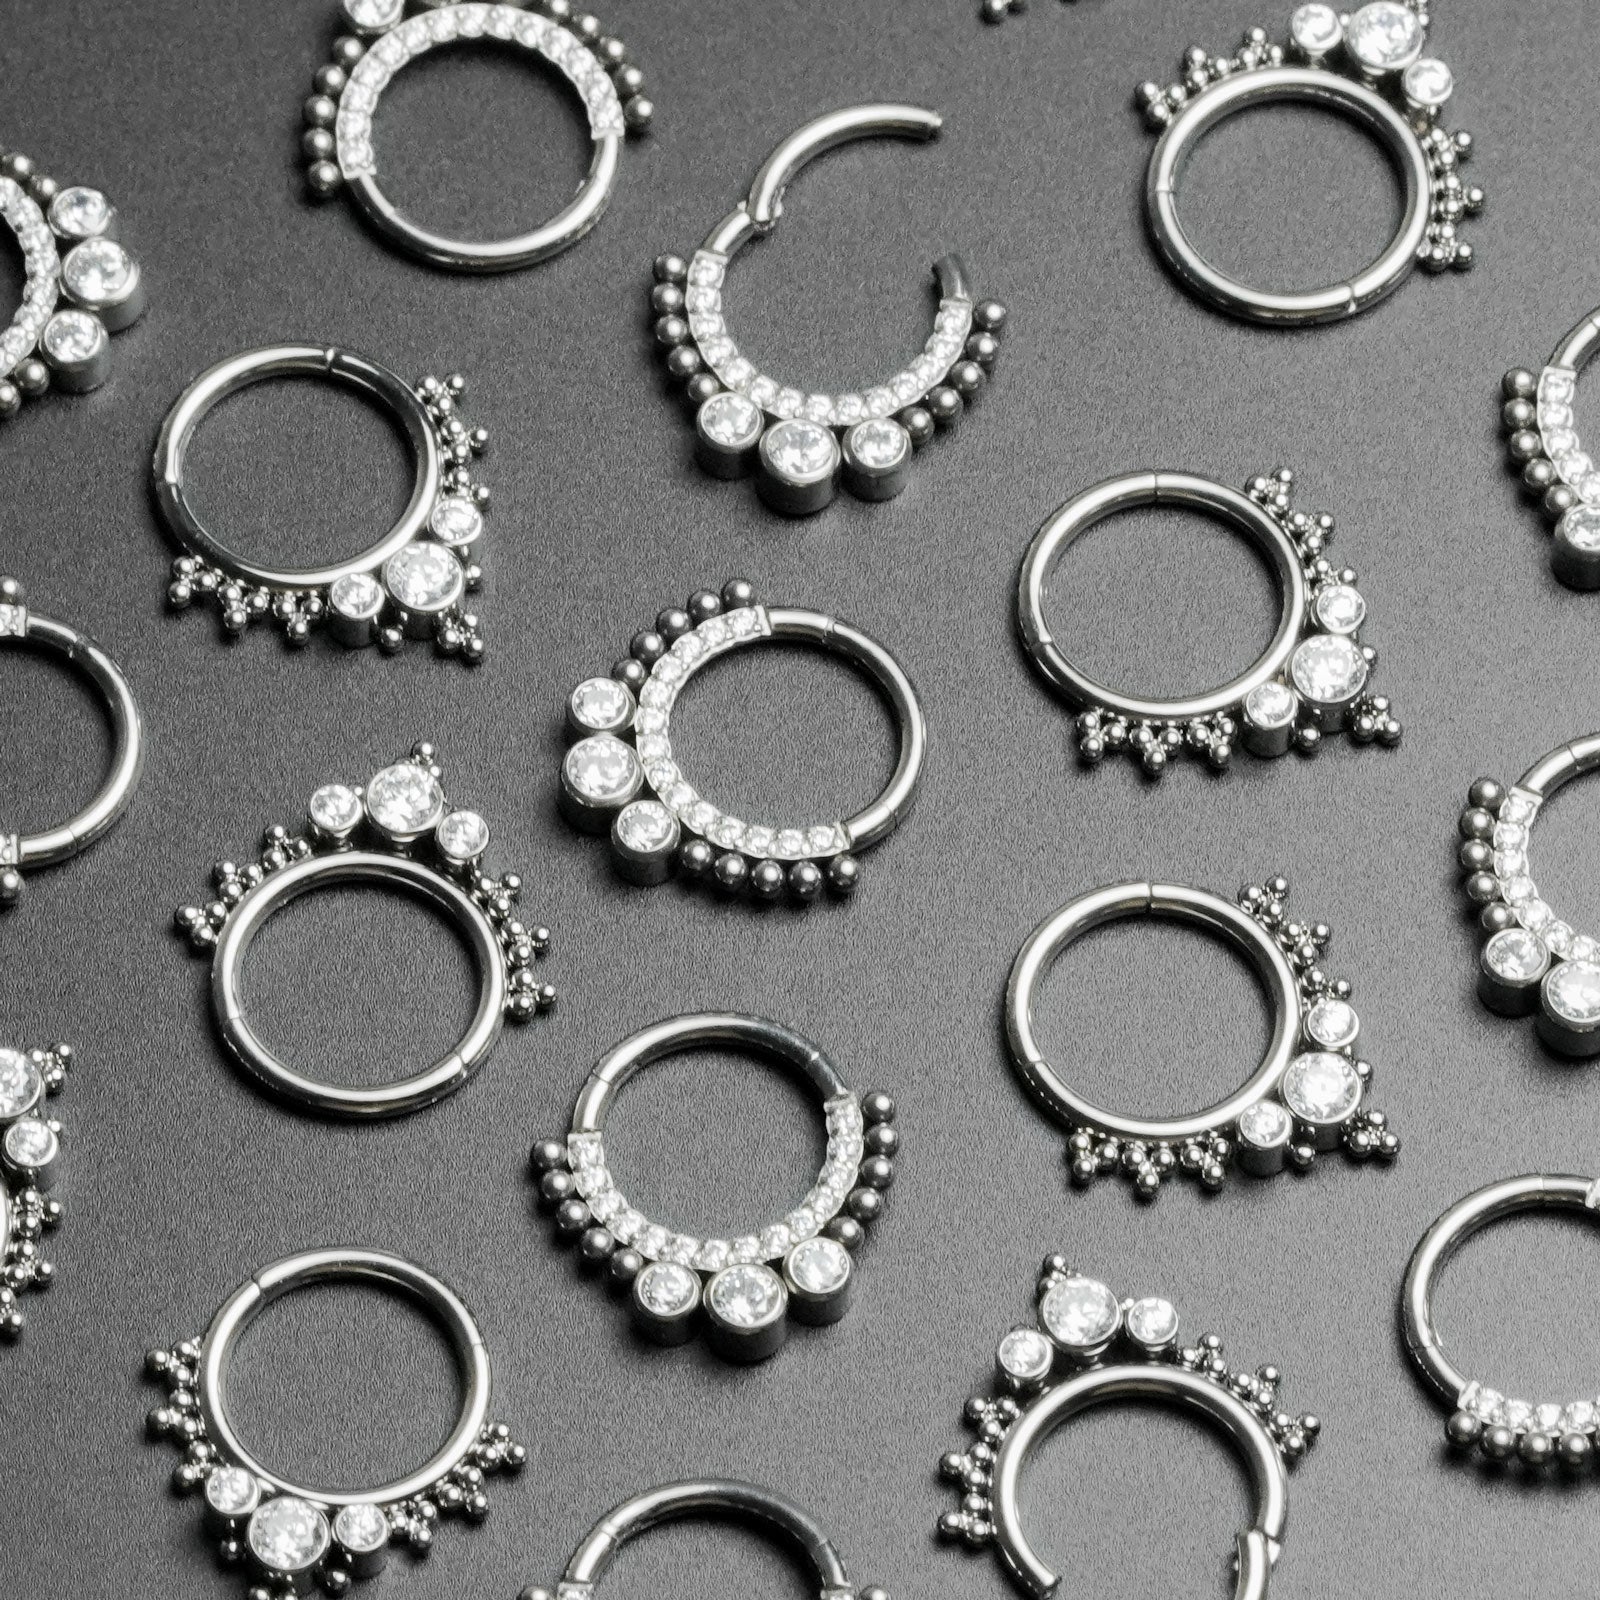

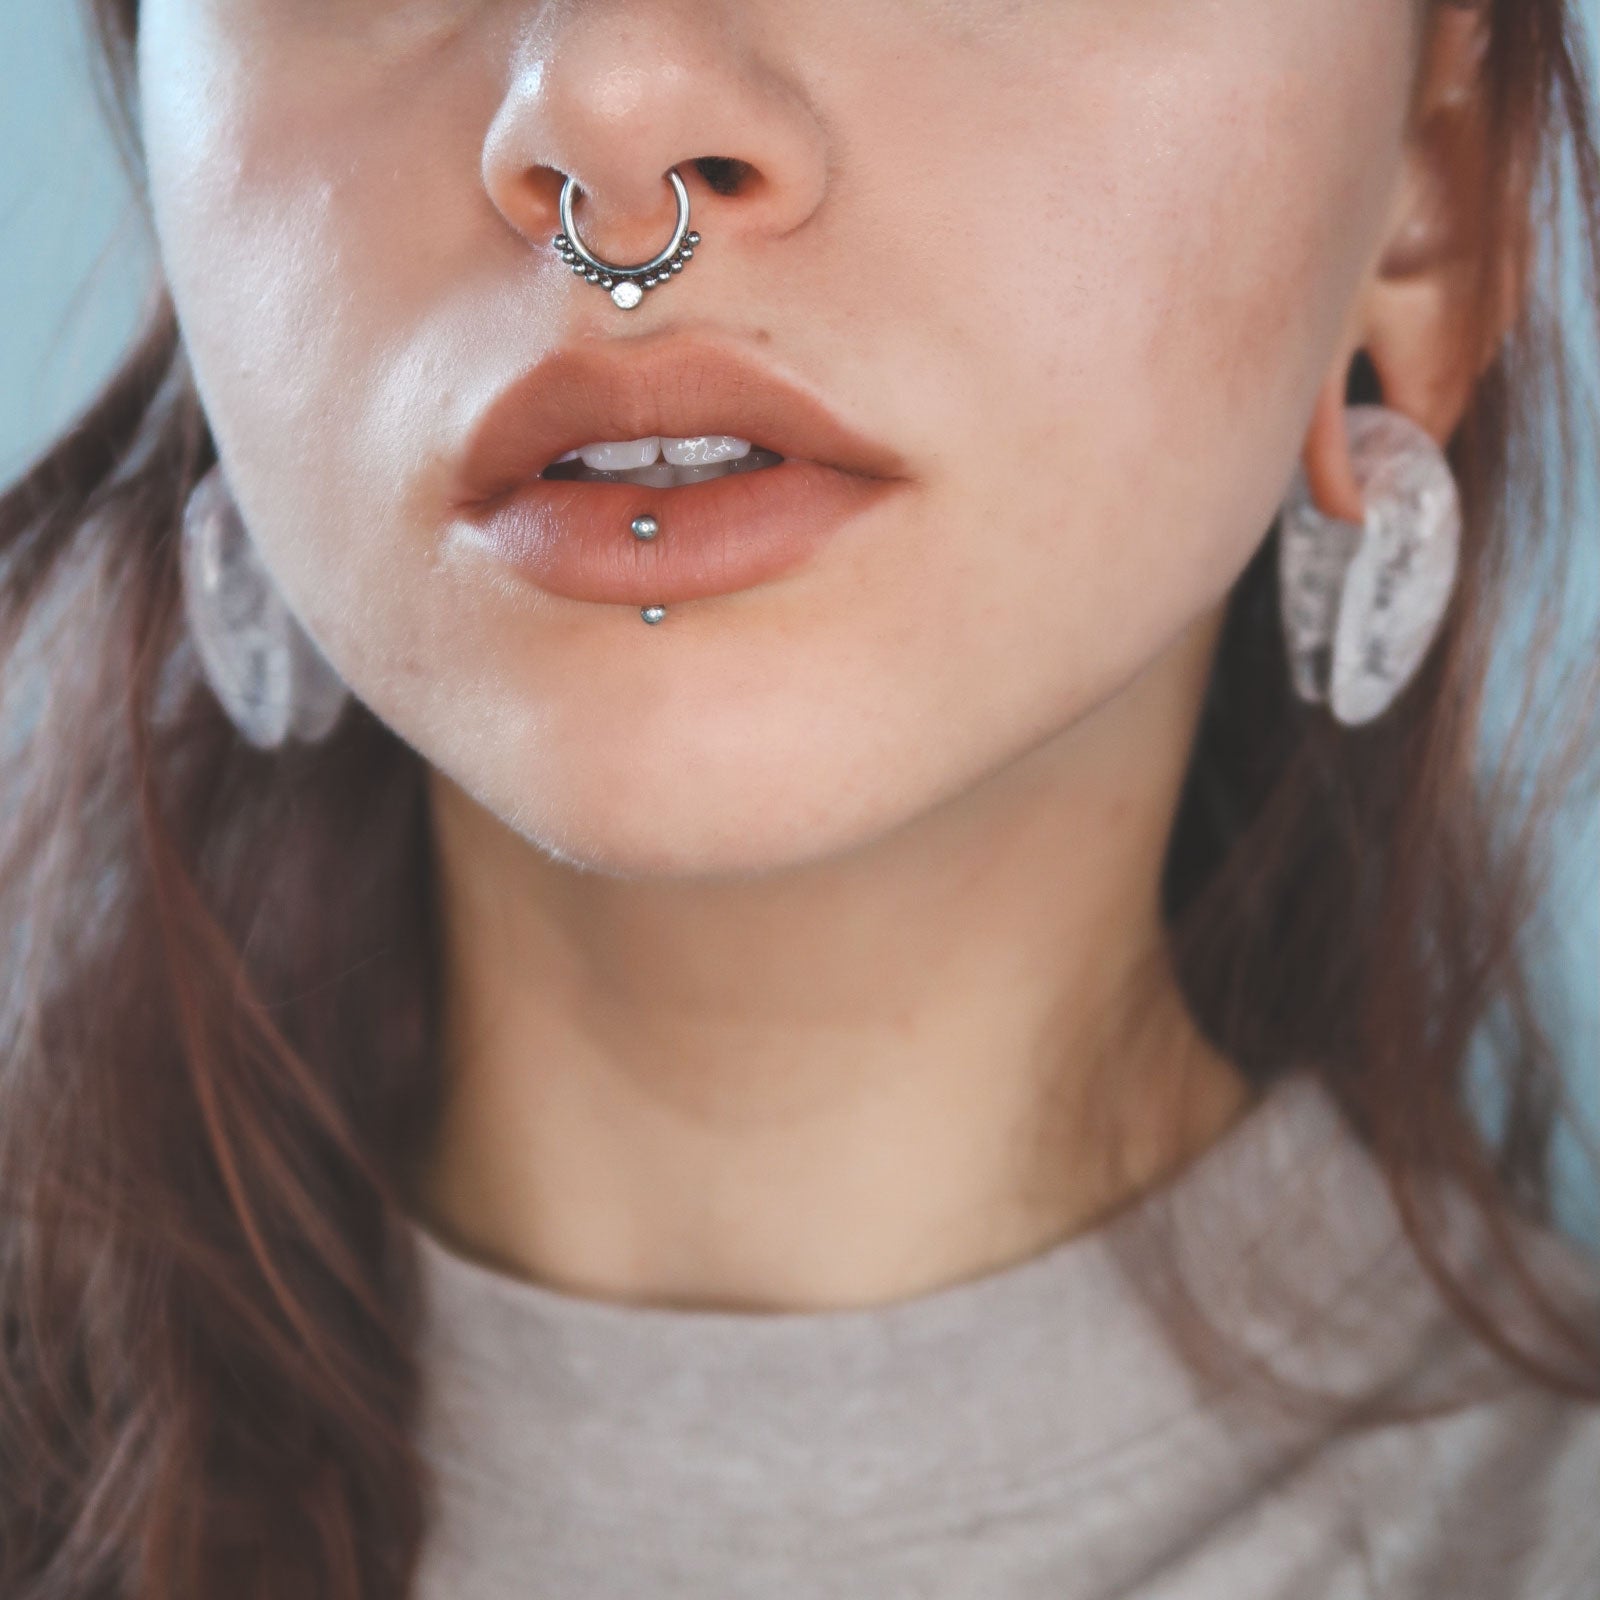
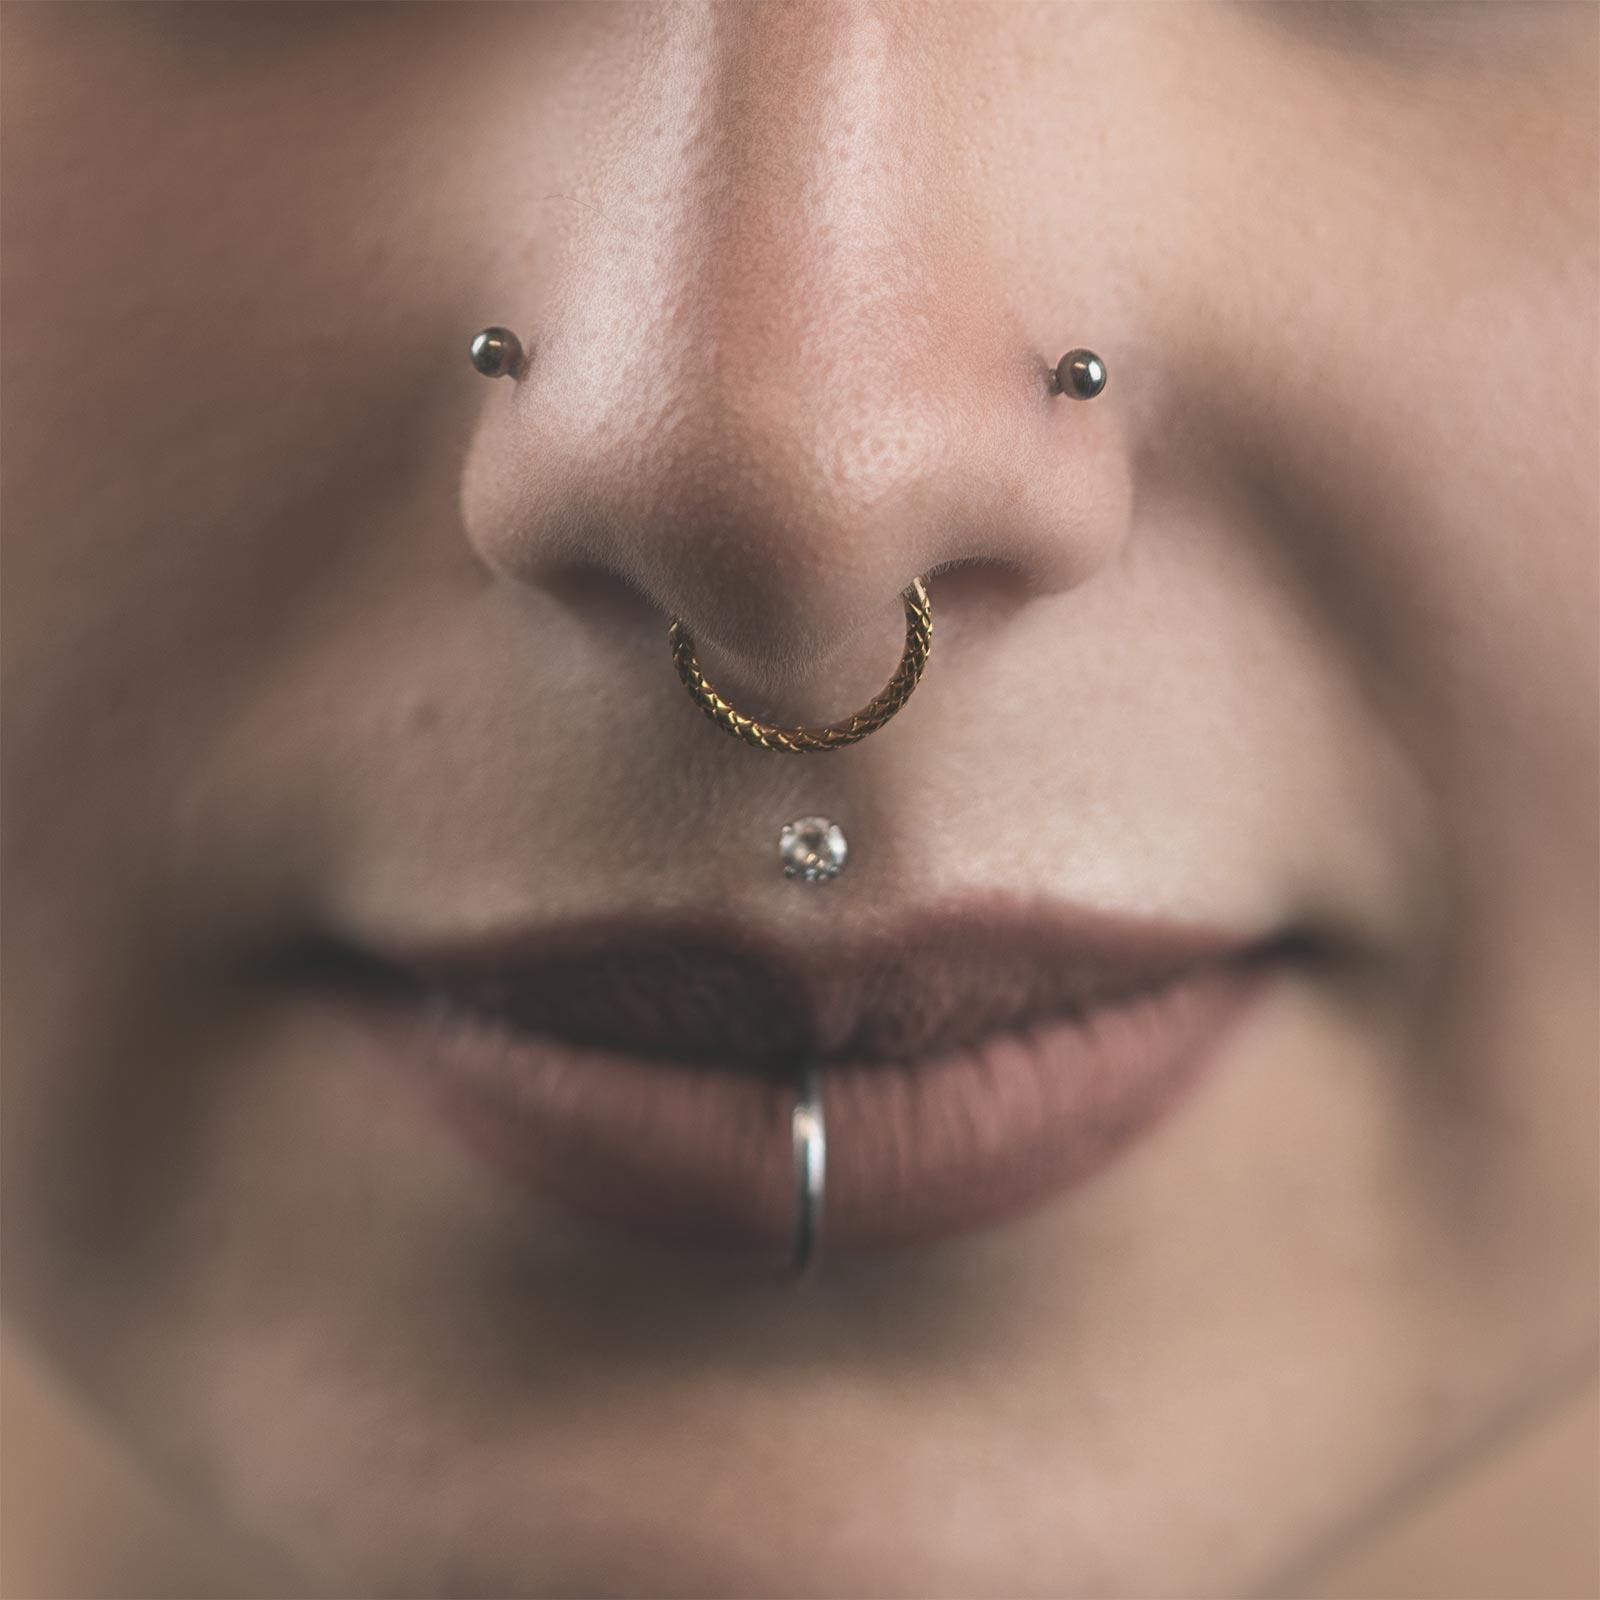

331 products
Sort by
Sort by
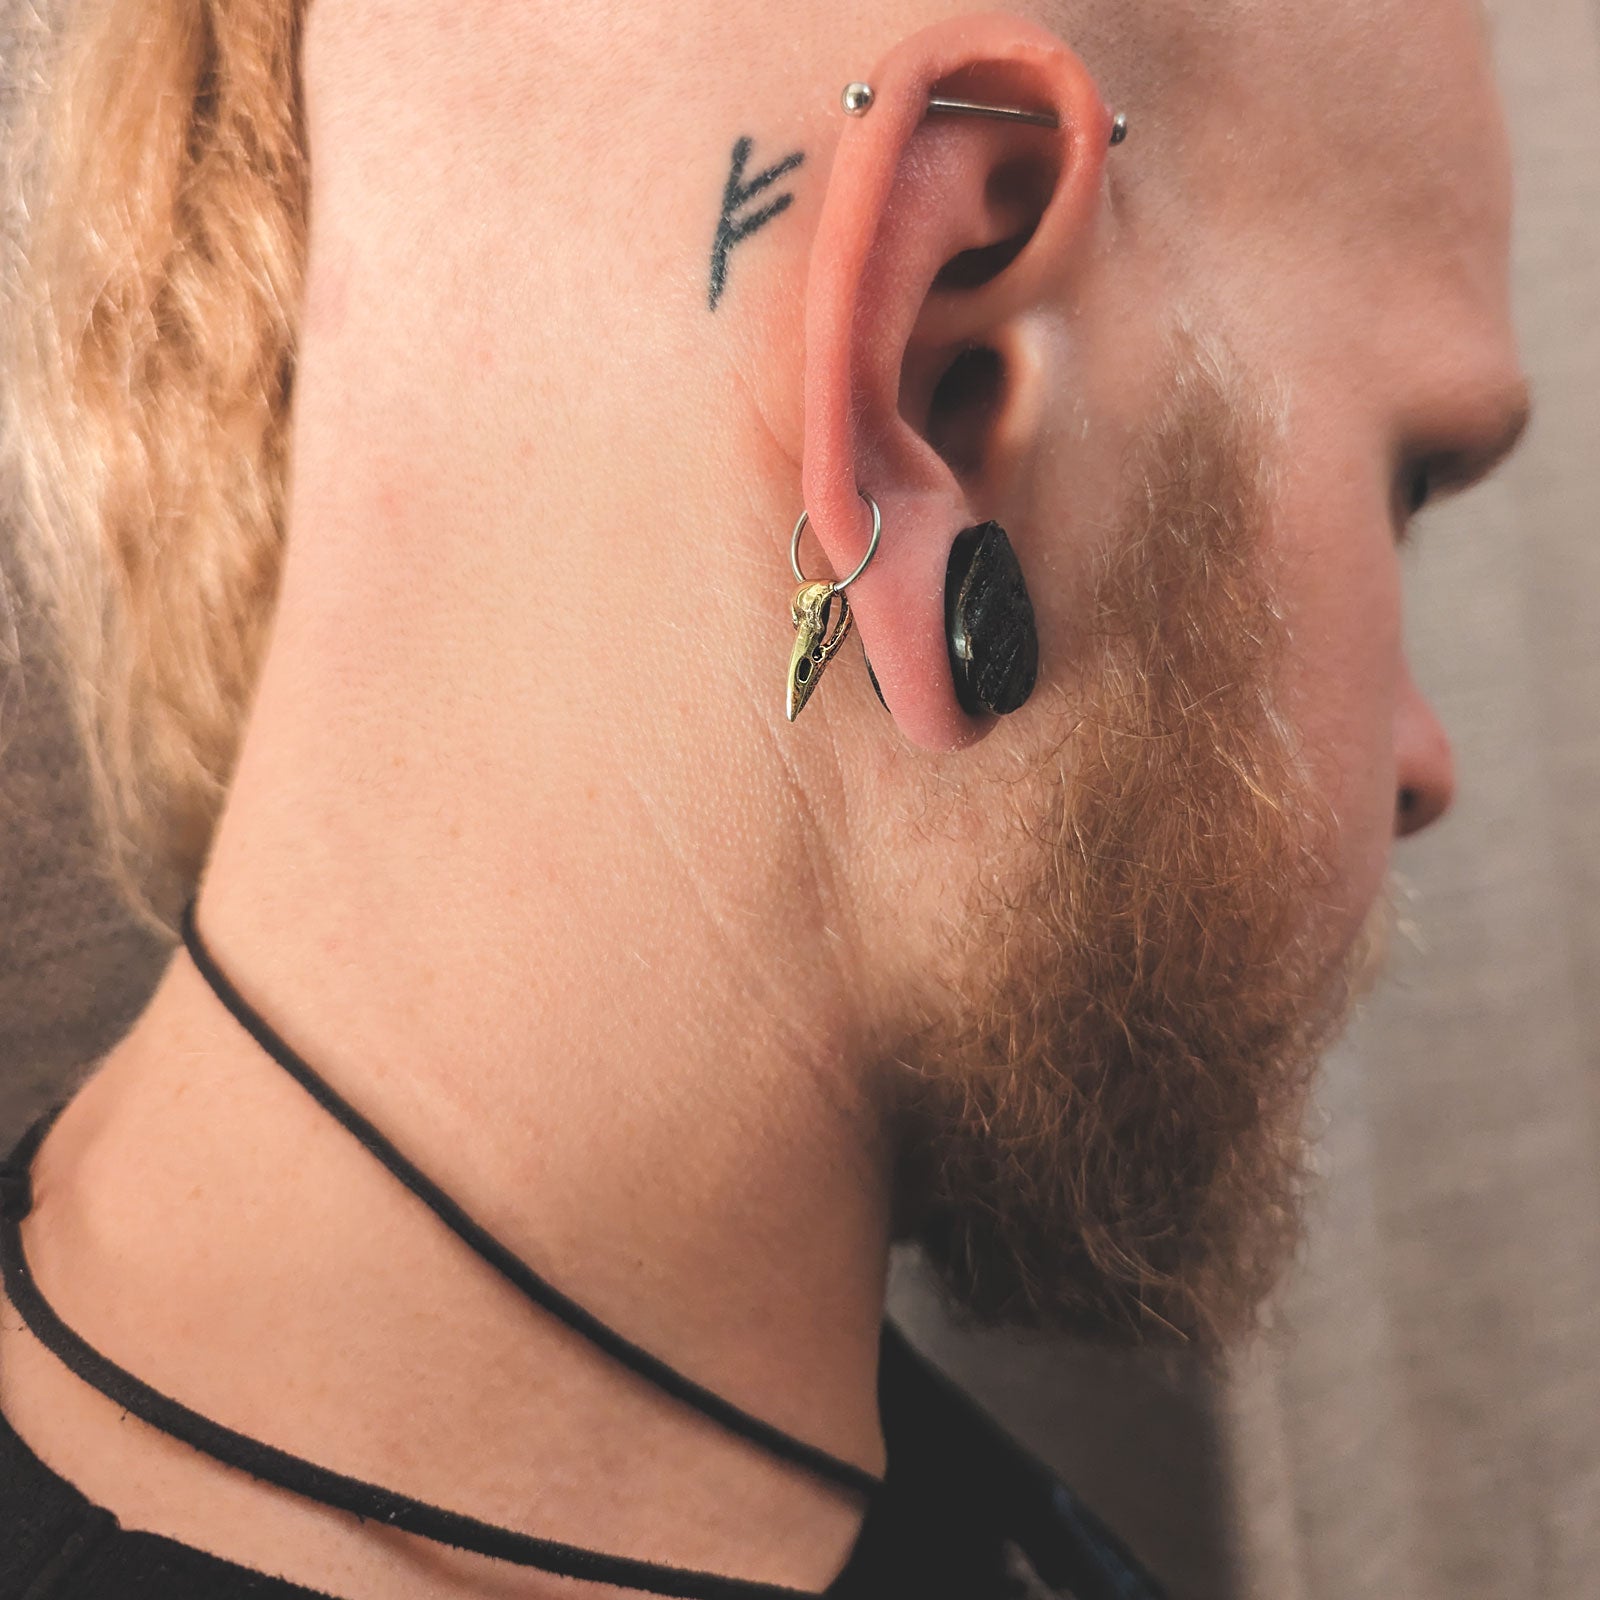
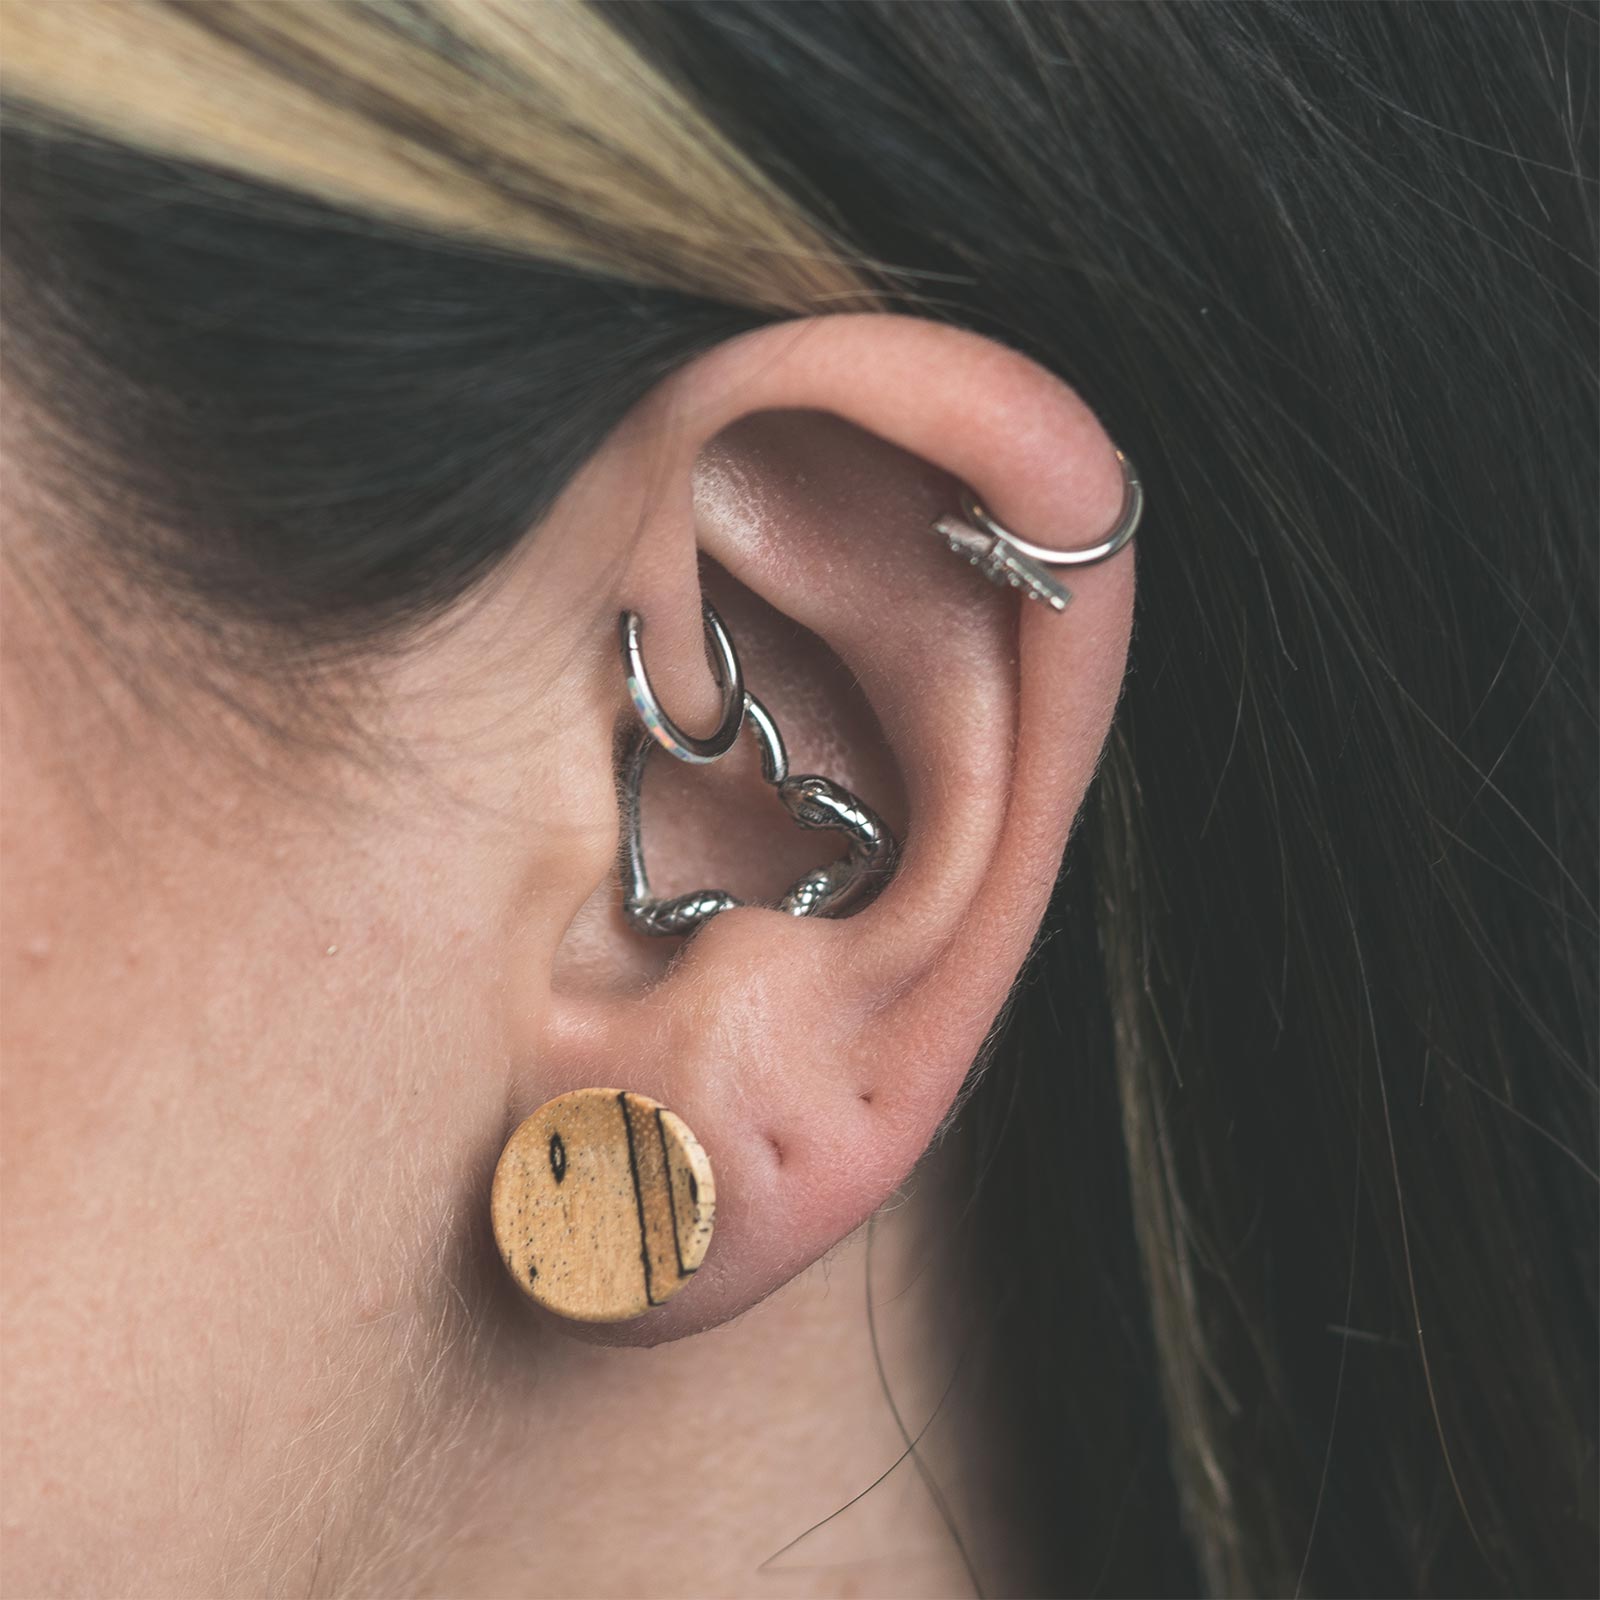
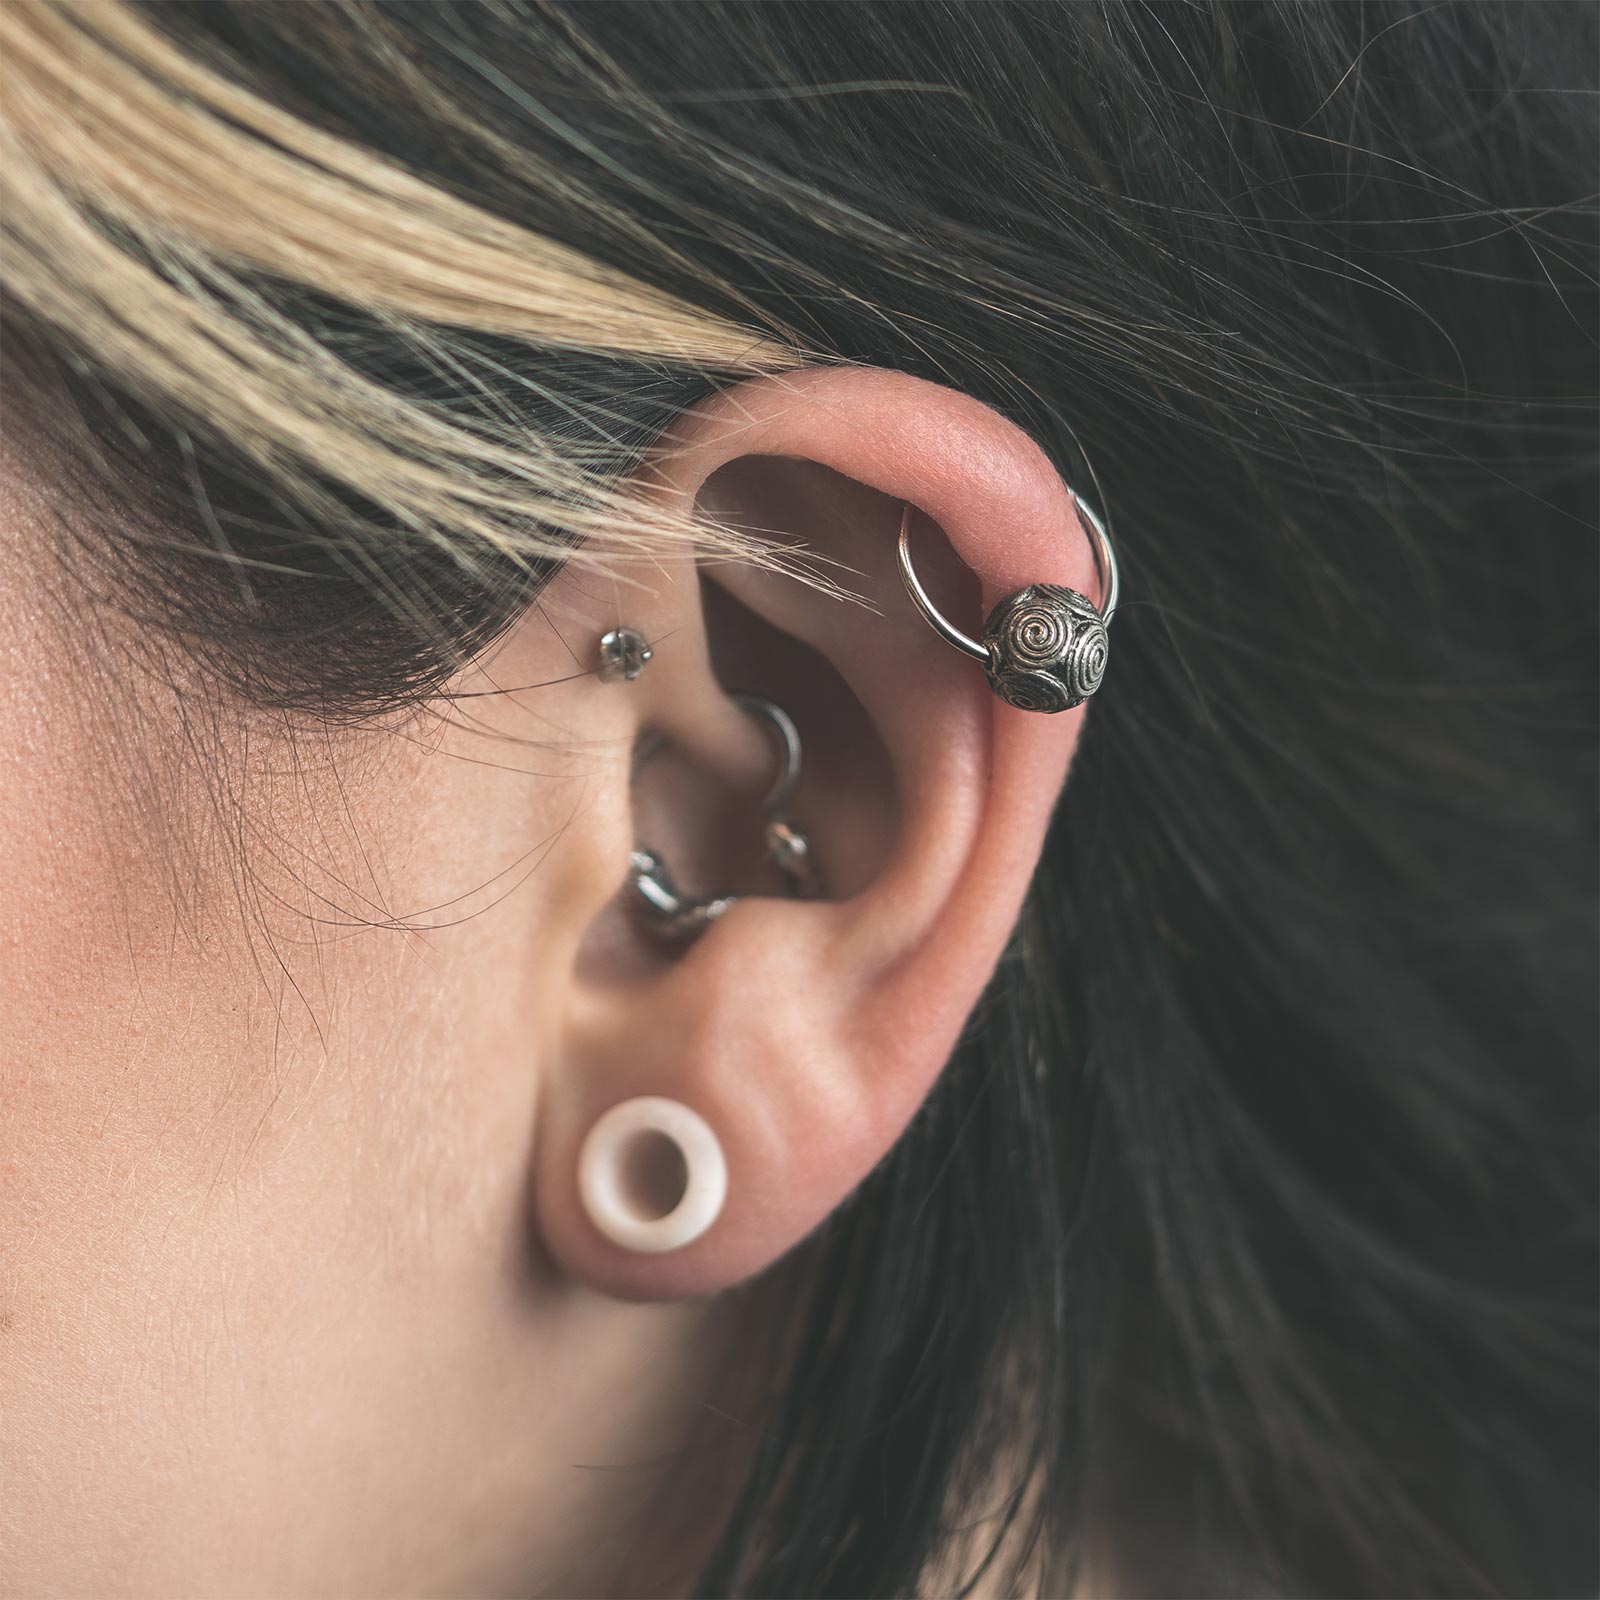
Bird Skull Brass & Surgical Steel BCR Ball Closure Ring Bird Skull Brass & Surgical Steel BCR Ball Closure Ring Model Shot
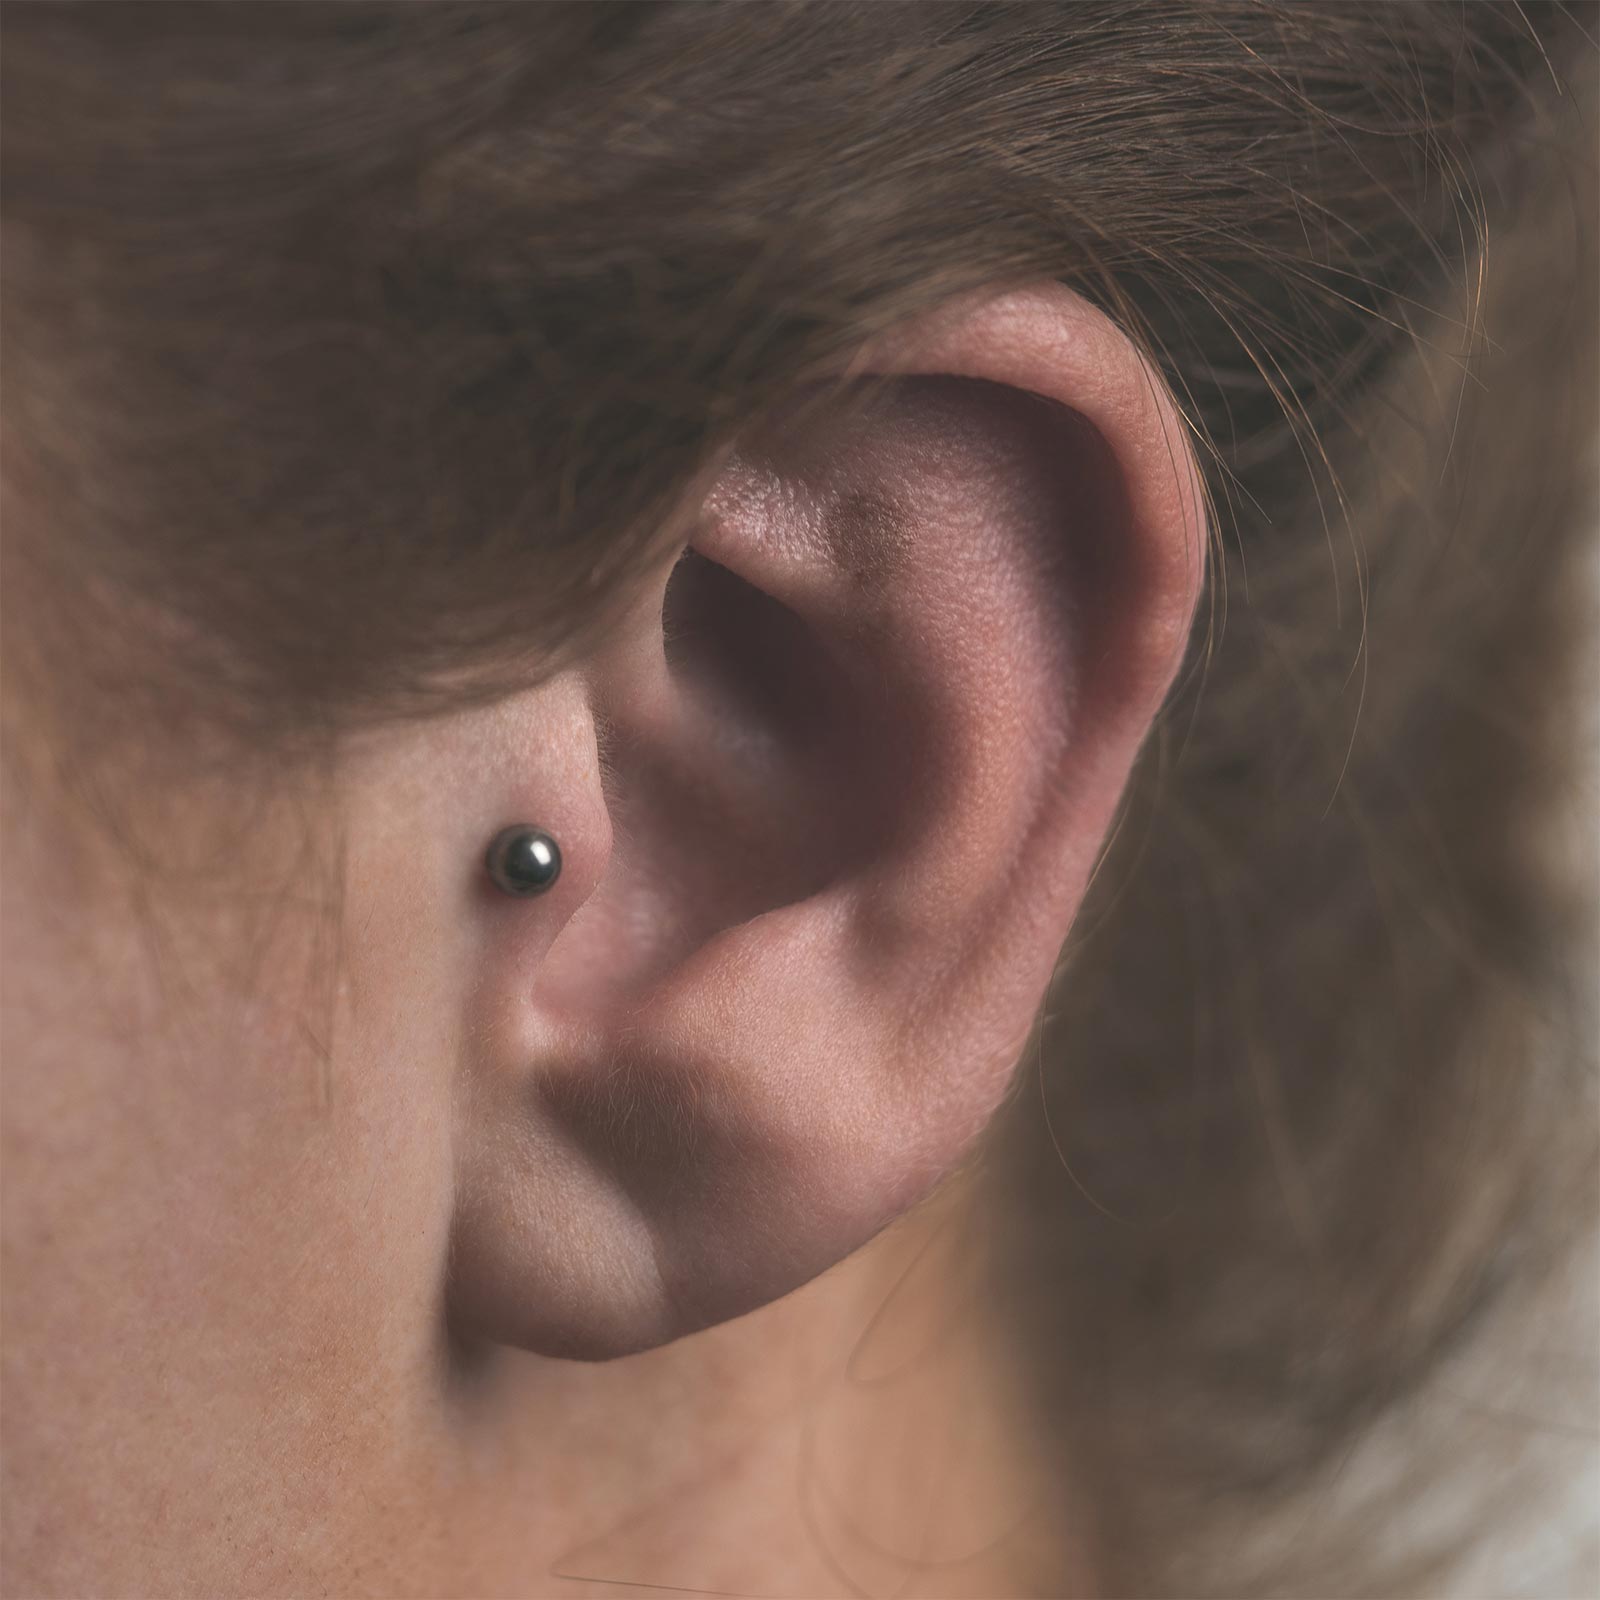
Domed Disc Titanium Threadless Top Domed Disc Titanium Threadless Top Model Shot
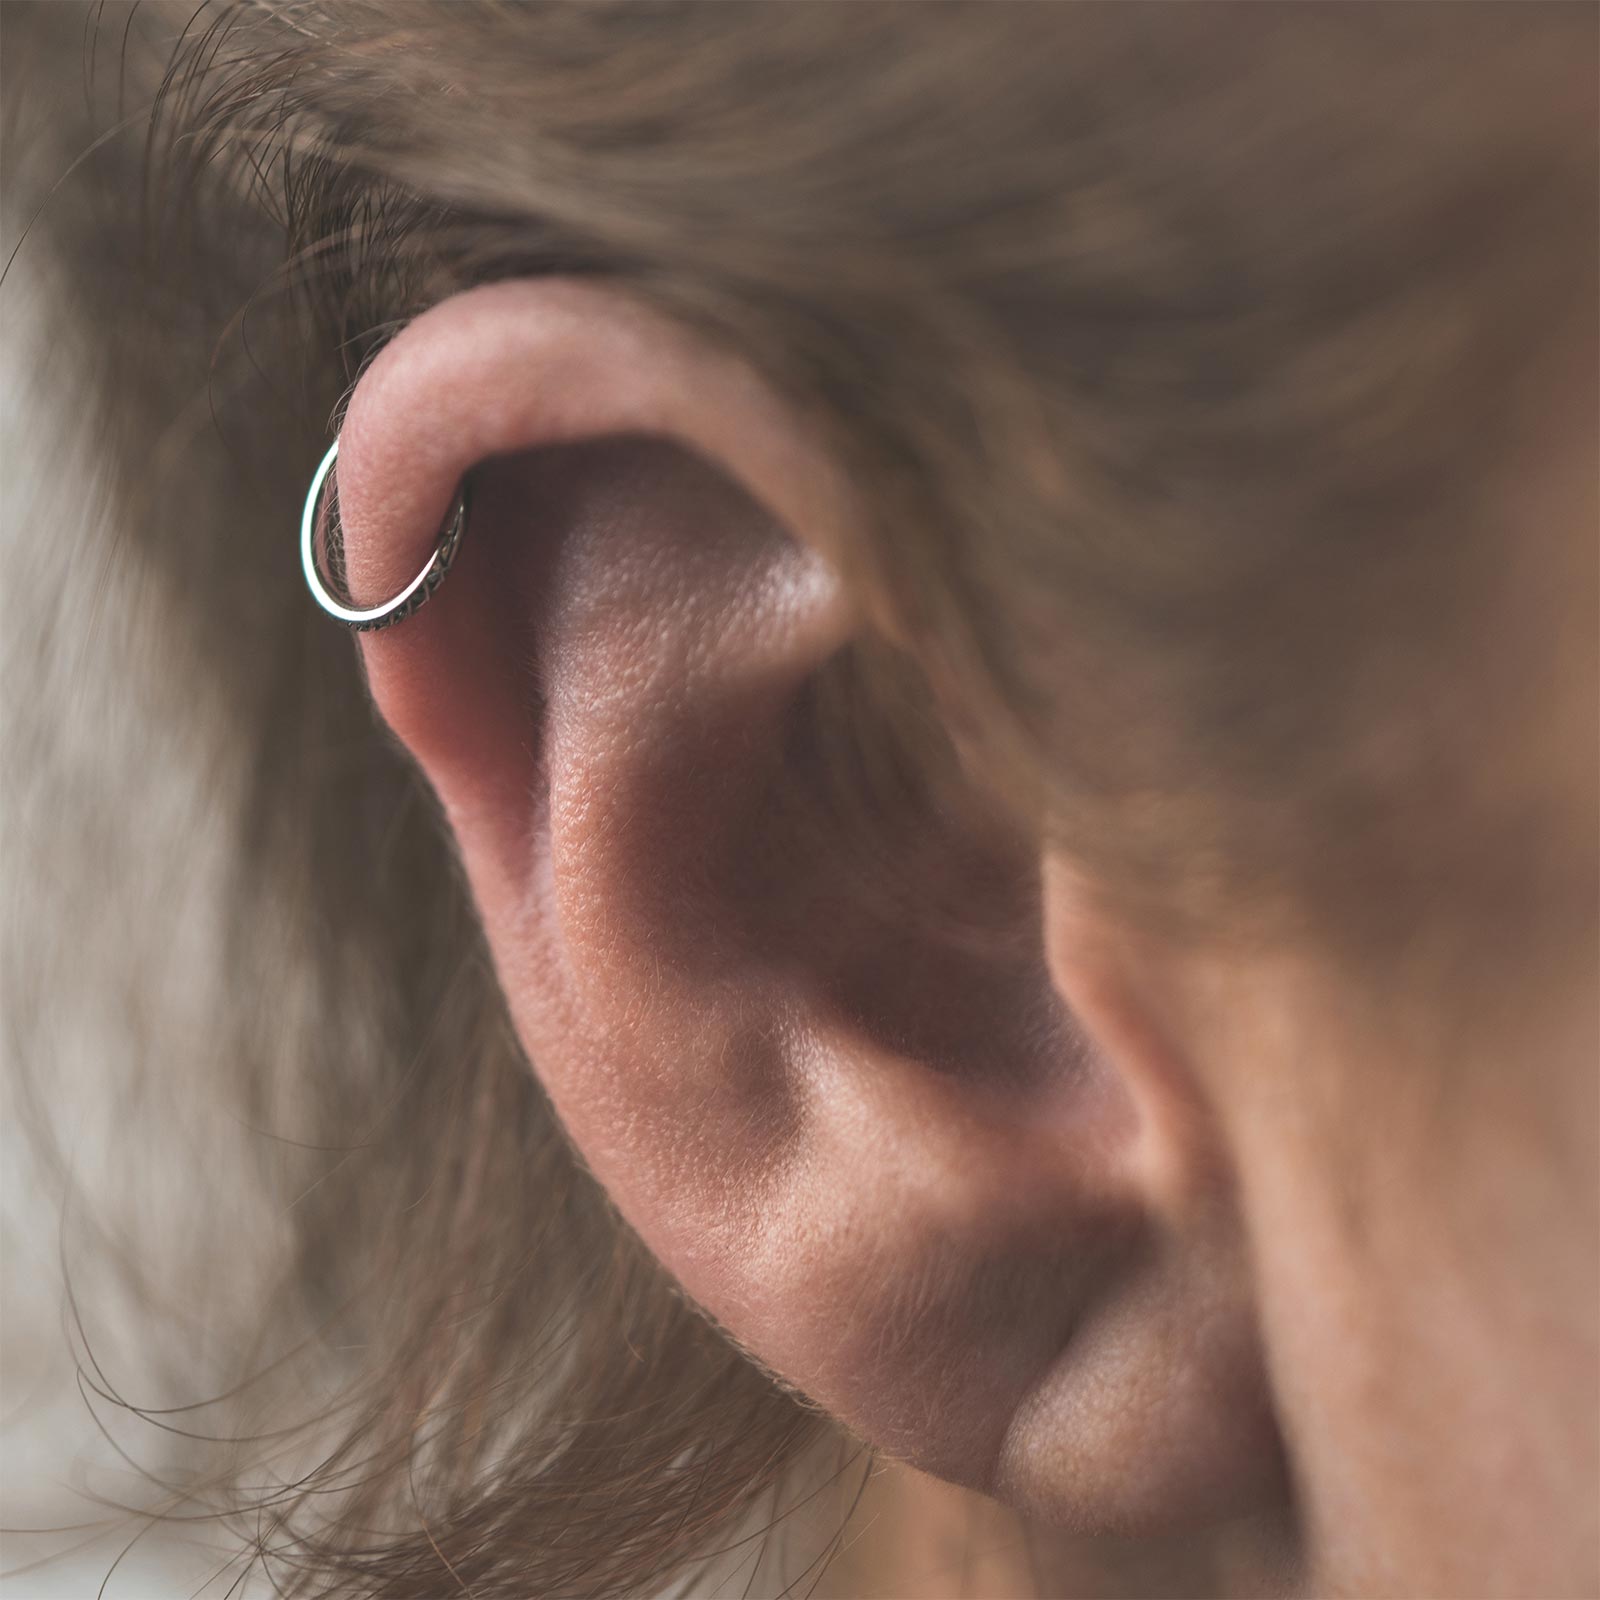
Quilted Titanium Hinged Segment Ring Quilted Titanium Hinged Segment Ring Model Shot
Four Prong Bejewelled Titanium Threaded Top Stretch It Body Jewellery Pouch
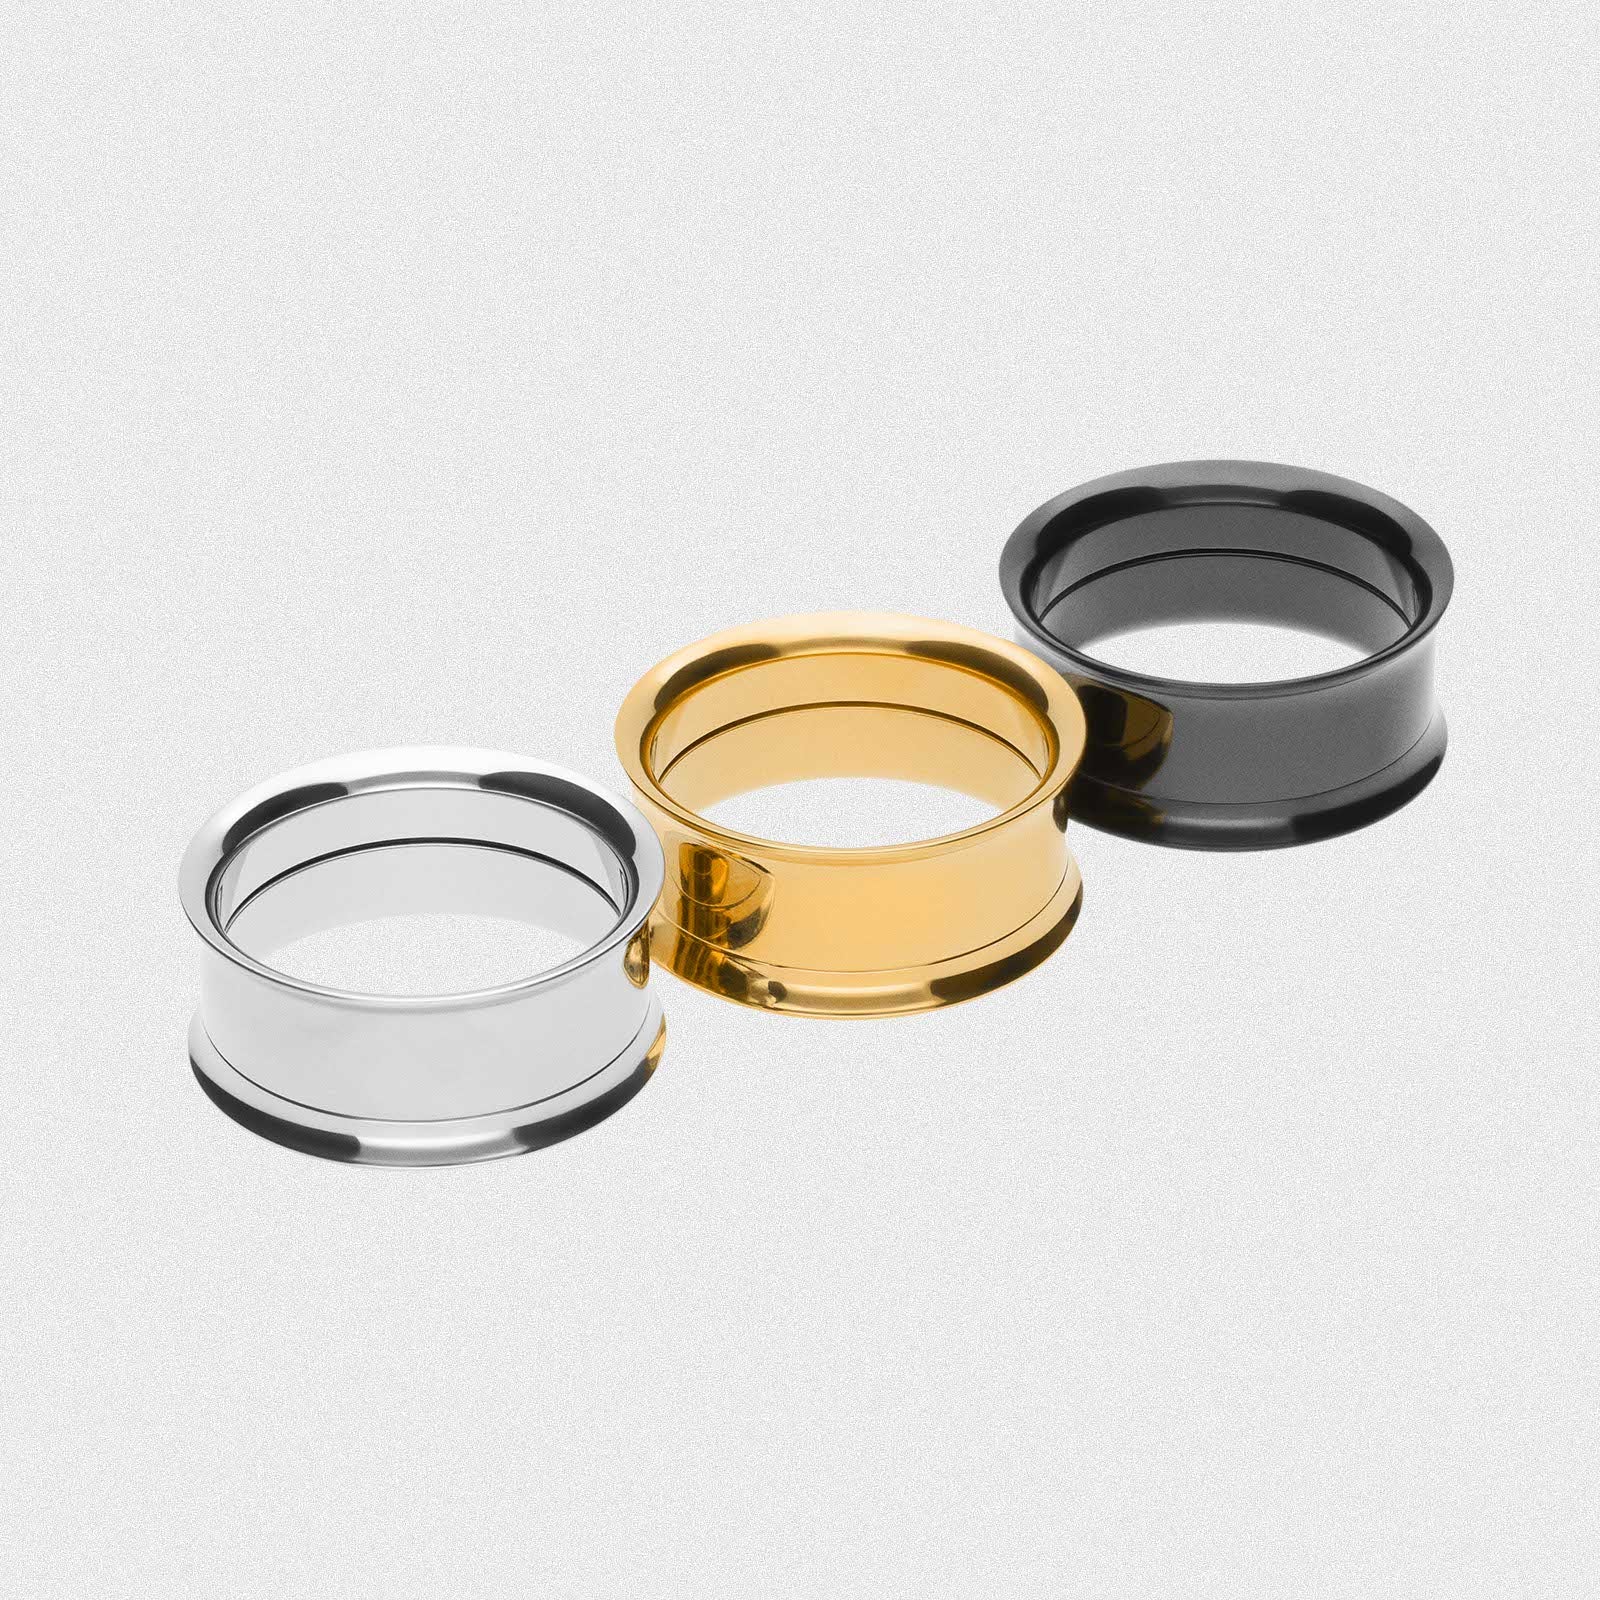
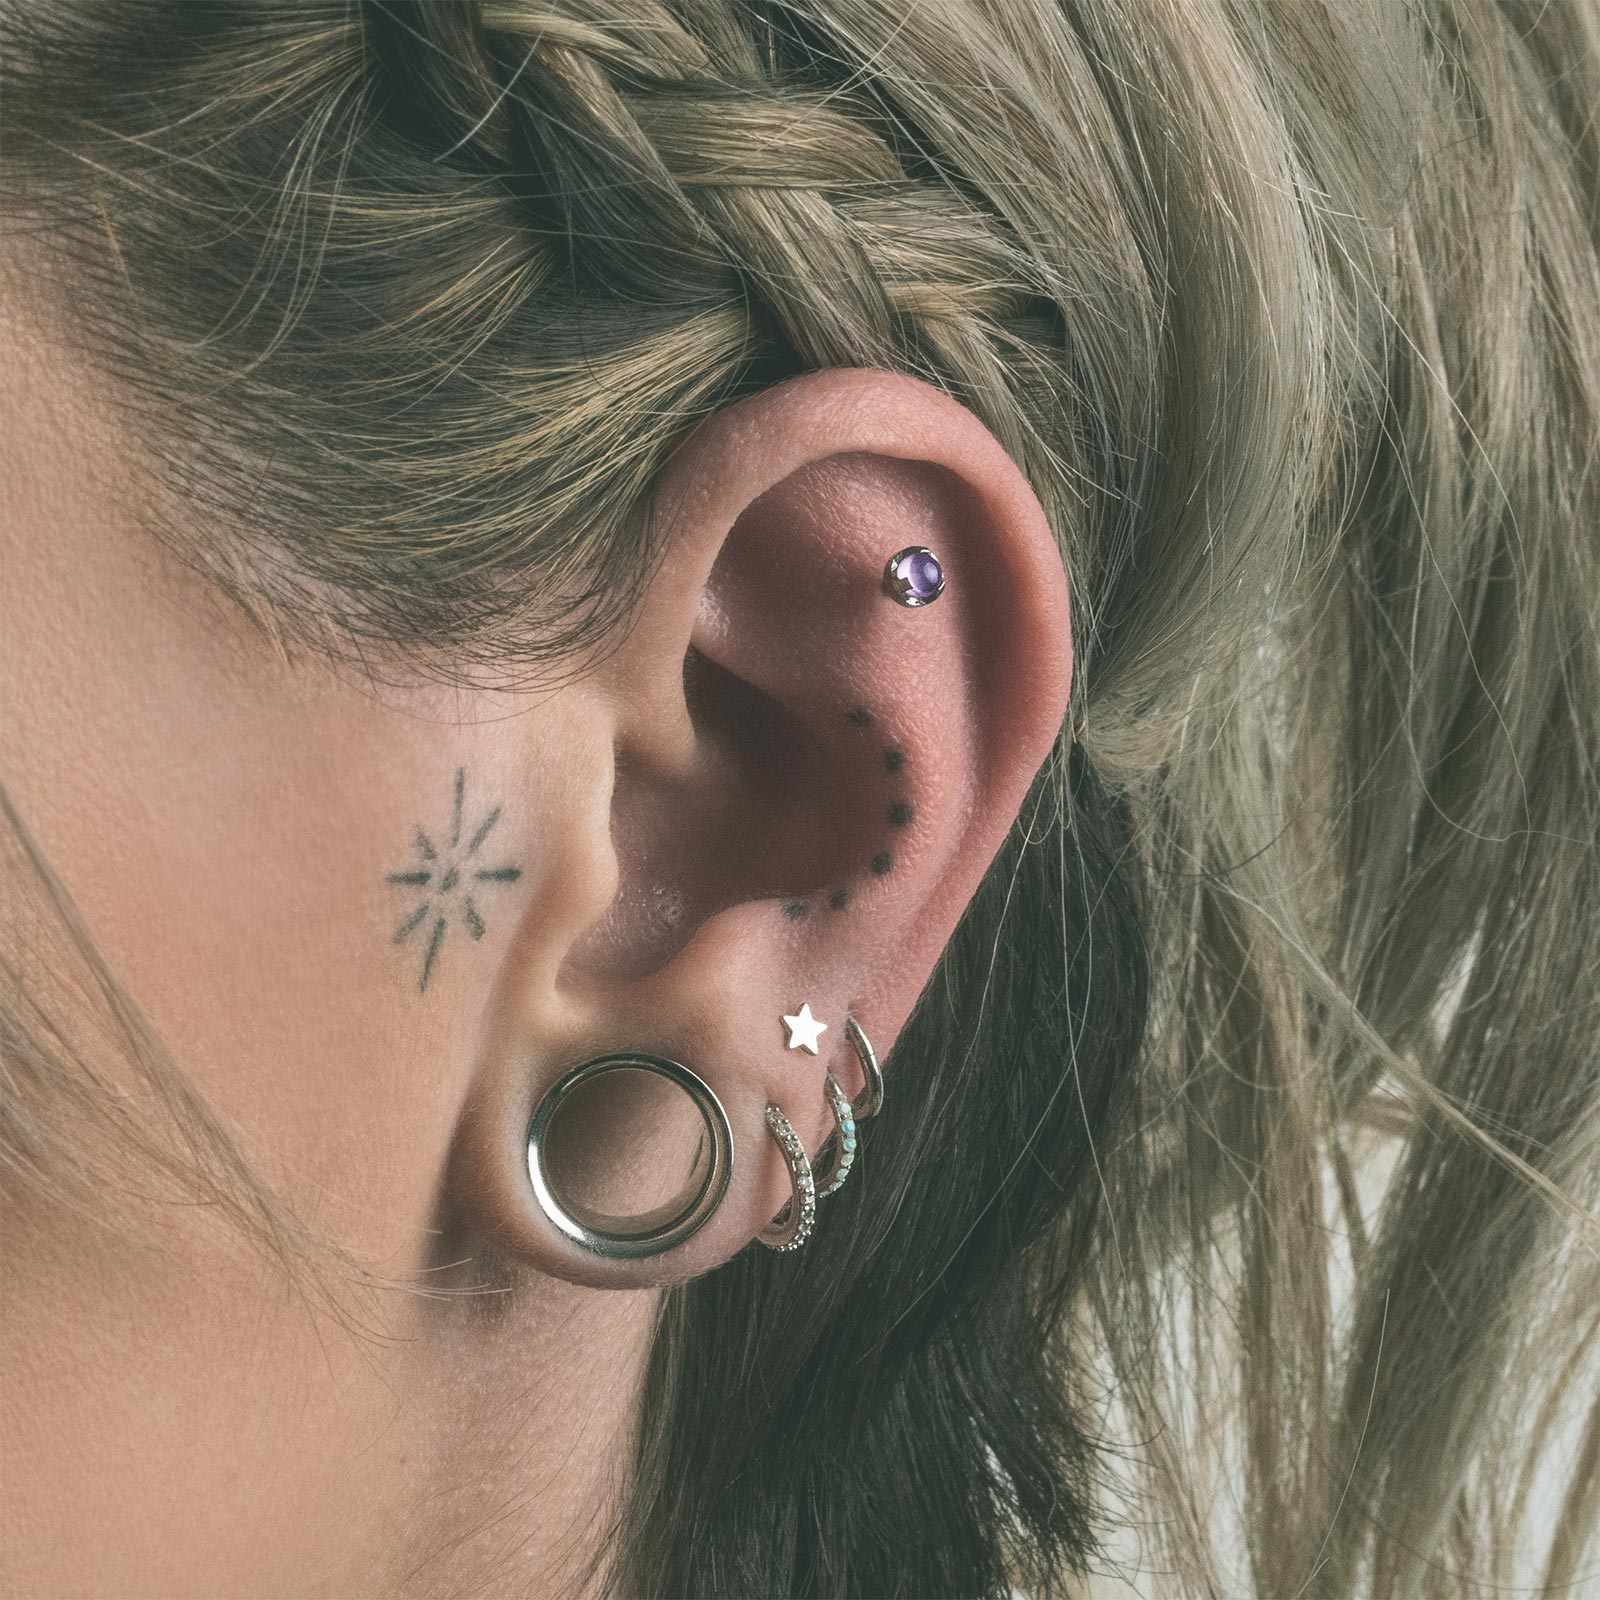
Gold PVD Titanium Ring Stacks Gold PVD Titanium Ring Stacks Model Shot
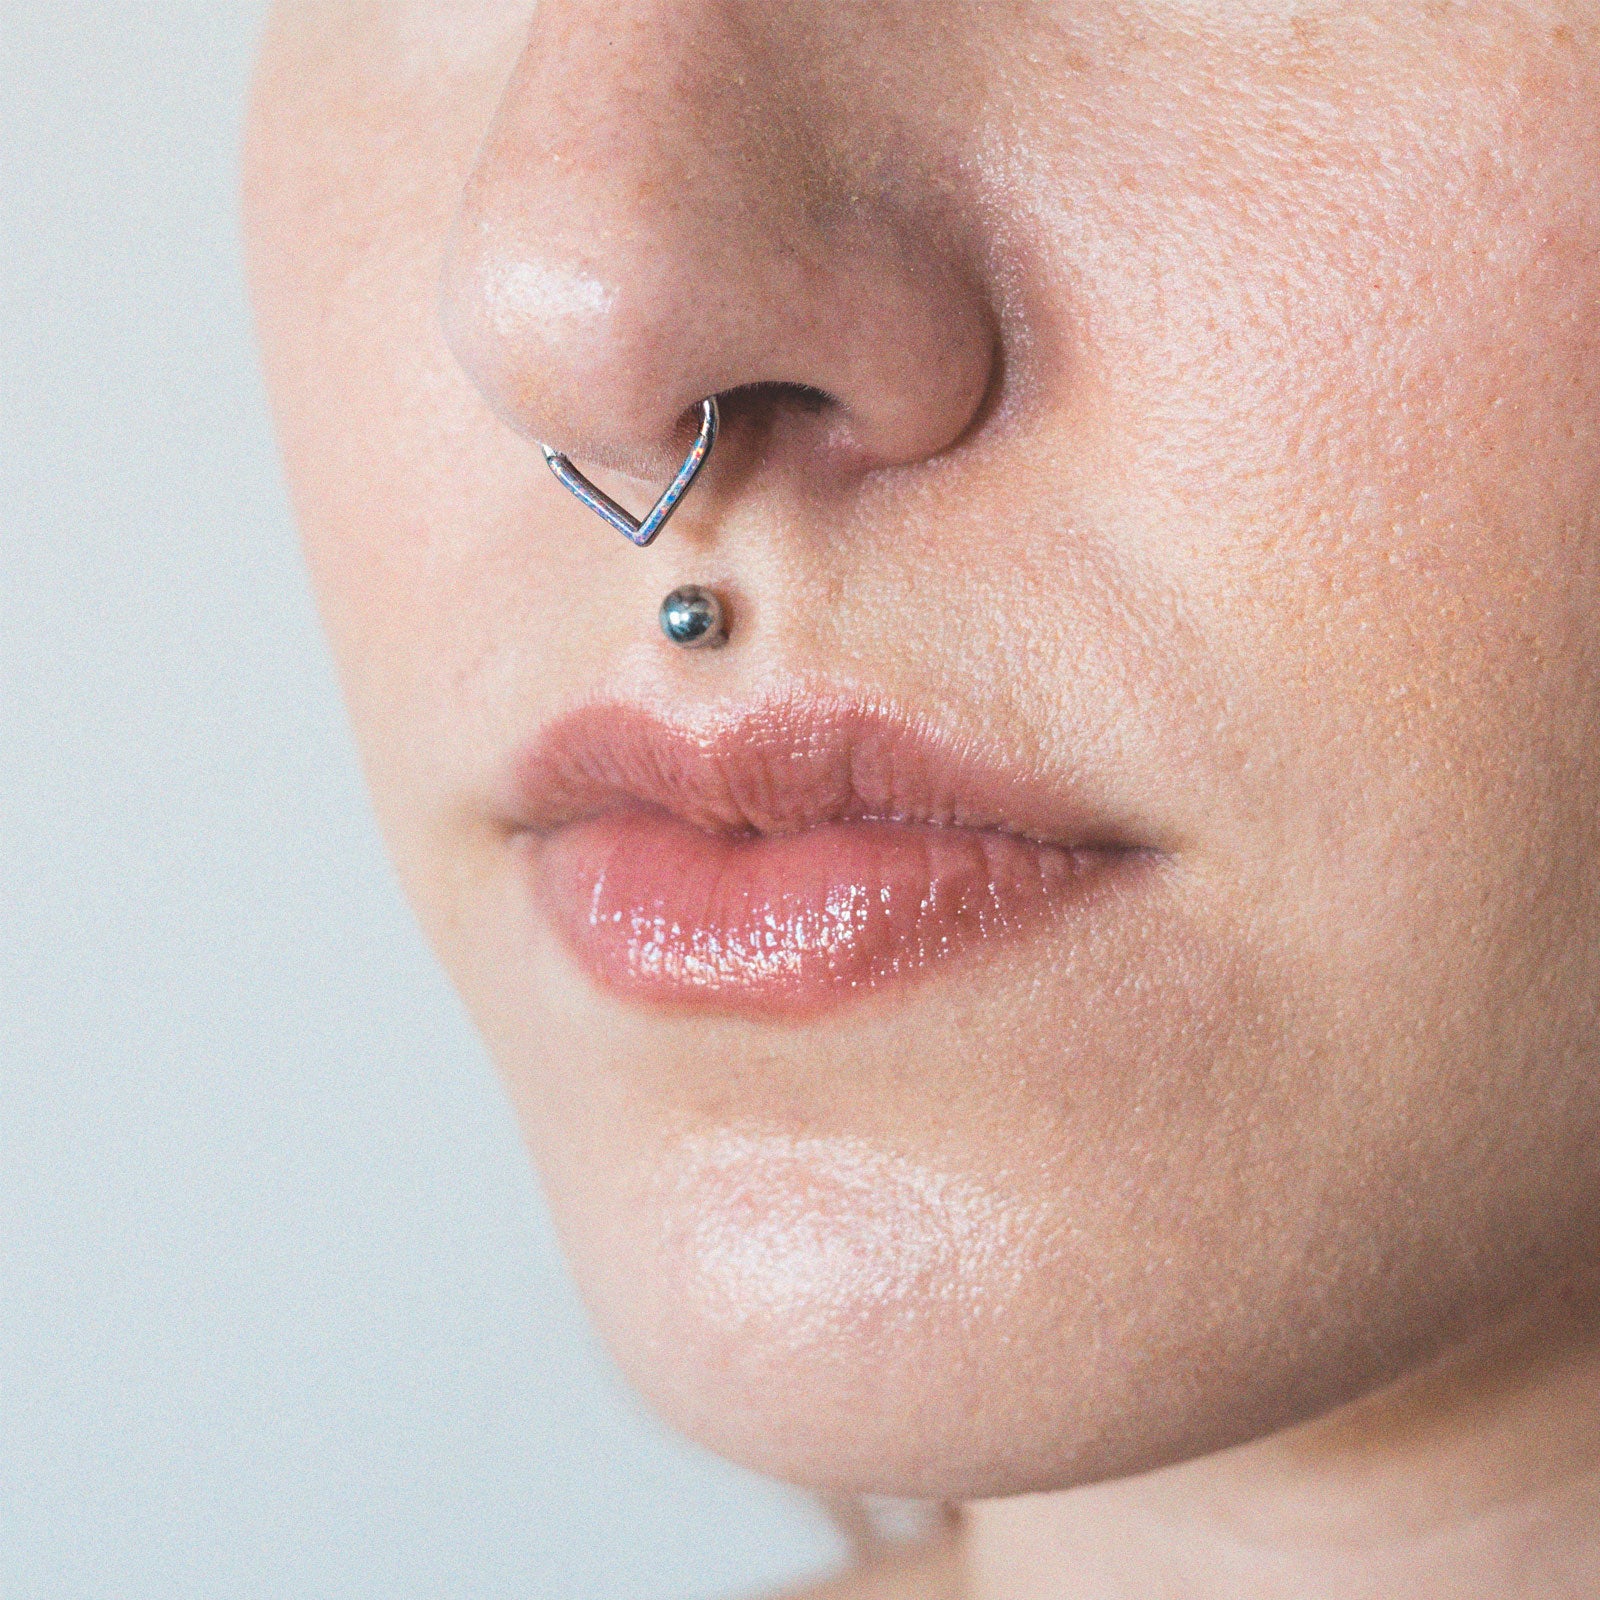
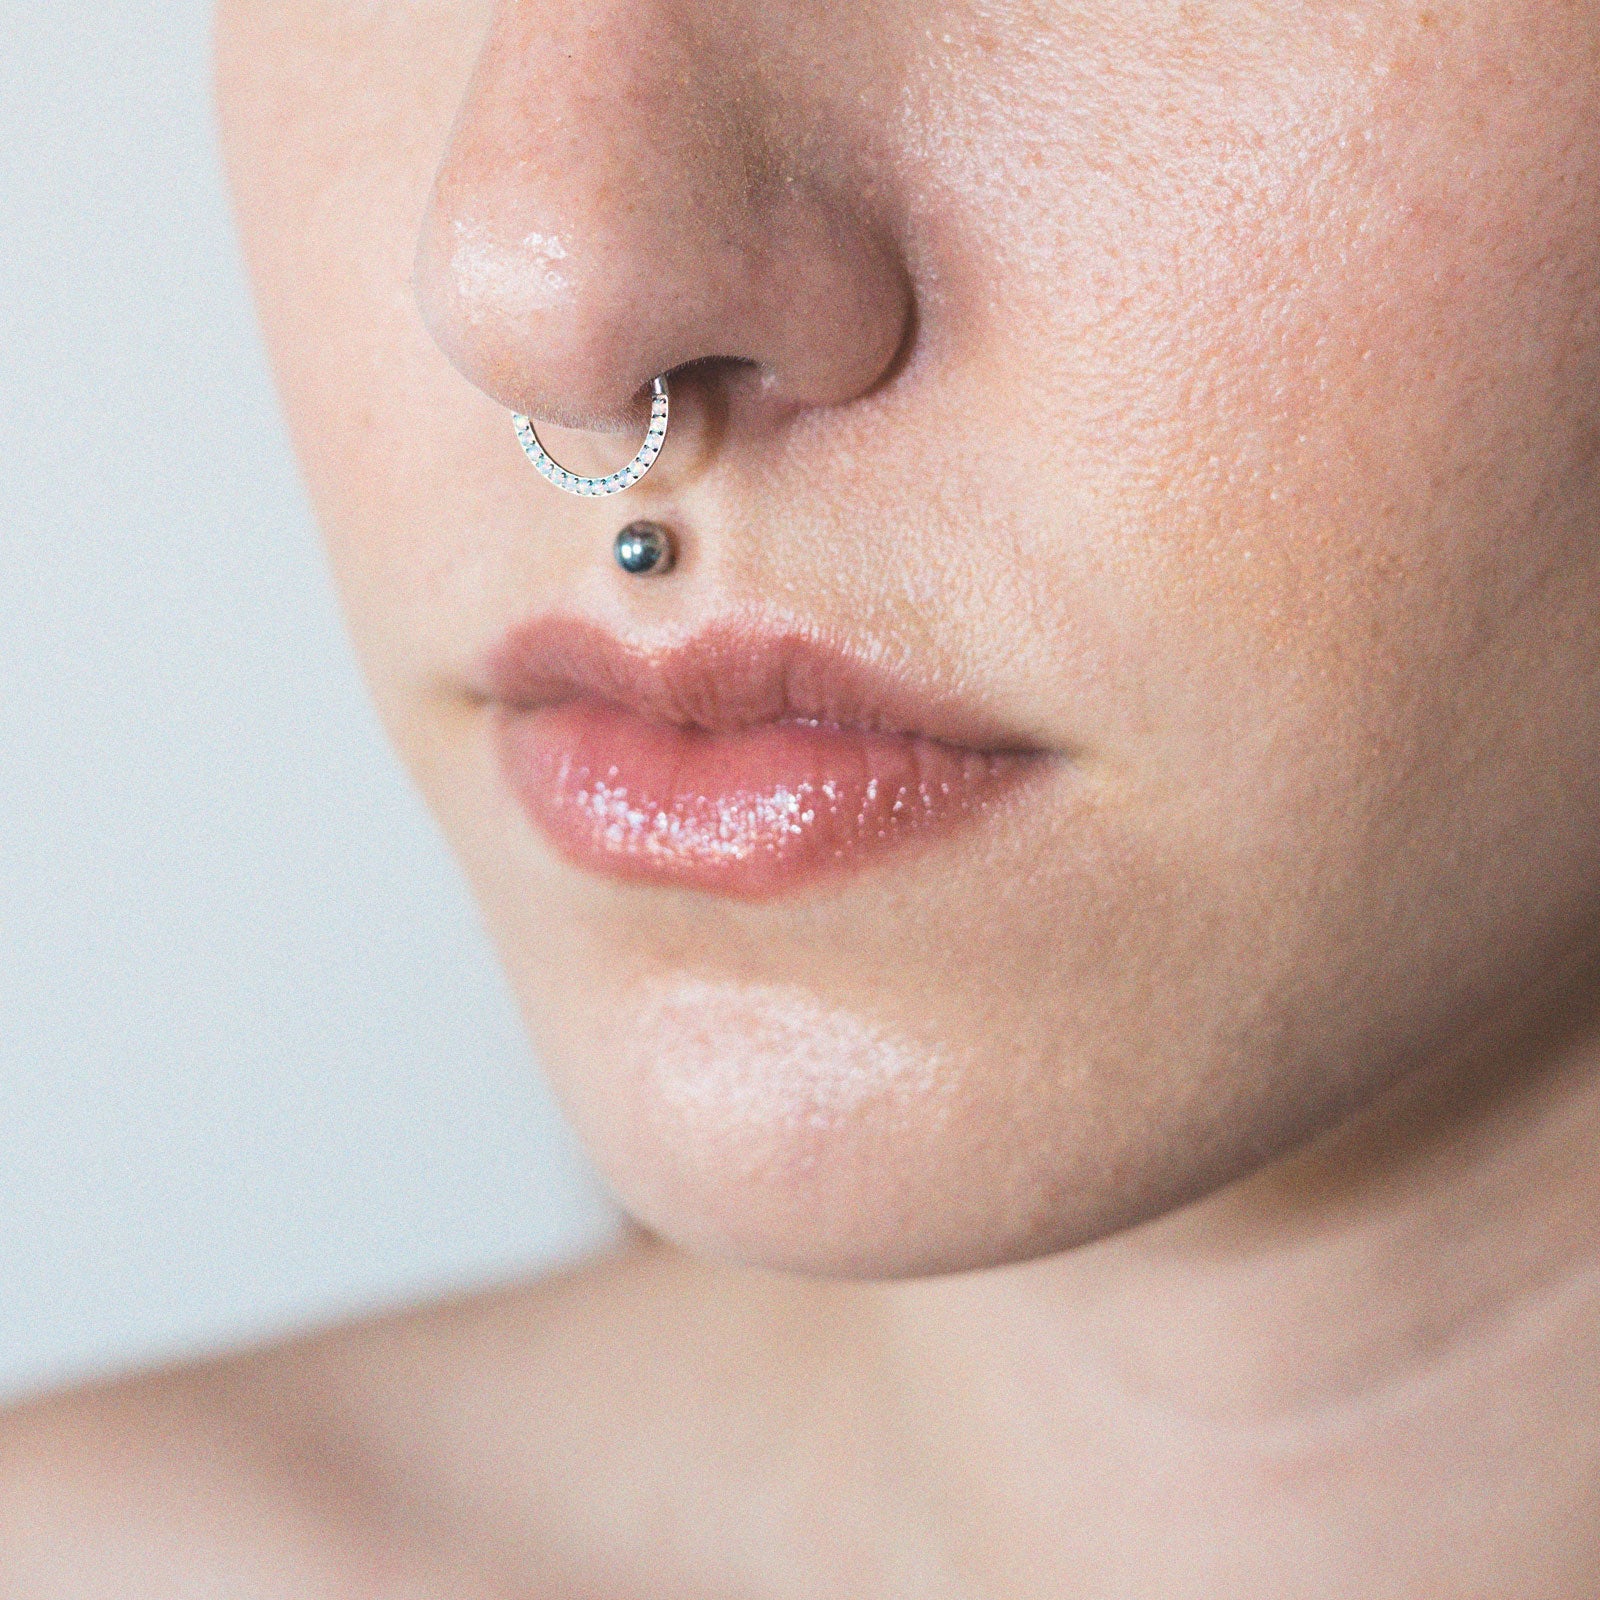
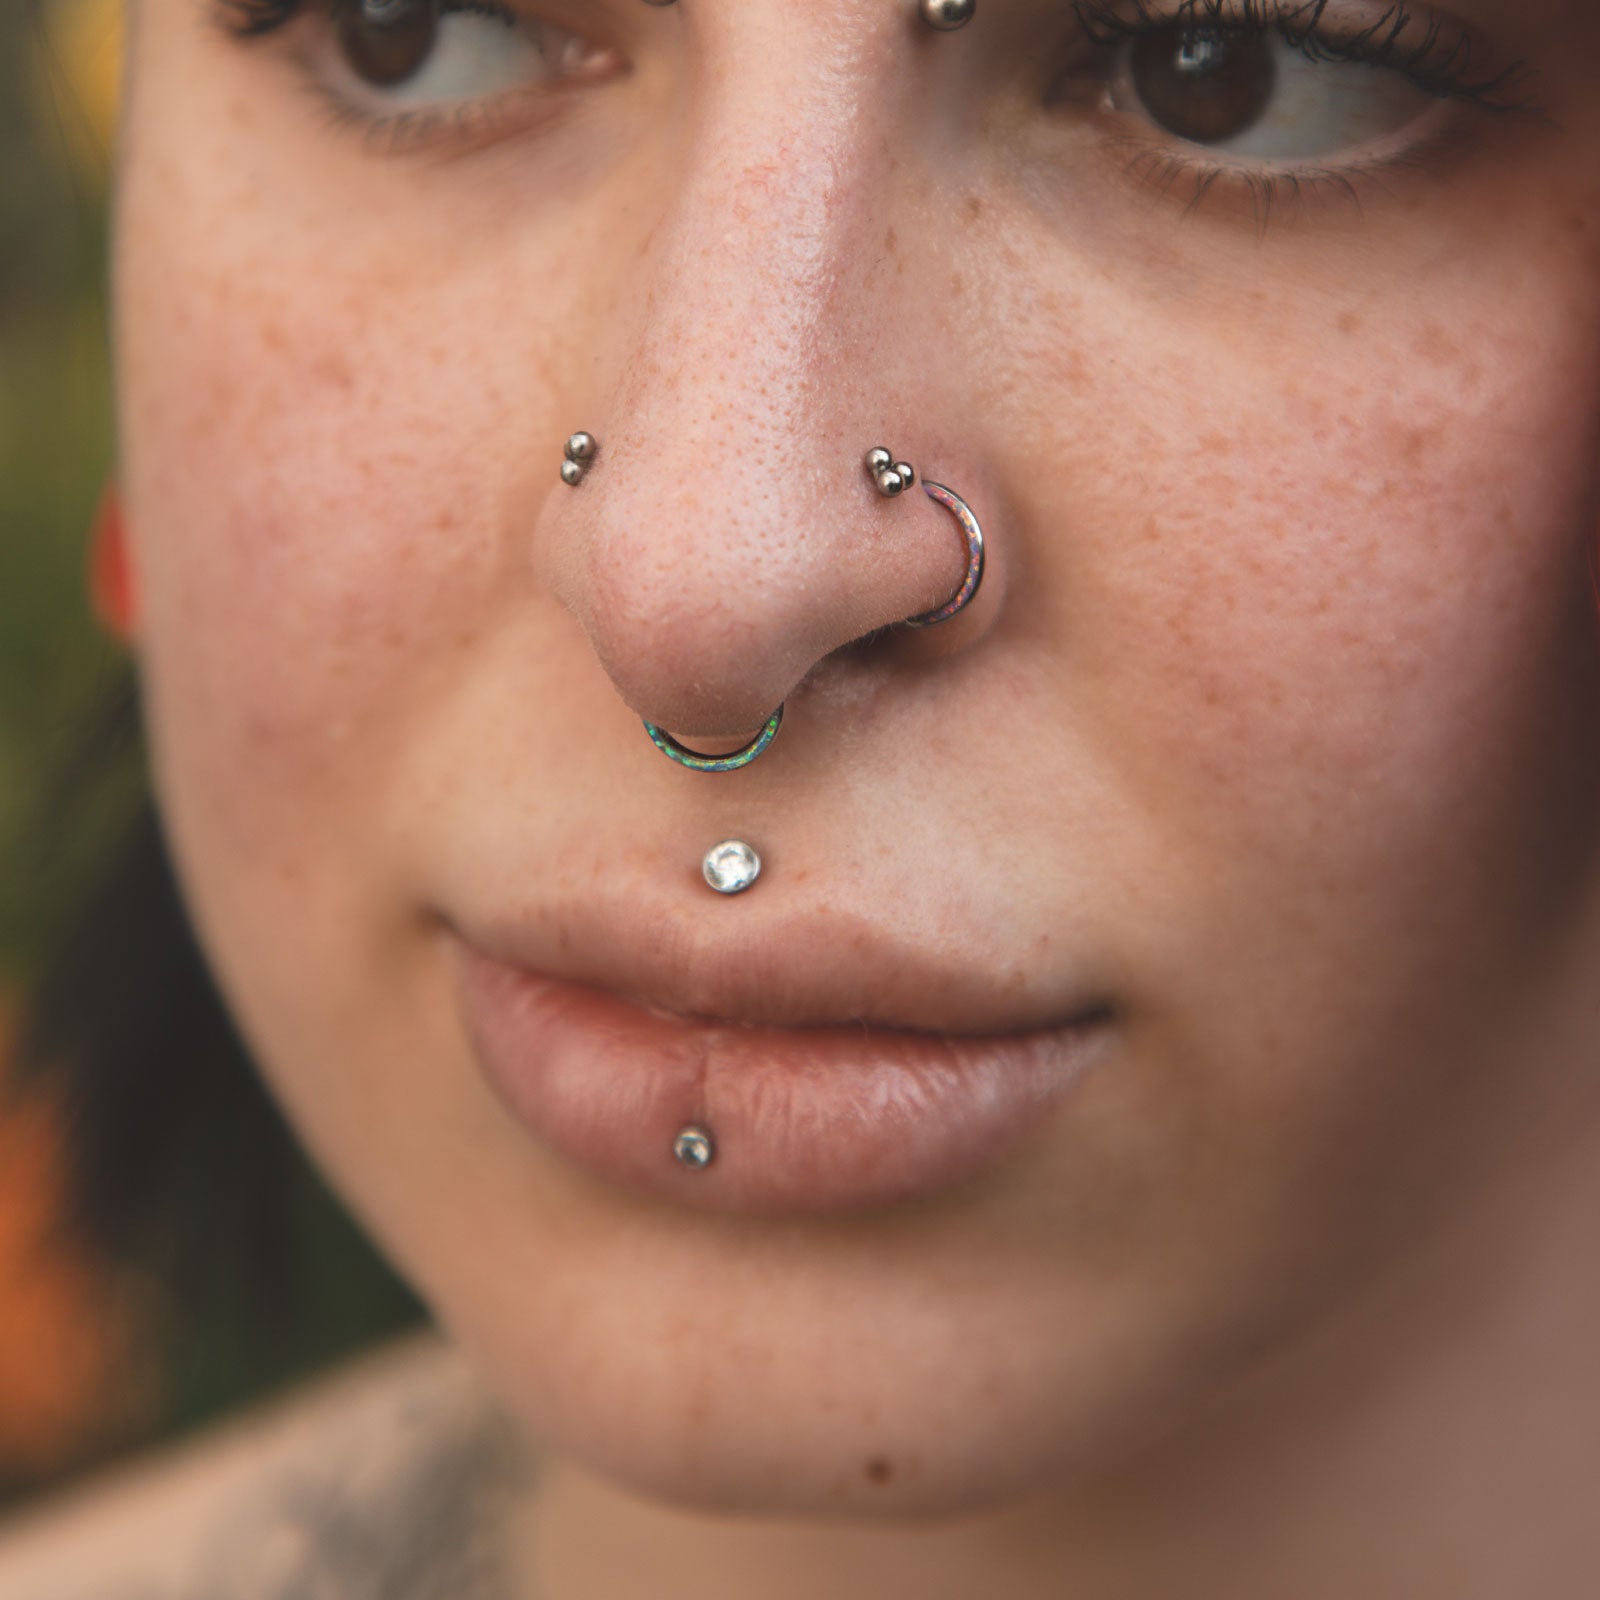
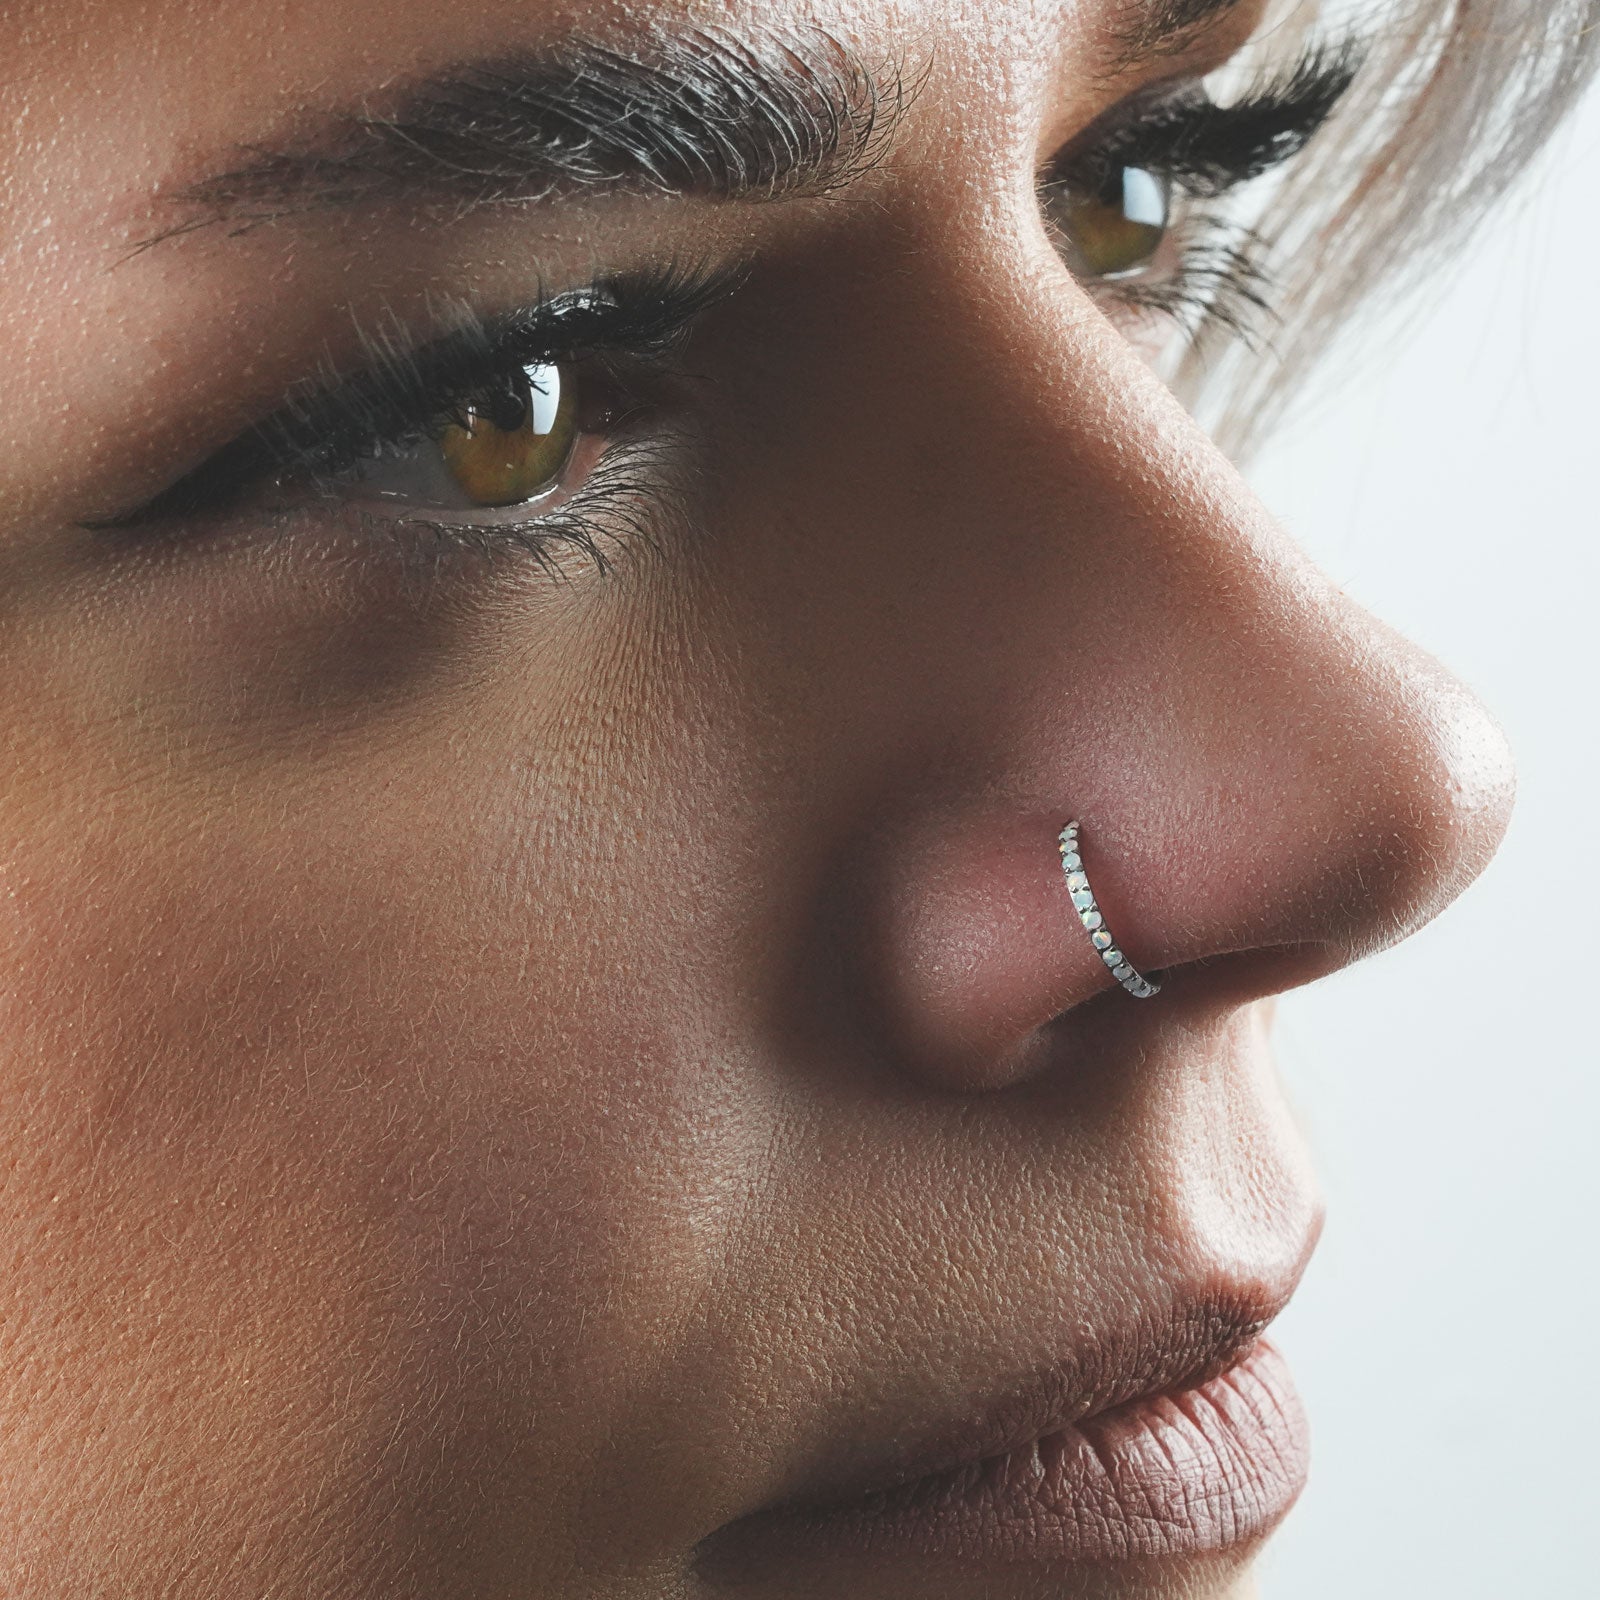
Inlaid Fire & Snow Synth Opal Titanium Hinged Segment Ring Inlaid Fire & Snow Synth Opal Titanium Hinged Segment Ring Model Shot
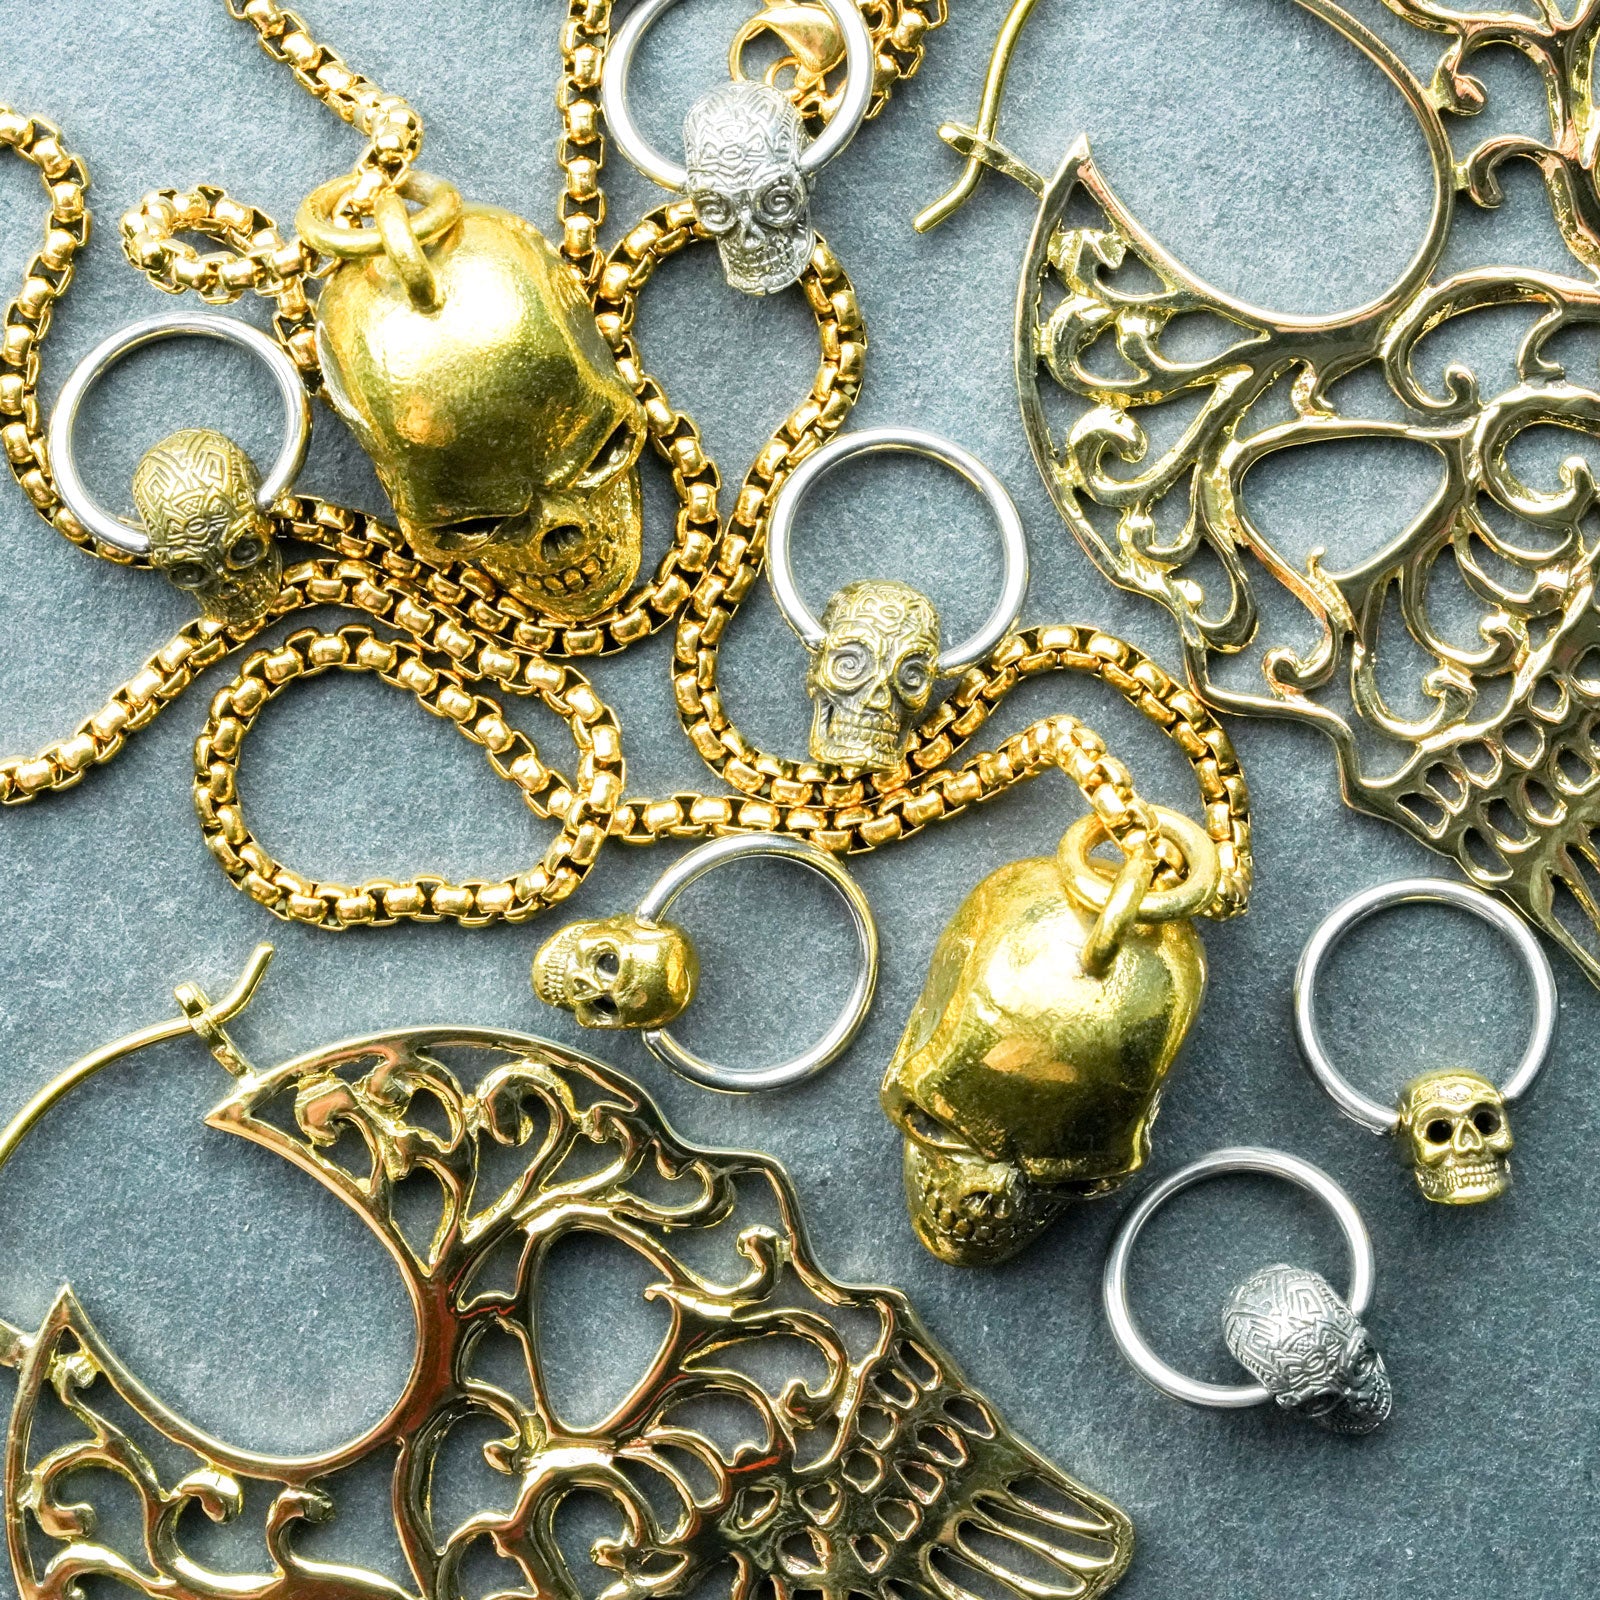
Skull Brass & Surgical Steel BCR Ball Closure Ring Skull Collection Group Shot
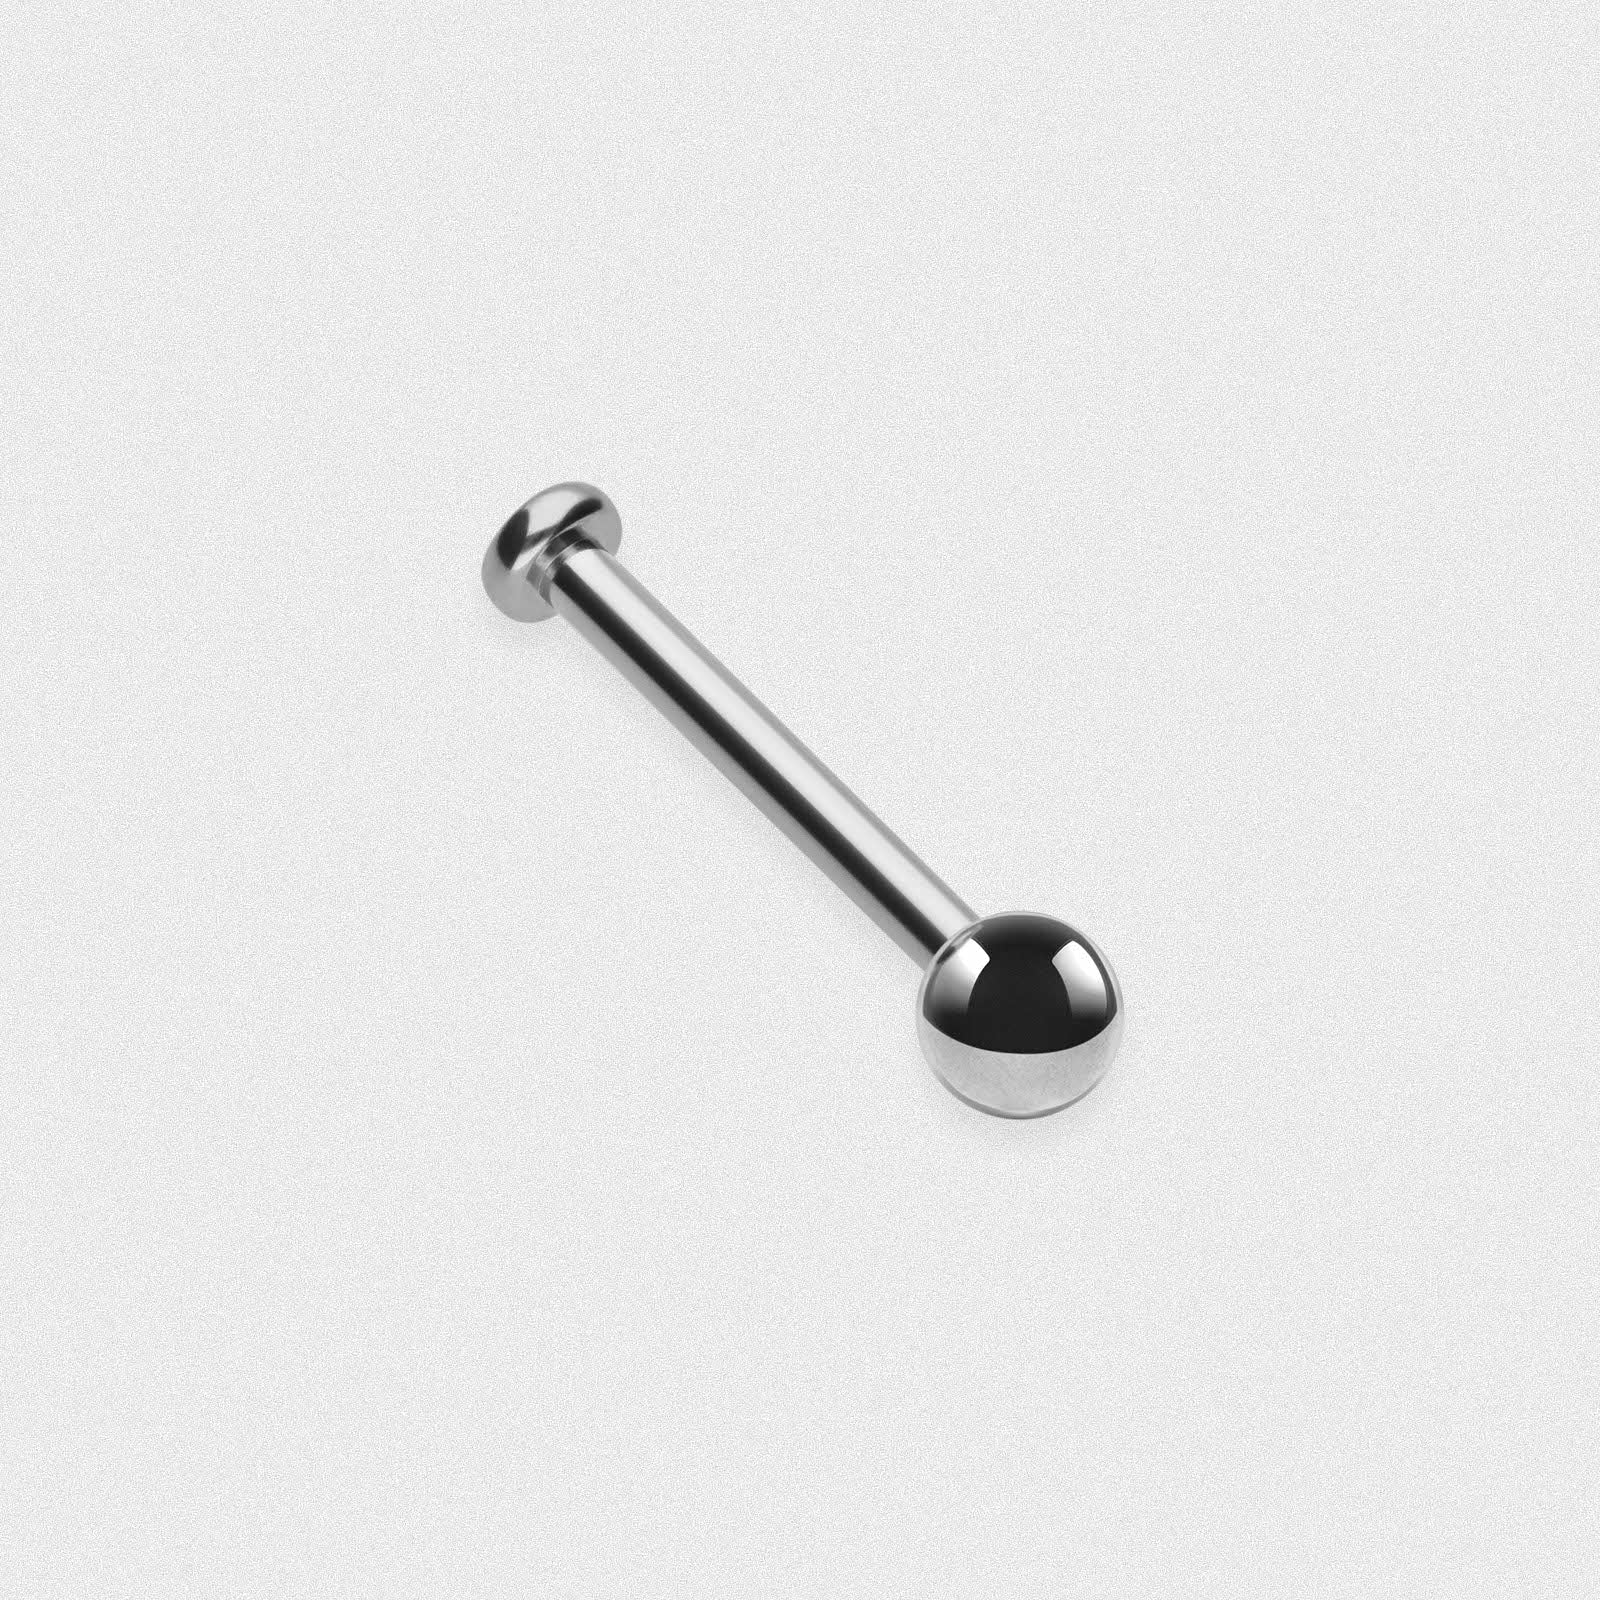
Titanium Threaded Labret Bar With Ball Stretch It Body Jewellery Pouch
Hanging Snake White Brass & Surgical Steel BCR Ball Closure Ring Hanging Snake White Brass & Surgical Steel BCR Ball Closure Ring Model Shot
Twisted Titanium Hinged Septum Clicker Twisted Titanium Hinged Septum Clicker Model Shot
Bejewelled Stud Titanium Threaded Top Stretch It Body Jewellery Pouch
Four Prong Bejewelled Titanium Threadless Top Four Prong Bejewelled Titanium Threadless Top
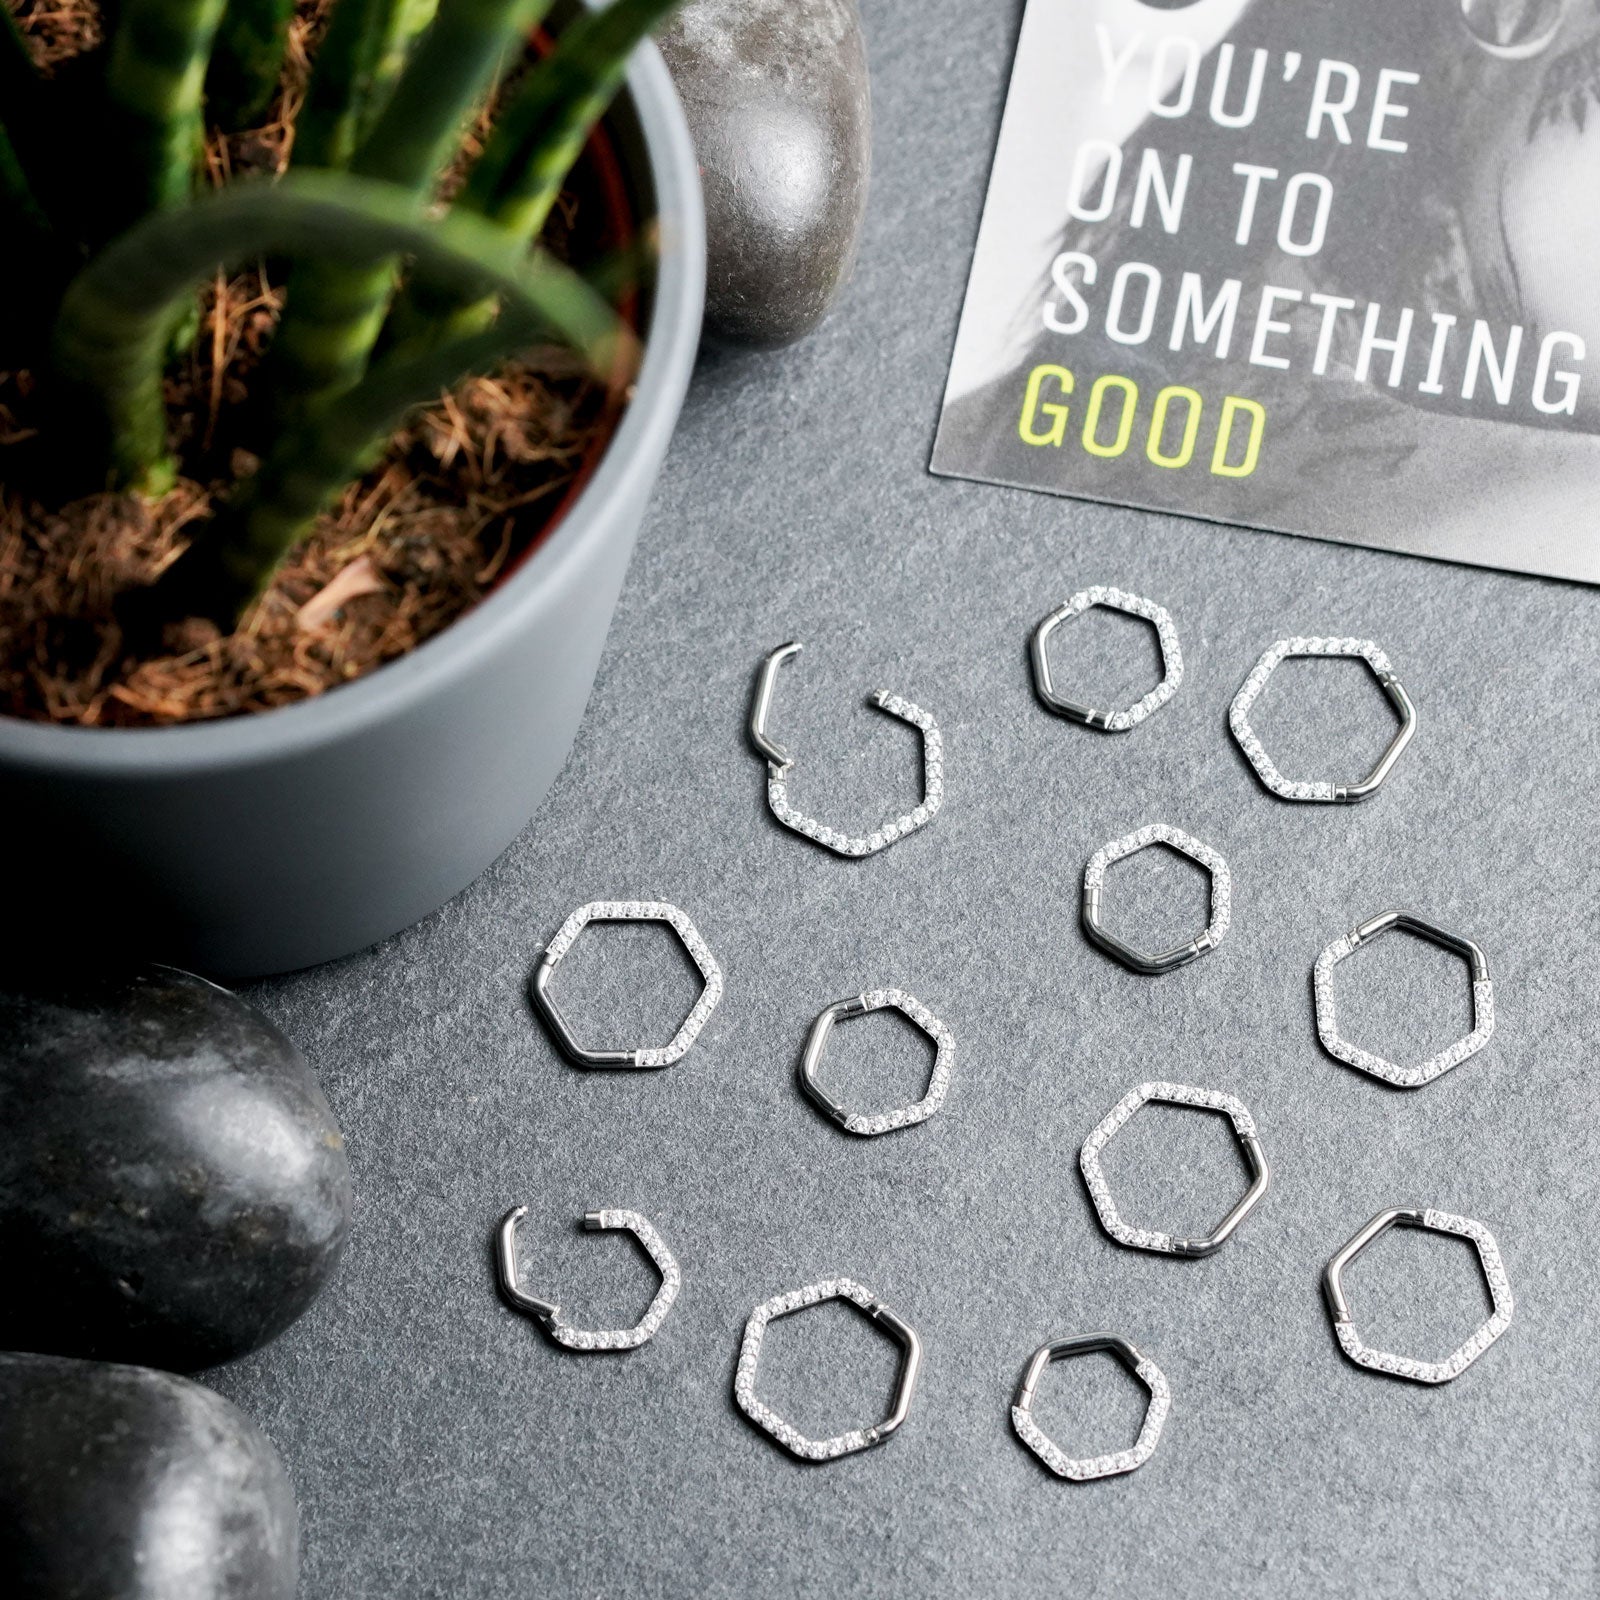
Hexagon Bejewelled Titanium Septum Clicker Hexagon Bejewelled Titanium Septum Clicker Group Shot
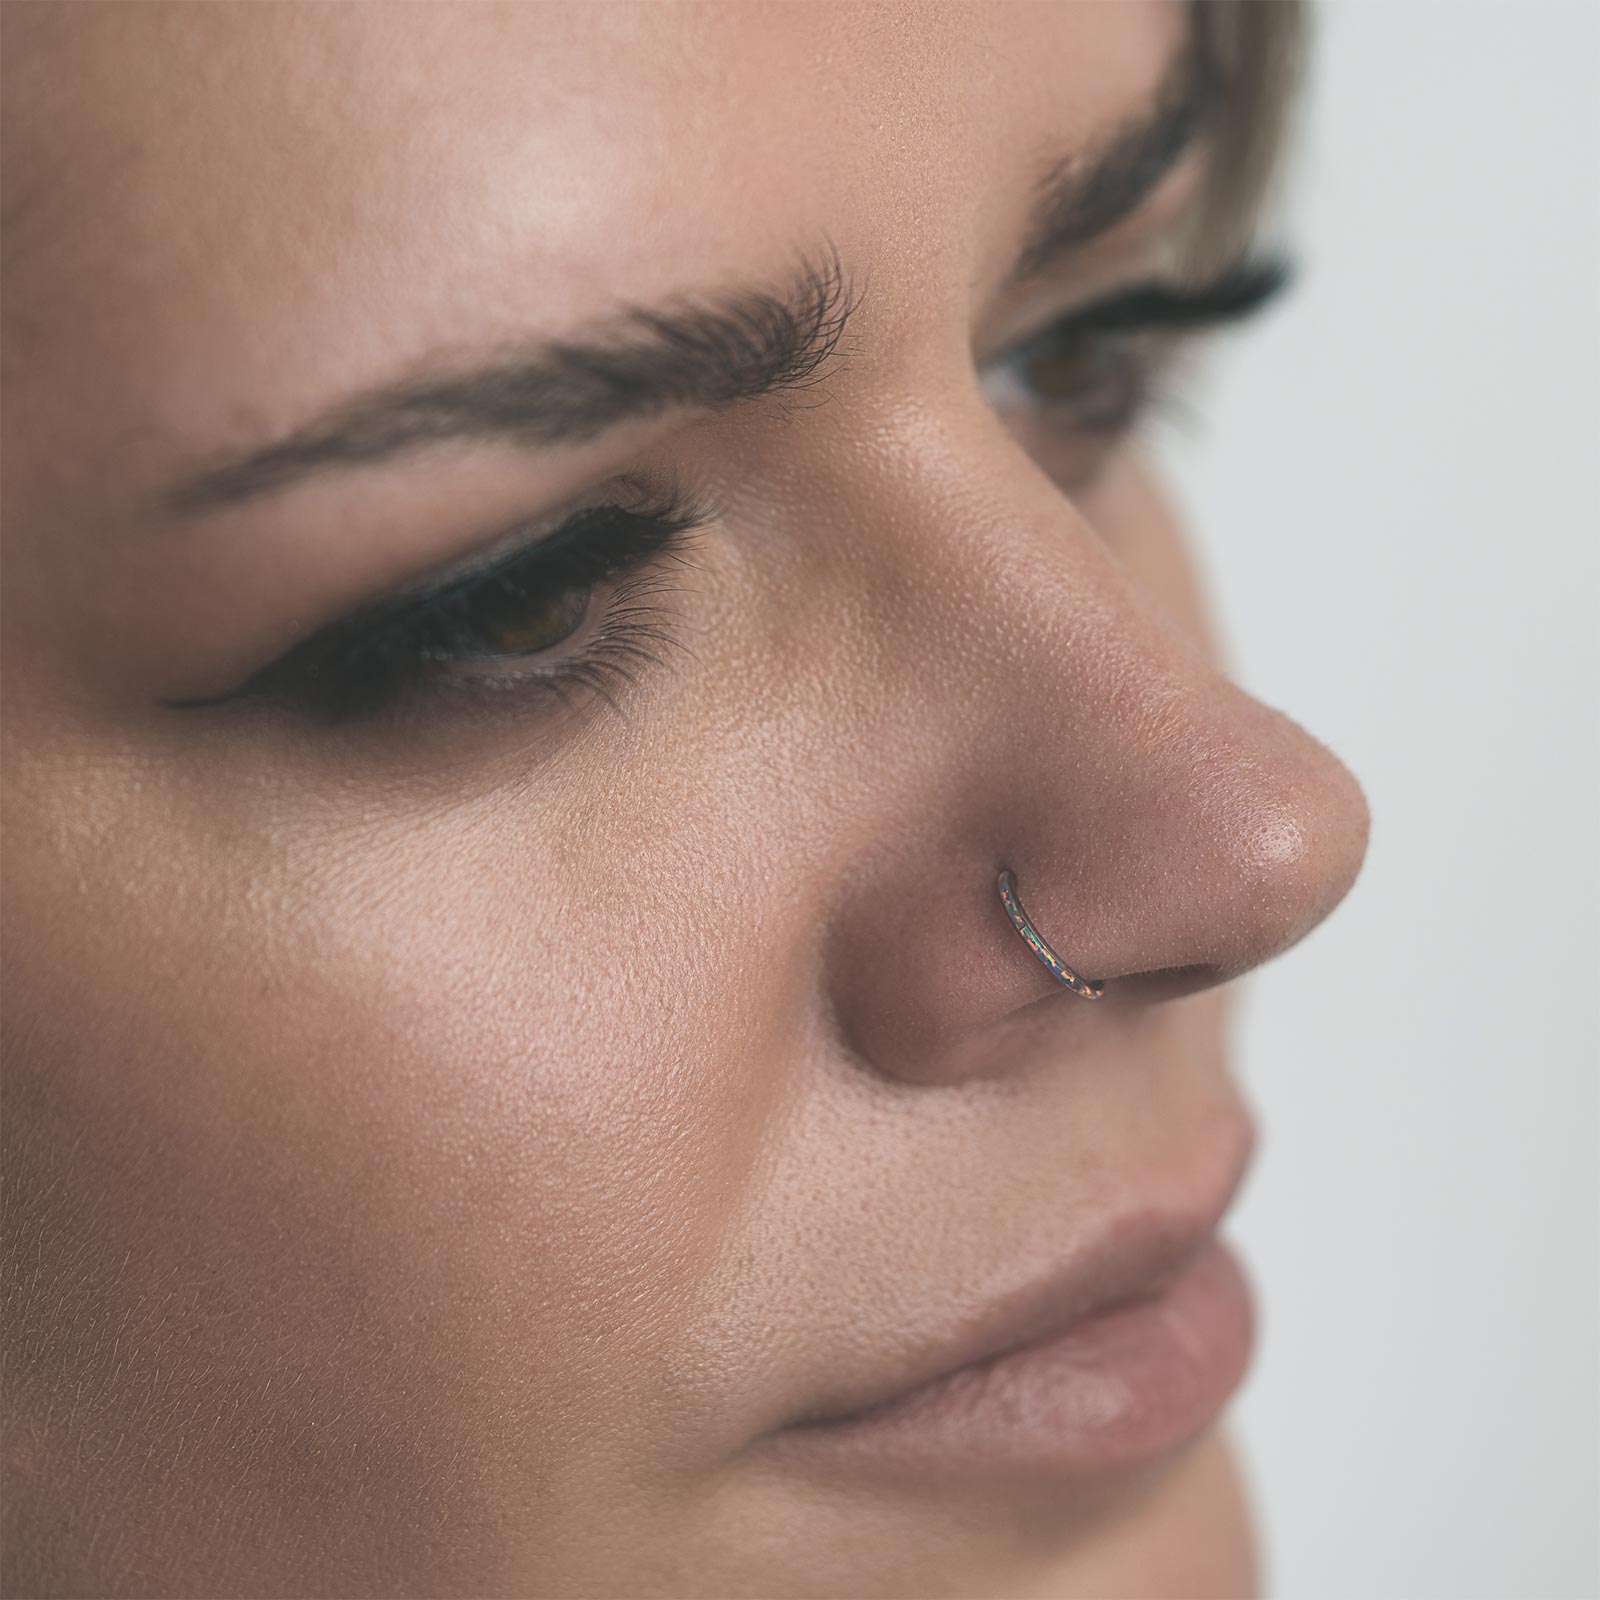
Teardrop Inlaid Flash Lavender Synth Opal Titanium Septum Clicker Teardrop Inlaid Flash Lavender Synth Opal Titanium Septum Clicker Model Shot
Bezel Set Teal Stone Titanium Threaded Top Stretch It Body Jewellery Pouch
Ball Gold PVD Titanium Threaded Top Stretch It Body Jewellery Pouch
Brass Crescent Seamless Septum Ring Brass Crescent Seamless Septum Ring Model Shot
Multi Fire & Snow Synth Opal Titanium Hinged Segment Ring Multi Fire & Snow Synth Opal Titanium Hinged Segment Ring Model Shot
Sold out
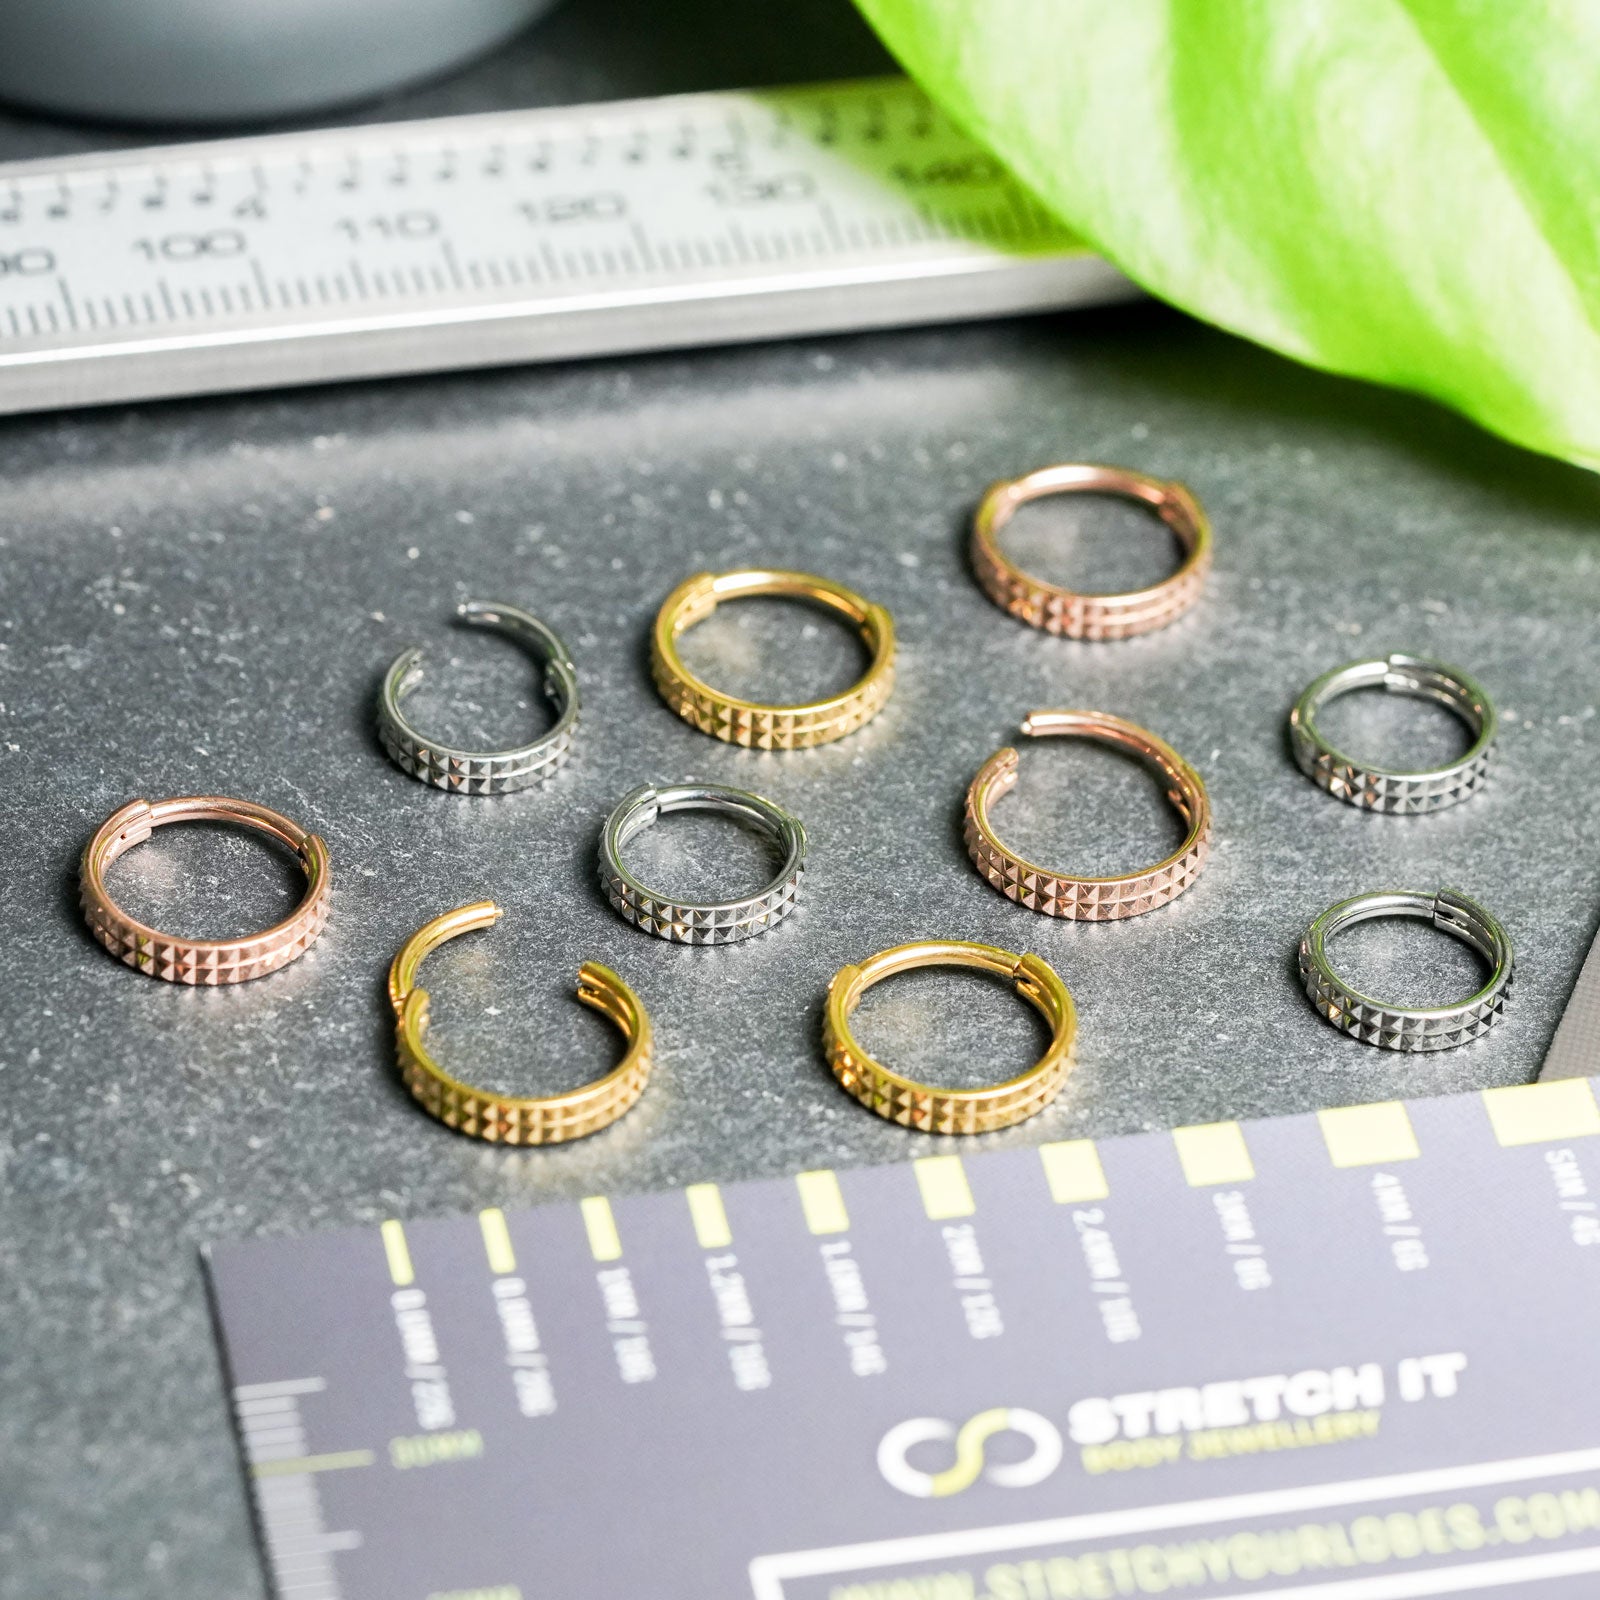
Double Pyramid Titanium Hinged Segment Ring Double Pyramid Hinged Segment Ring Group Shot
Wing Dot White Gold Plated Brass & Titanium Septum Clicker Wing Dot White Gold Plated Brass & Titanium Septum Clicker Model Shot
Quilted Gold PVD Titanium Hinged Segment Ring Quilted Gold PVD Titanium Hinged Segment Ring Model Shot Two
Three Prong Black Onyx & Titanium Threadless Top Three Prong Black Onyx & Titanium Threadless Top
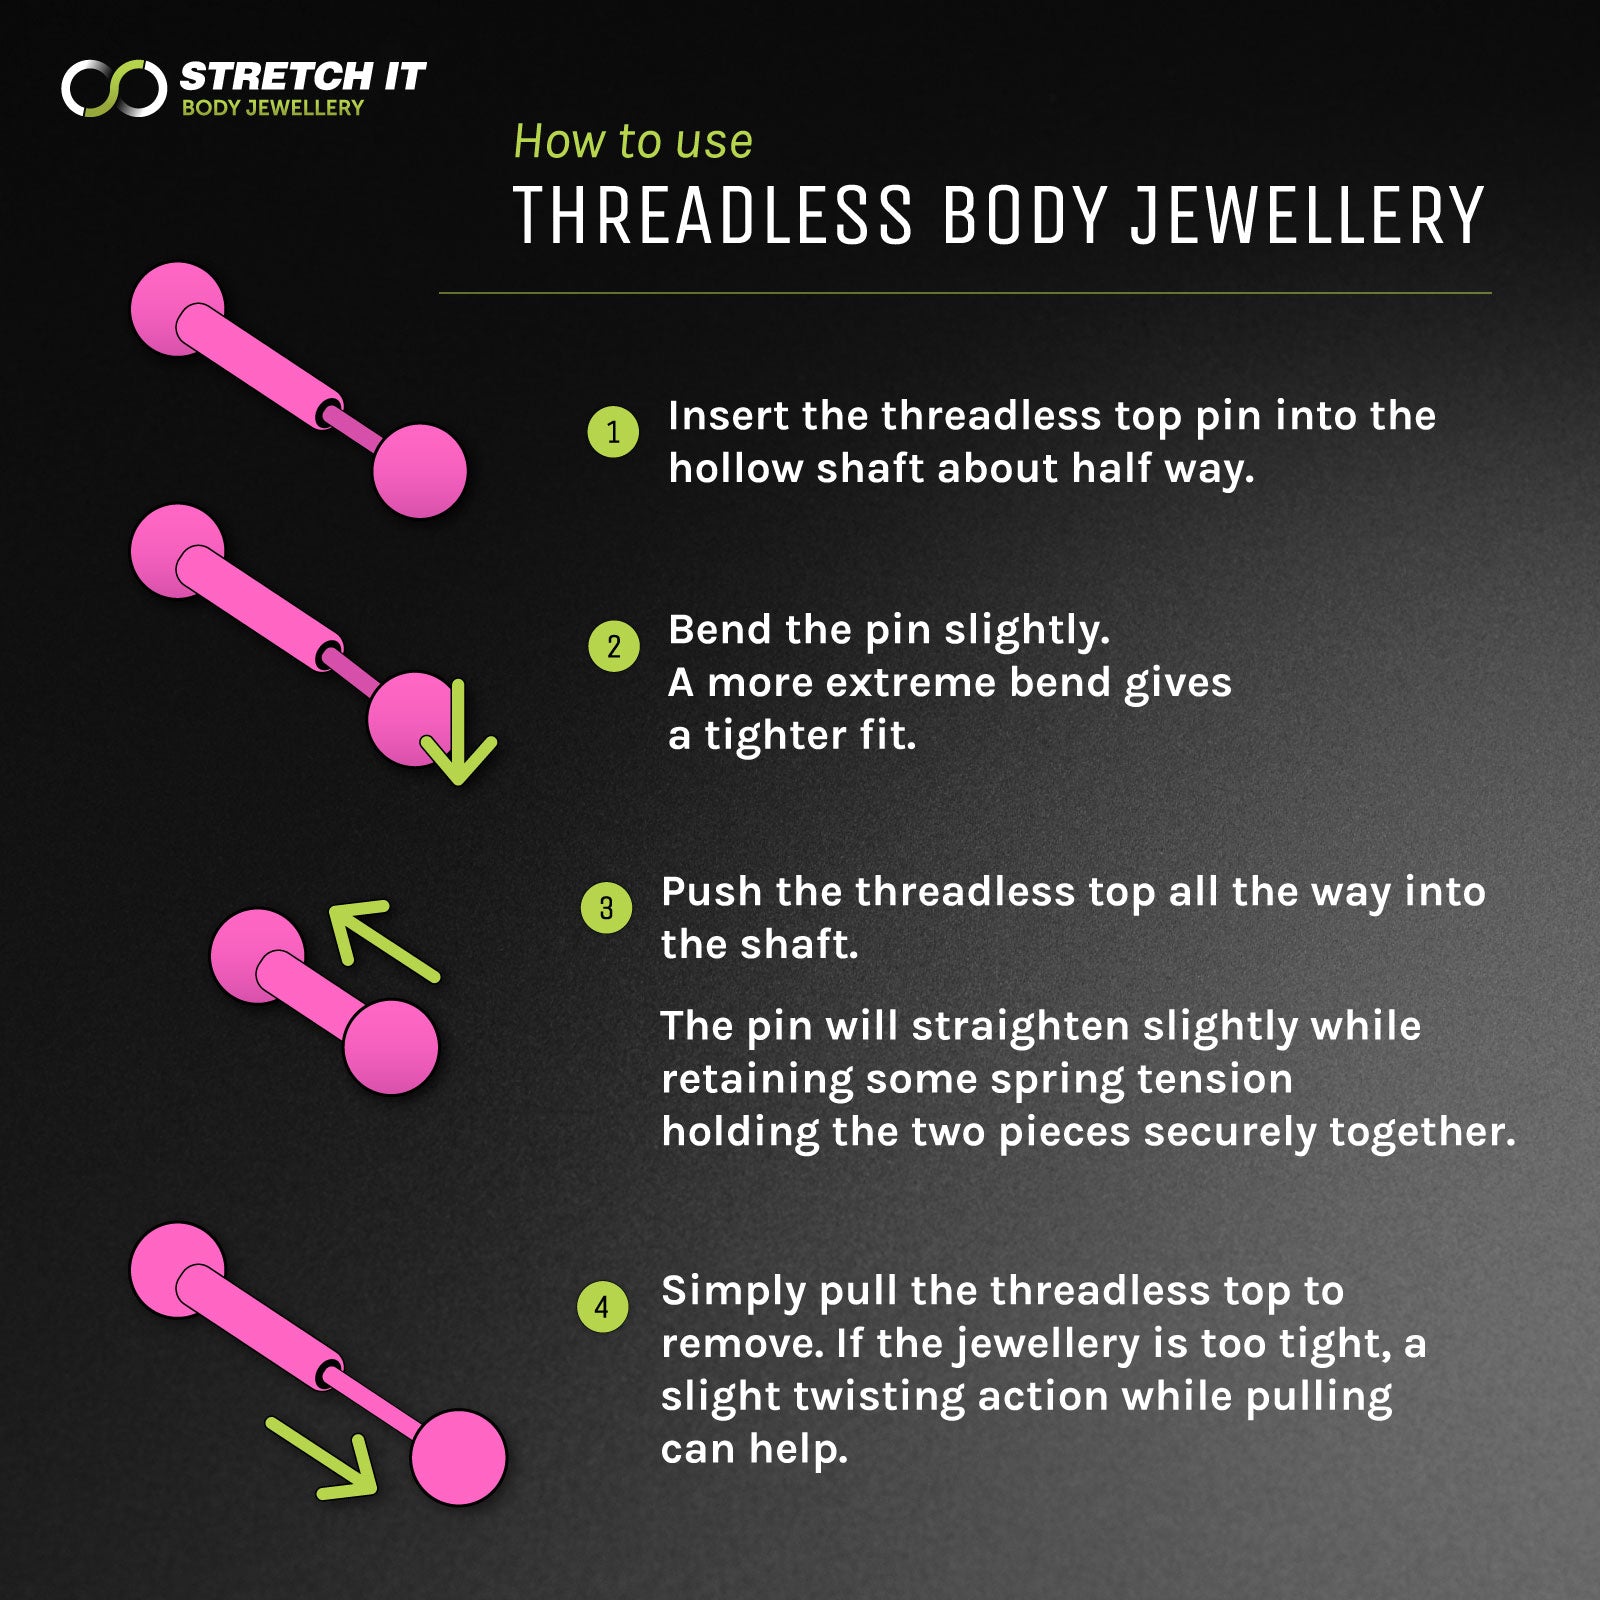
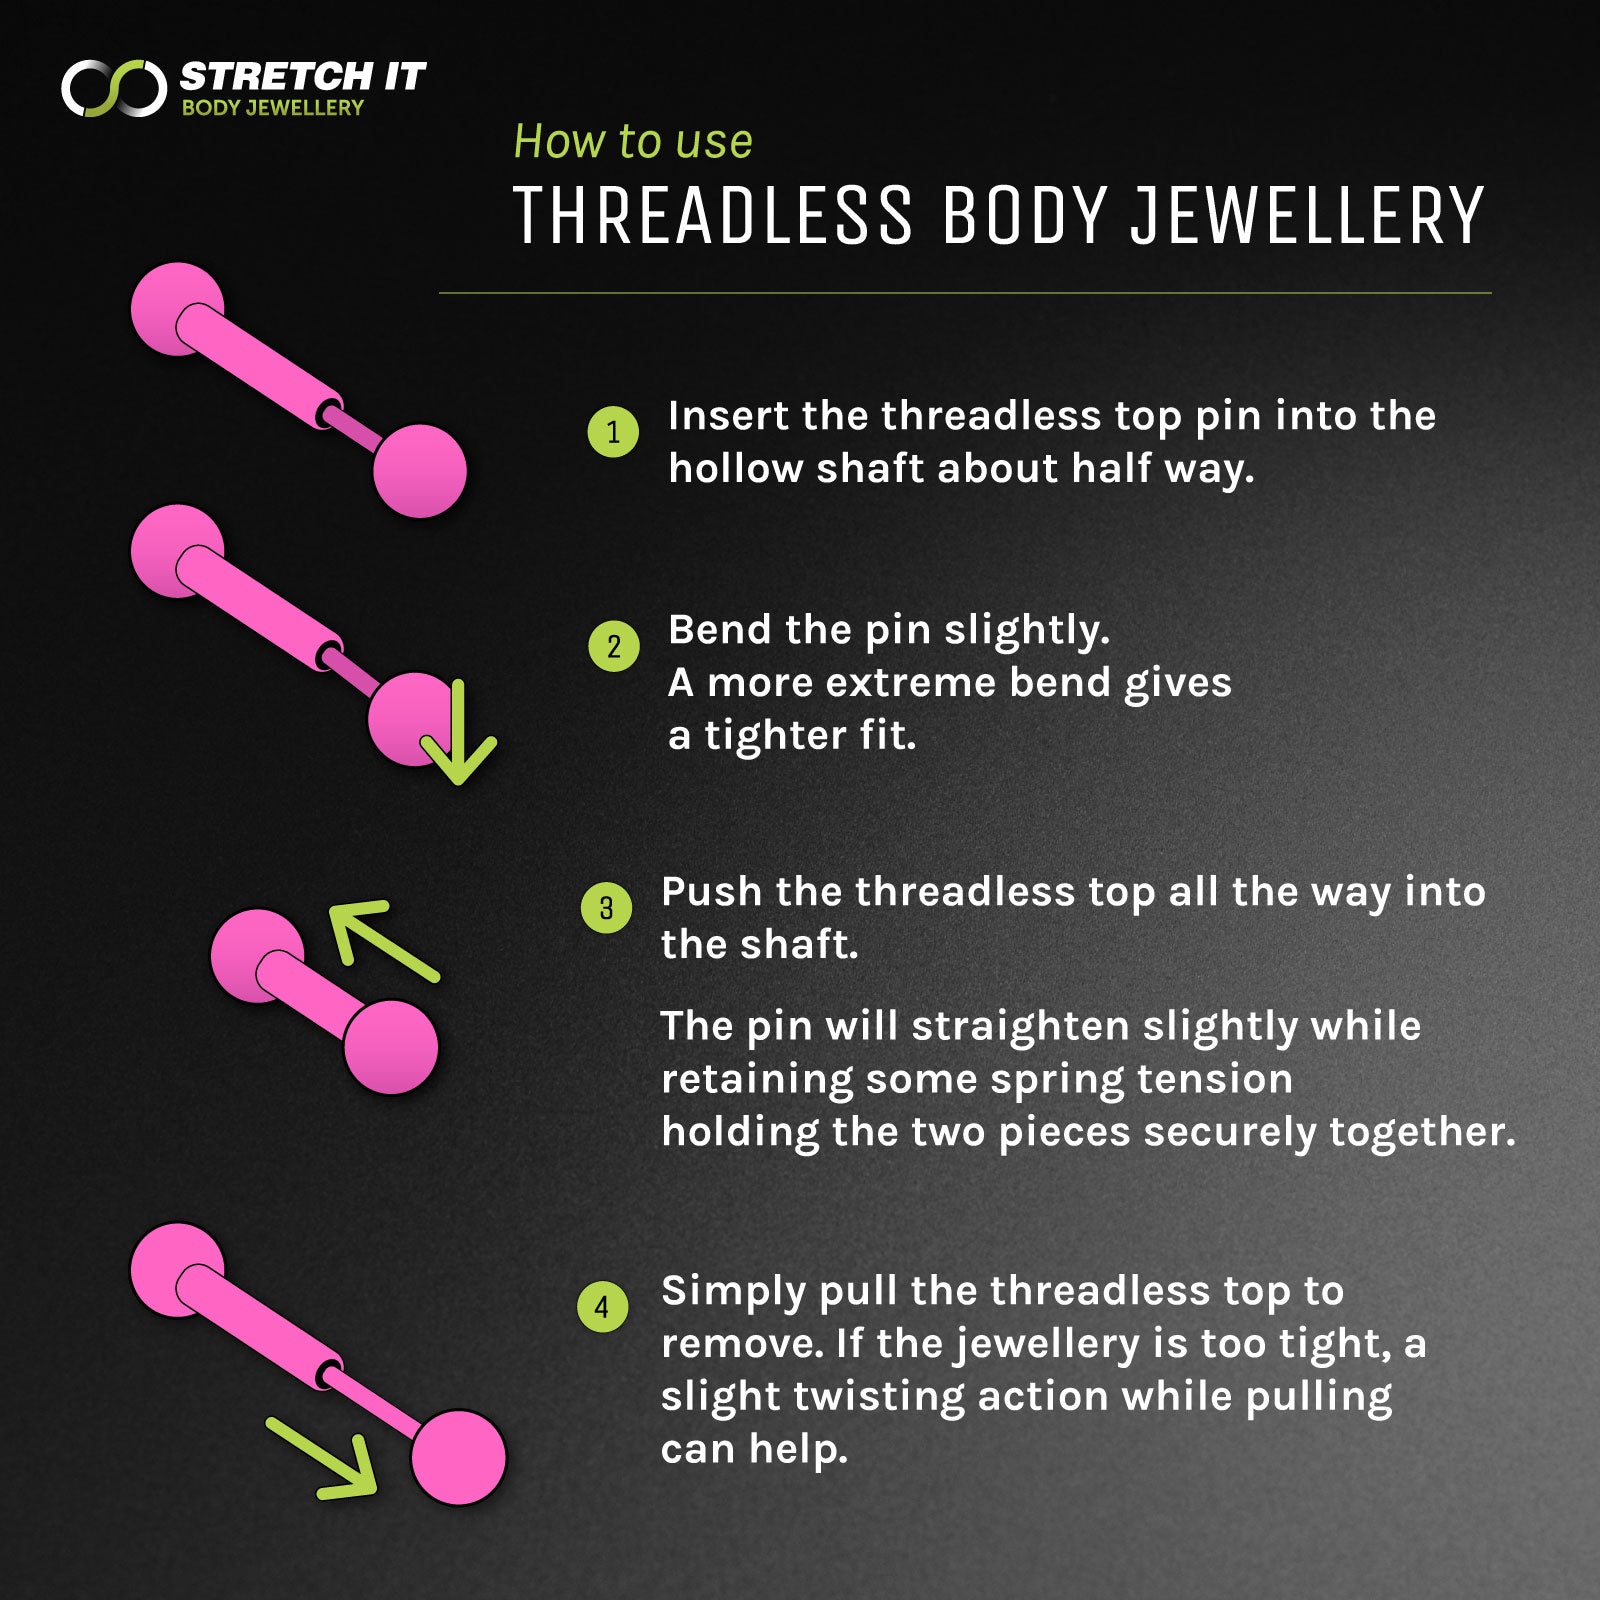
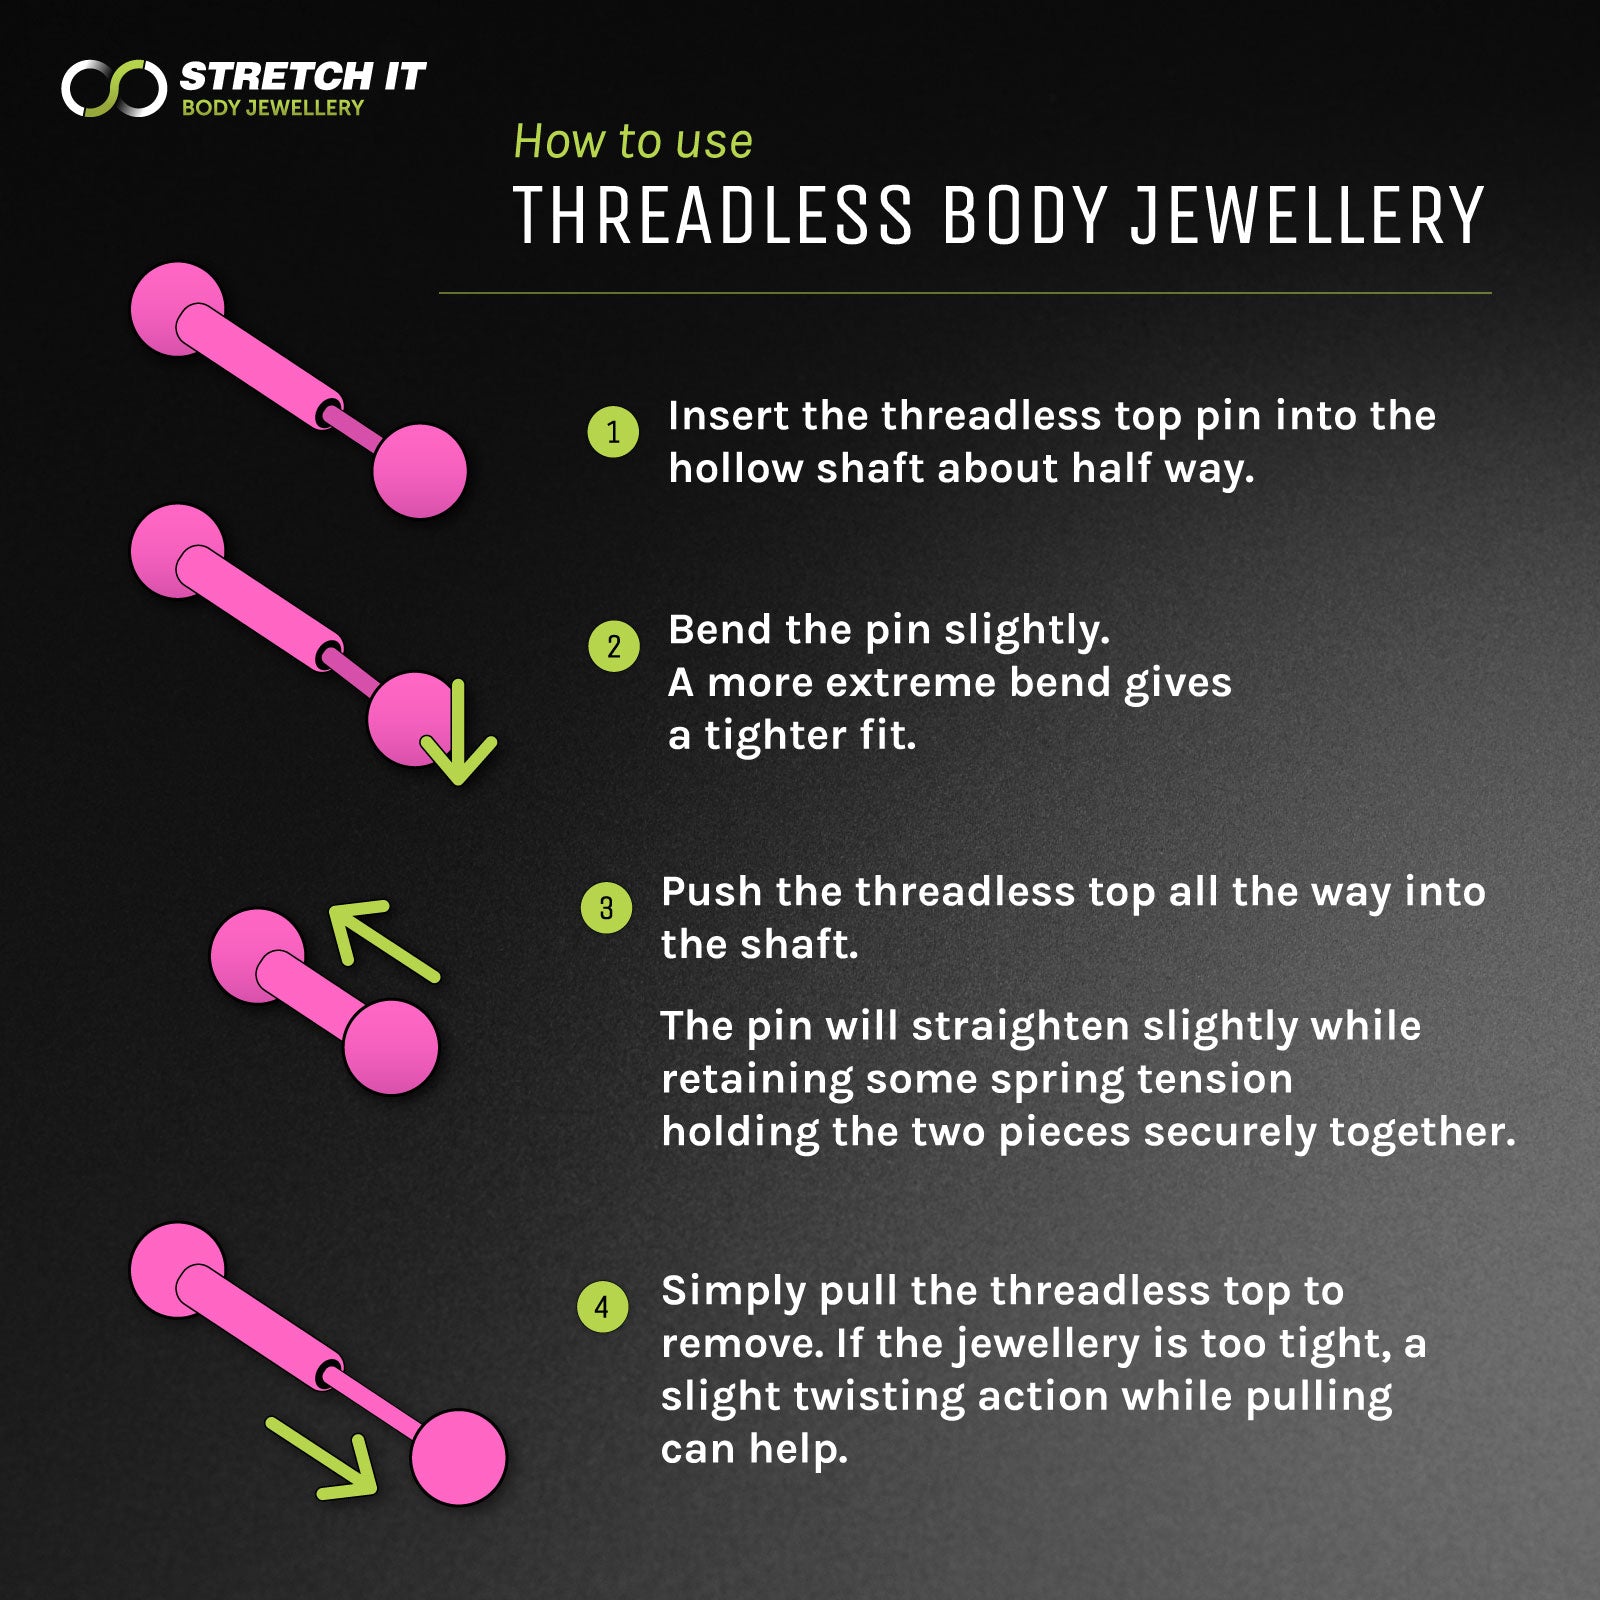
Gold PVD Titanium Ball Threadless Top How threadless body jewellery works
Bezel Set Jewelled Gold PVD Titanium Threadless Top Bezel Set Jewelled Gold PVD Titanium Threadless Top
Teardrop Inlaid Pacific Blue Synth Opal Titanium Septum Clicker Teardrop Inlaid Pacific Blue Synth Opal Titanium Septum Clicker Model Shot
Sold out
Oval Titanium Hinged Segment Daith Earring Oval Titanium Hinged Segment Daith Earring Model Shot
Hammered Titanium Threaded Top Stretch It Body Jewellery Pouch
Inlaid Rose Pink Synth Opal Titanium Septum Clicker Inlaid Rose Pink Synth Opal Titanium Septum Clicker Model Shot
Inlaid Cornflower Blue Synth Opal Titanium Septum Clicker Inlaid Cornflower Blue Synth Opal Titanium Septum Clicker Model Shot
Inlaid Flash Lavender Synth Opal Titanium Hinged Segment Ring Inlaid Flash Lavender Synth Opal Titanium Hinged Segment Ring Model Shot
Jewelled Trinity Dot Titanium Septum Clicker Ring septum-clicker-group-shot
Three Prong Synth White Opal & Titanium Threadless Top Three Prong Synth White Opal & Titanium Threadless Top Model Shot
Titanium Hinged Segment Ring With Jewelled Ball Titanium Hinged Segment Ring With Jewelled Ball Model Shot
Single Jewel Multi Dot Titanium Septum Clicker Single Jewel Multi Dot Titanium Septum Clicker Model Shot
Snake Skin Gold PVD Titanium Septum Clicker Ring Snake Skin Gold PVD Titanium Septum Clicker Ring Model Shot
Edged Fire & Snow Synth Opal Titanium Hinged Segment Ring Edged Fire Snow Synth Opal Titanium Hinged Segment Ring Model Shot
Three Prong Amethyst & Titanium Threadless Top Three Prong Amethyst & Titanium Threadless Top Model Shot
Lotus Flower Brass Seamless Septum Ring Lotus Flower Brass Seamless Ring Model Shot
Bezel Set Aurora Borealis Titanium Threaded Top Stretch It Body Jewellery Pouch
Repeating Circles White Brass & Surgical Steel BCR Ball Closure Ring Repeating Circles White Brass & Surgical Steel BCR Ball Closure Ring Model Shot

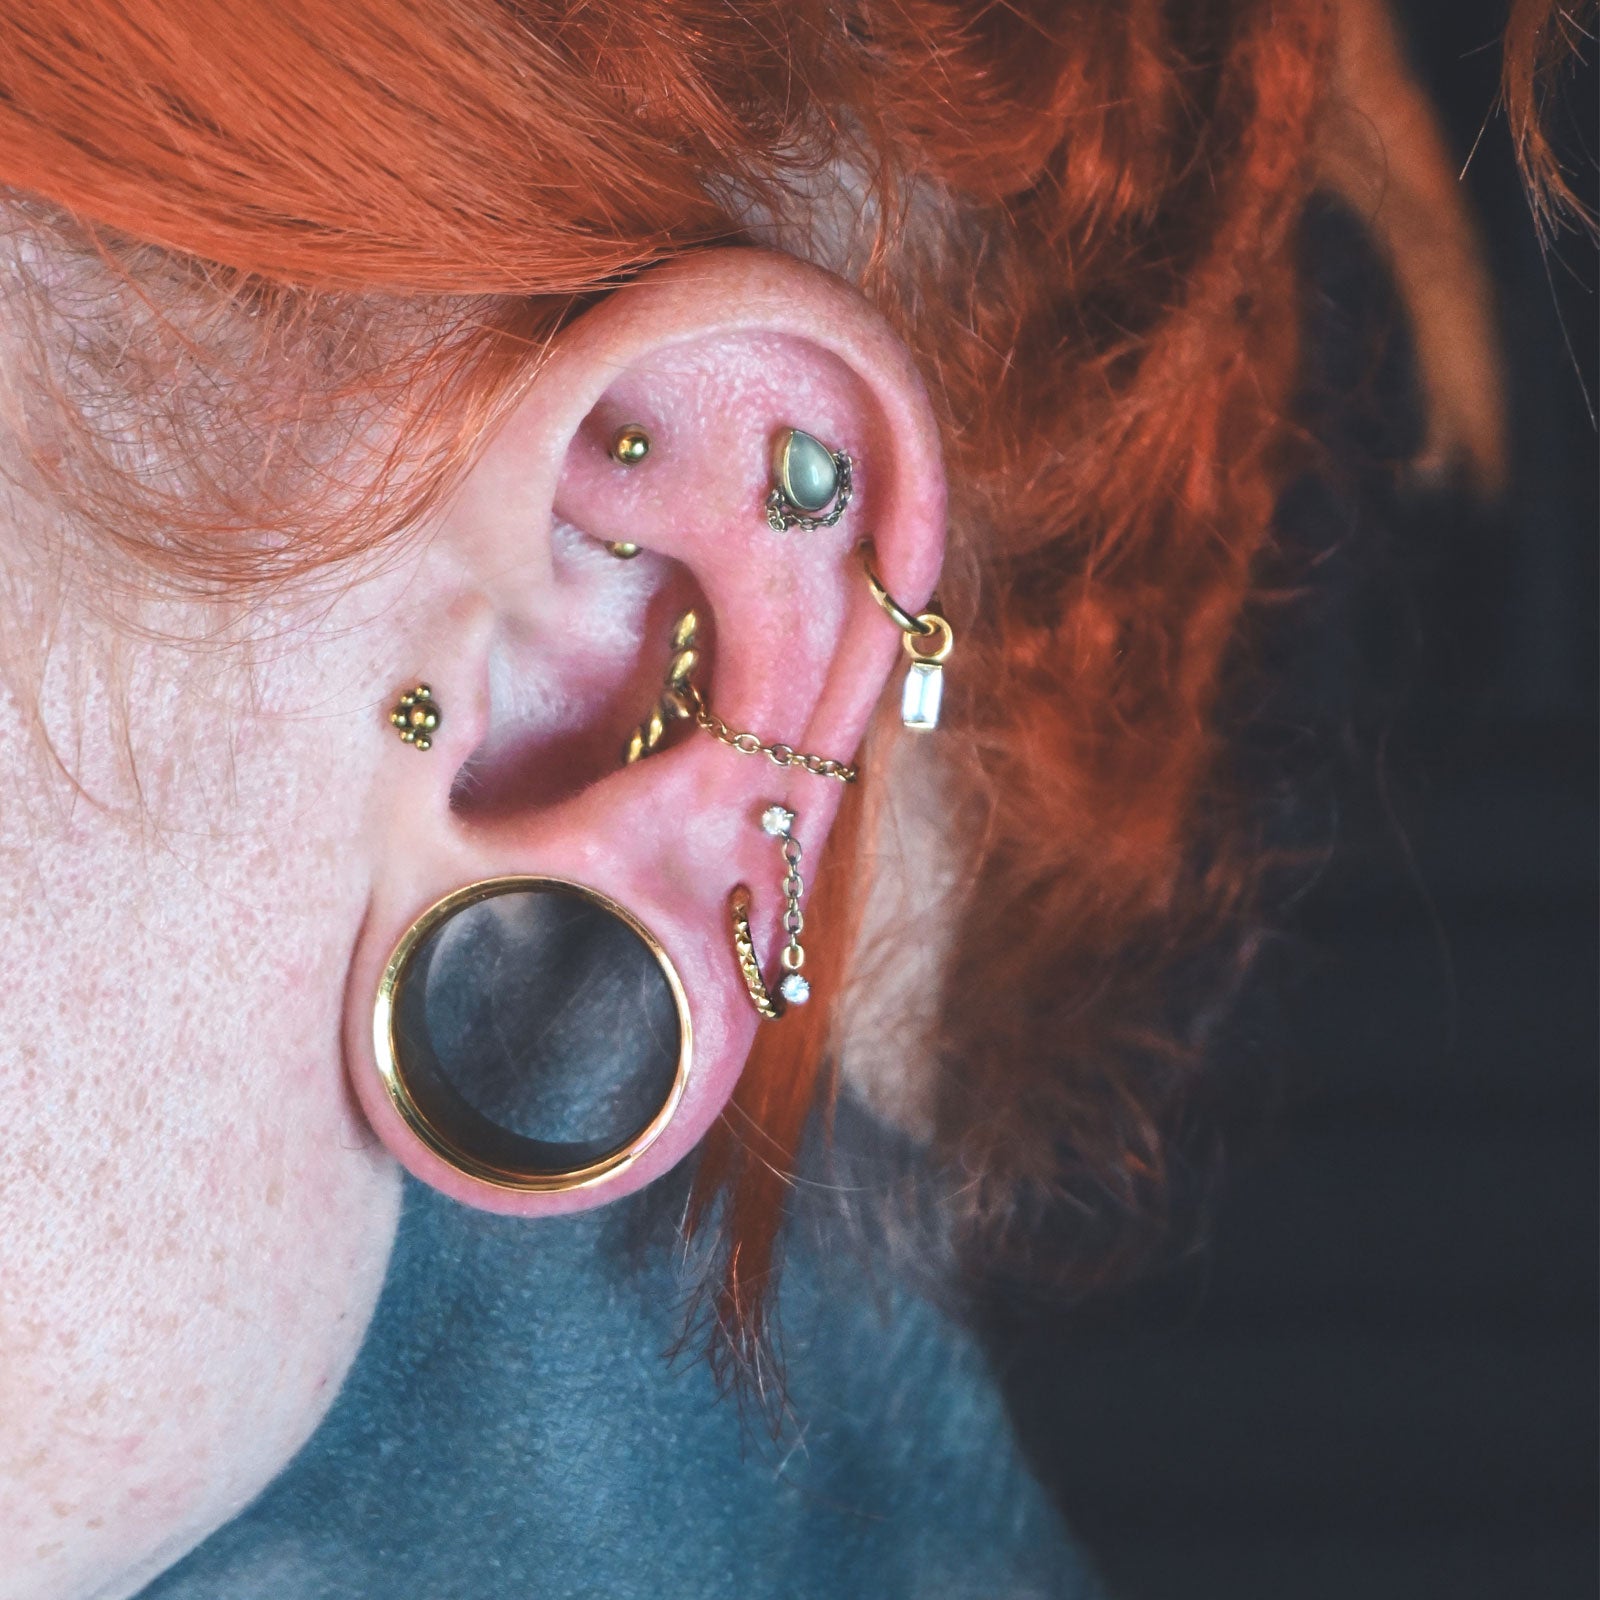
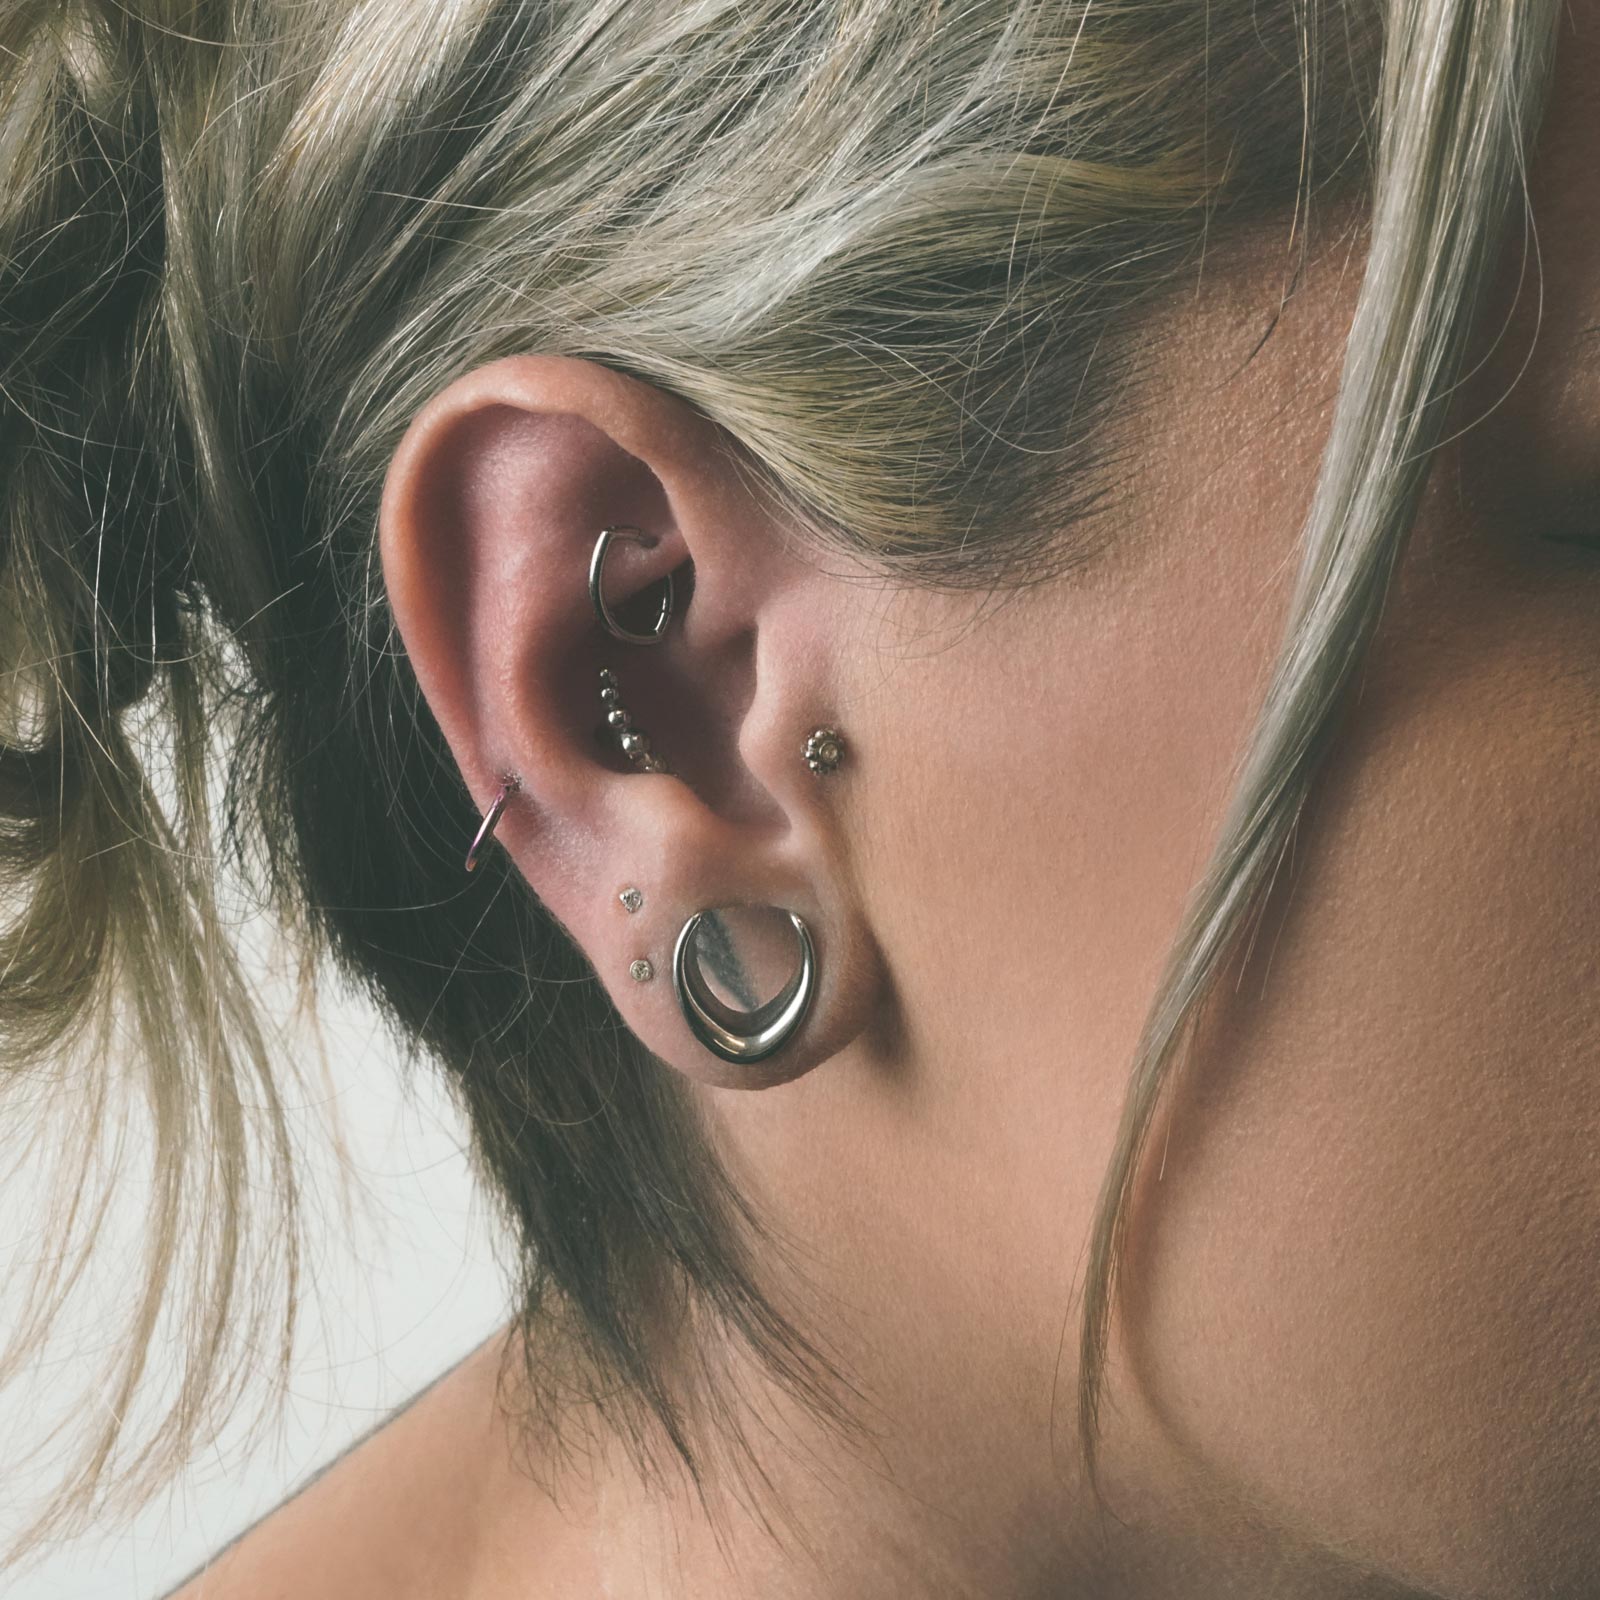
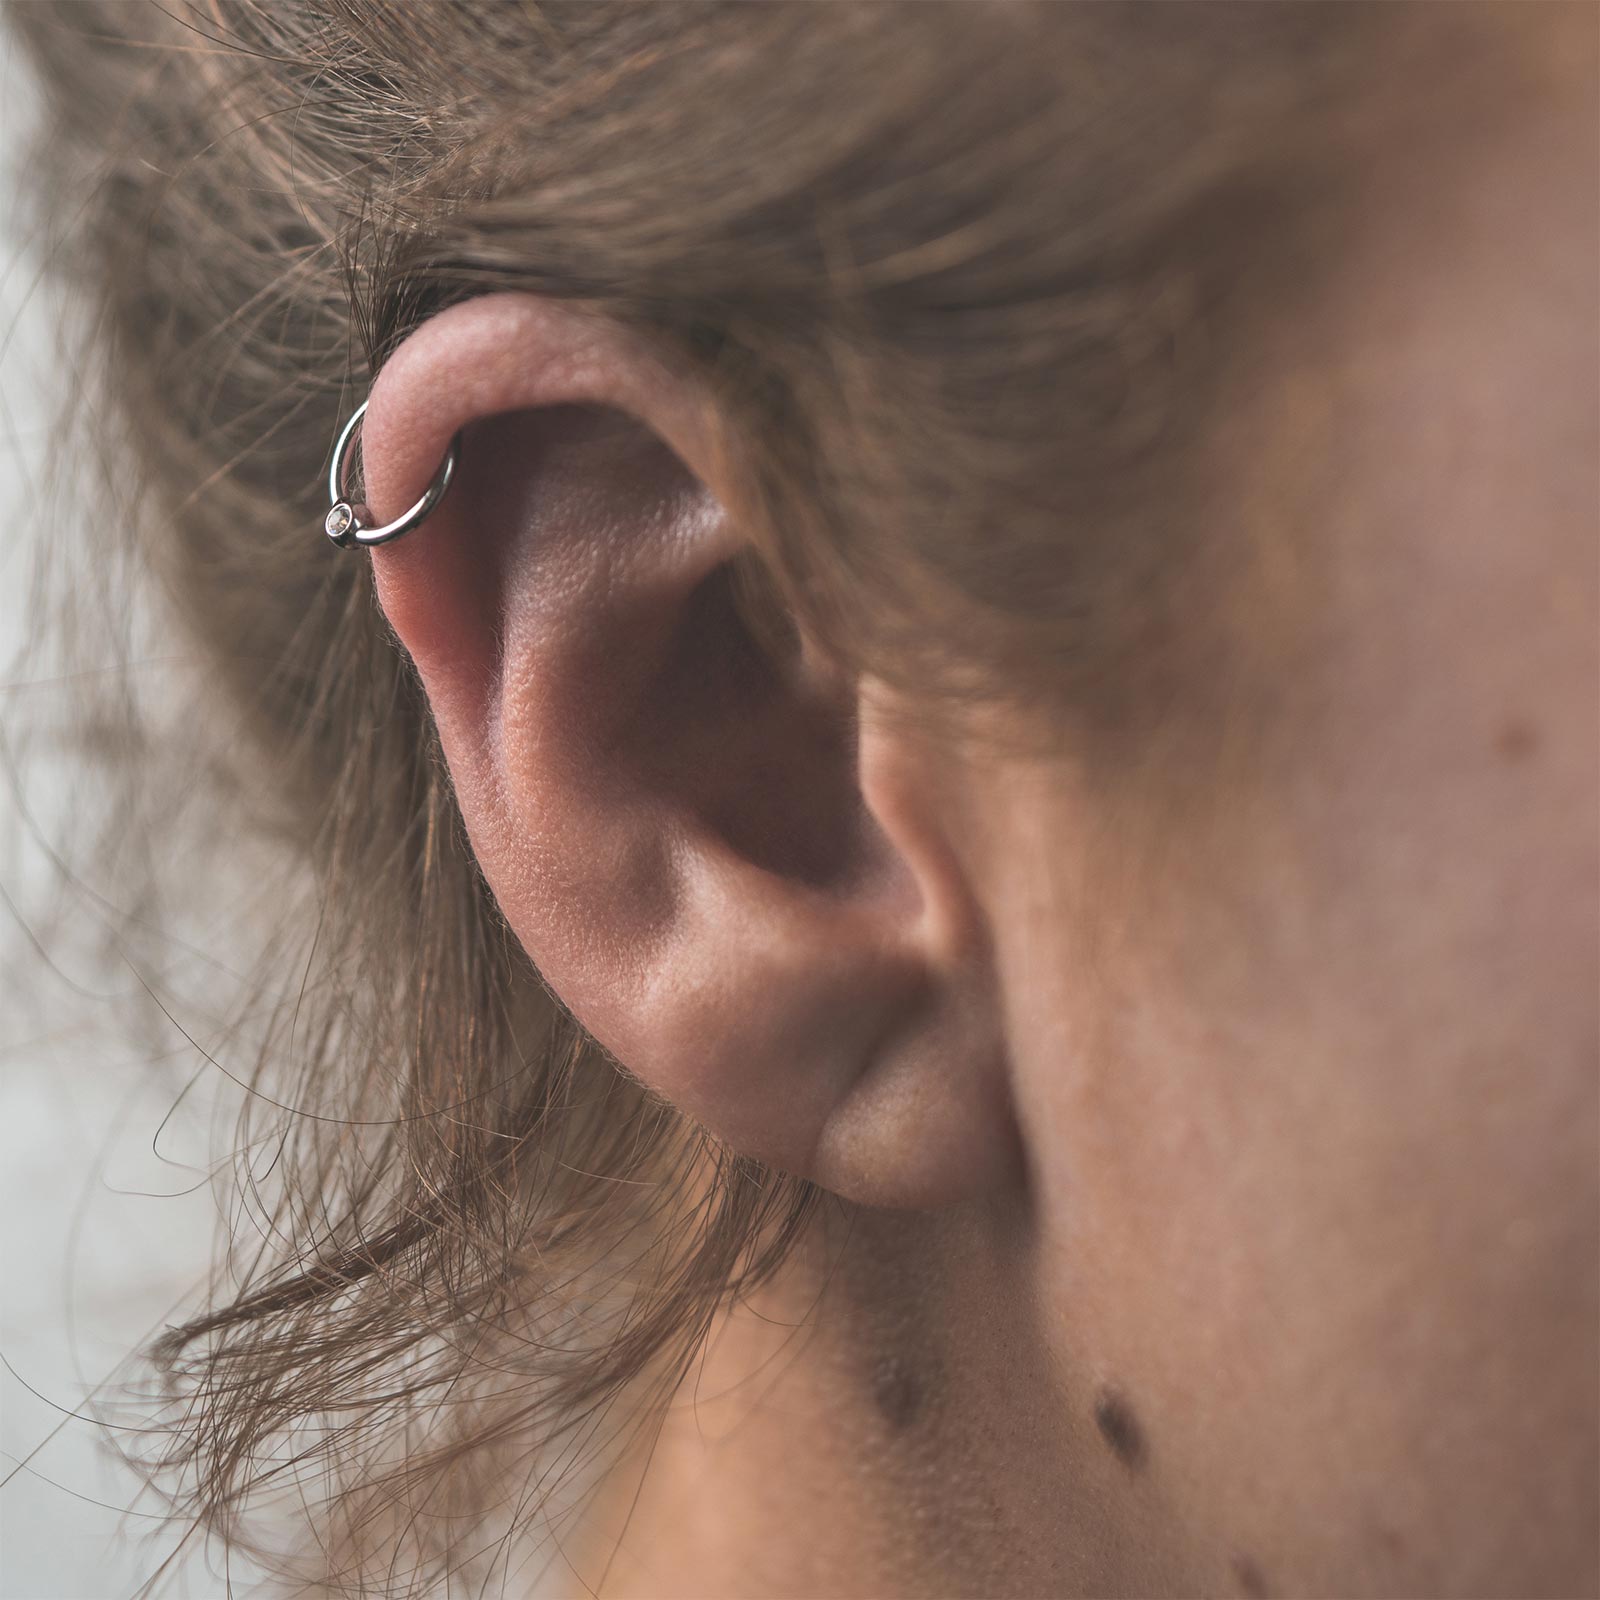
Helix earrings, hoops and studs for the outer rim of the ear. The helix is the most pierced spot on the ear and the easiest to build a stack around, which is why most people start here.

Helix hoops and helix studs

Helix hoop earrings sit best at 6mm to 8mm internal diameter. Flat back helix studs at 6mm to 8mm bar length sit flush and stay put. Gold helix hoop and gold helix stud options come in solid 14k gold, alongside titanium helix earrings for everyday wear.

Forward helix, double helix and vertical helix

Forward helix piercing jewellery sits at the front of the ear where the rim meets the head, so shorter bars and smaller diameters work best. Double helix and triple helix stacks look sharpest when the tops step down in size from bottom to top. Vertical helix jewellery uses a bar sitting along the rim rather than straight through it.

Sizing

Standard helix gauge is 1.2mm (16g). Bar lengths run 5mm to 12mm and ring diameters 6mm to 12mm, so you can downsize once a fresh piercing has settled.