


SIBJ's guide on
How to stretch your ears
With years and years of misguided information, contradictions and straight-up dangerous techniques floating around the web, most people fall into one of two camps:
Camp 1. “Screw this, I’m just going to ram something in my ear and see what happens.”
Camp 2. “OMG! Look at that blowout, I think I’ll give this a miss.”
But, the fact you’ve ended up here means you’re in neither. The fact you’ve even done any research puts you ahead of 80% of people. And the fact you are going to read on means you’ll soon be in camp three:
Camp 3. “Honest. There is nothing difficult about it...”
Stretch It Body Jewellery has put together this complete gauging, ear stretching, flesh plugging (whatever you want to call it, we really don’t care) guide to help you stretch your ears confidently, properly and most of all safely.
⭐️⭐️⭐️⭐️⭐️
Best Kit Around!
"I have stretched my ears before but this kit is the most painless and easy way to do it. Plus their customer service is second to none."
Terminology
To ensure you understand what the hell we are talking about, let’s run through some popular ear stretching terminology.
Tap on each term to reveal its definition:
The process of increasing the diameter of a piercing.
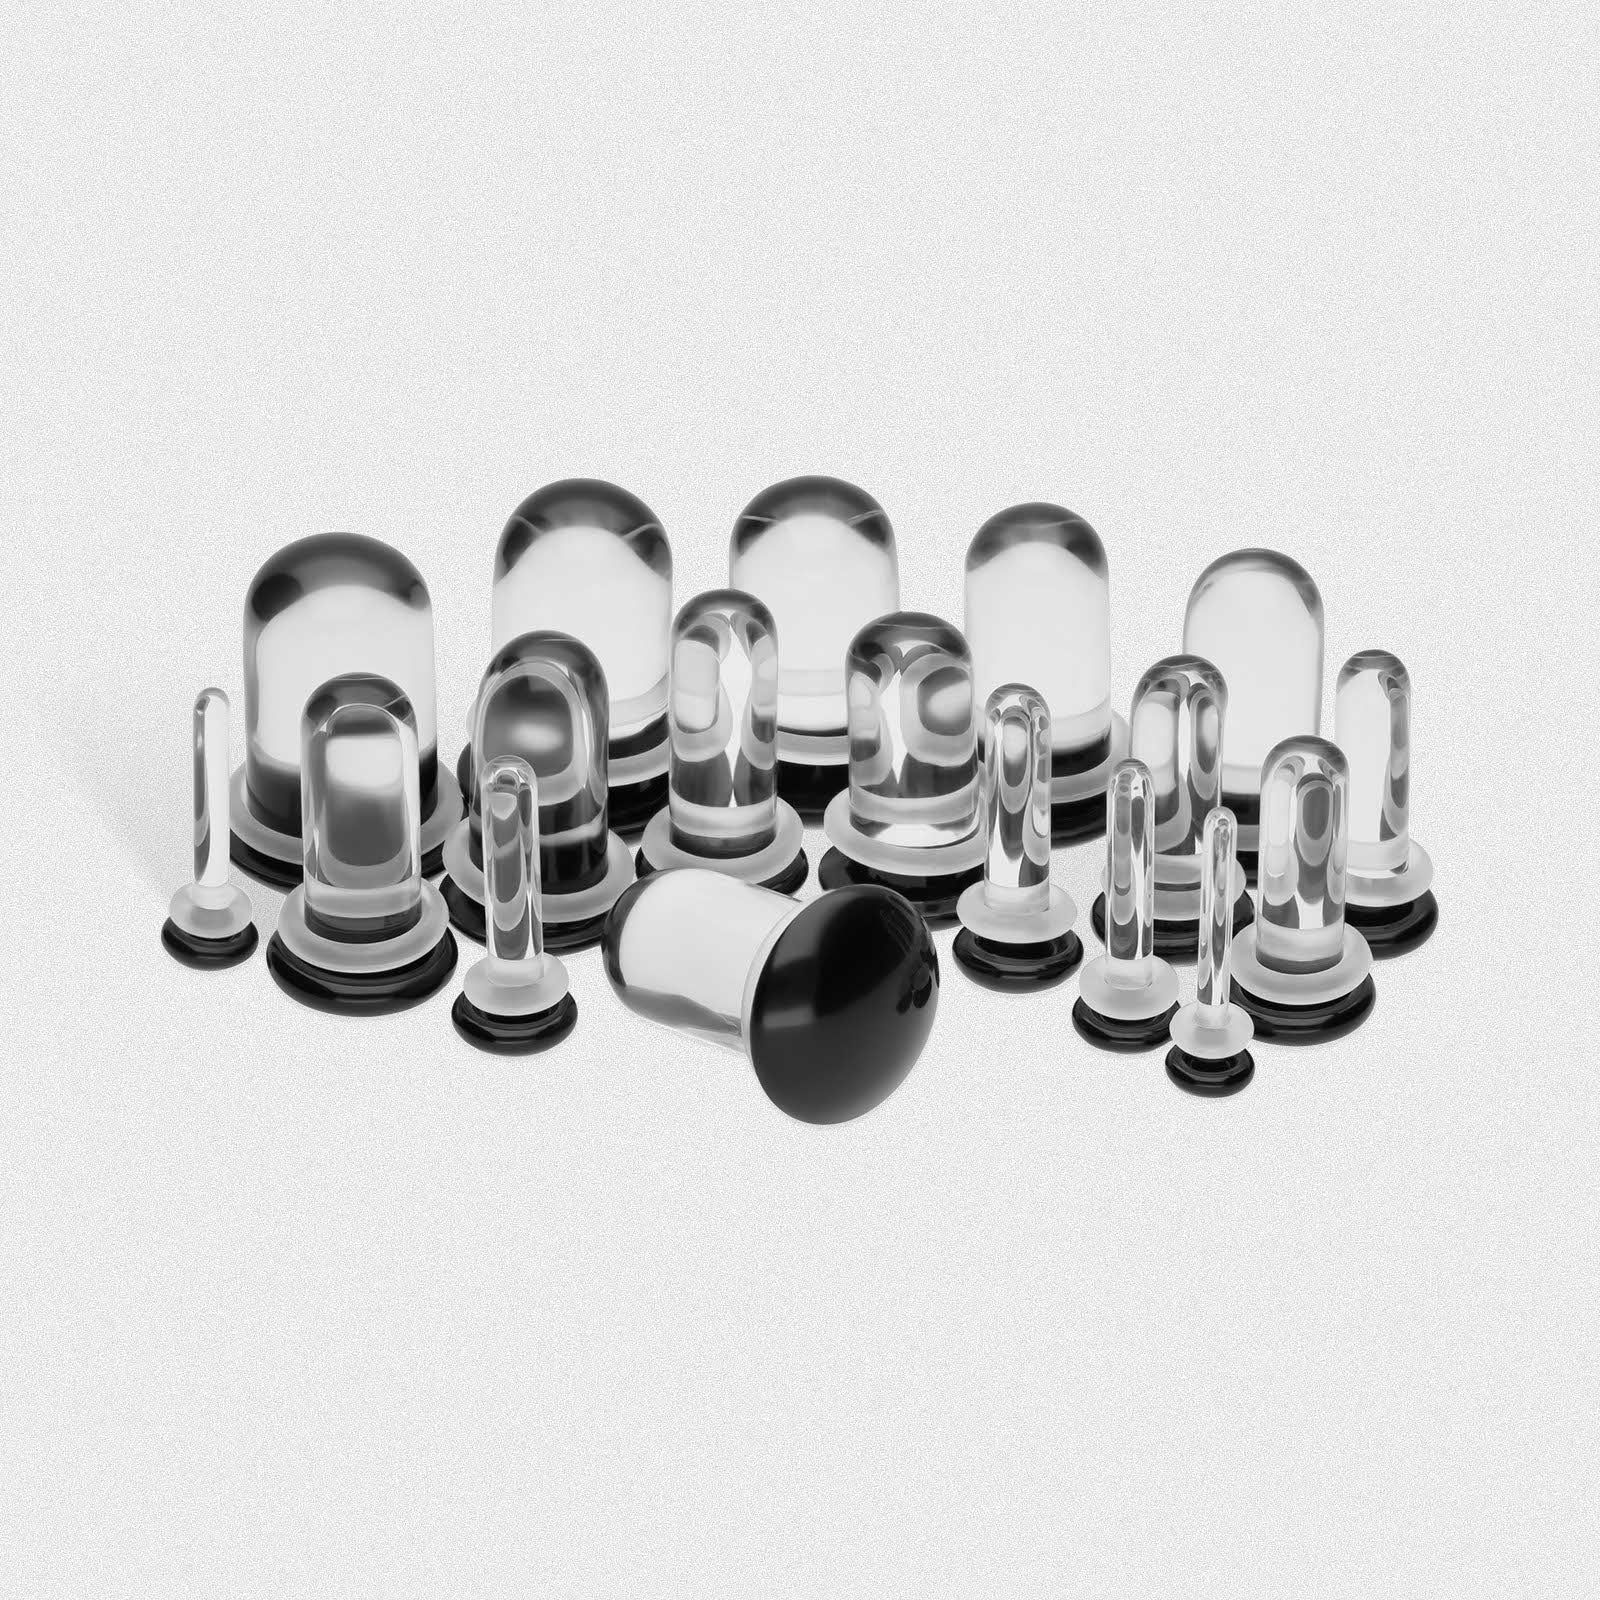
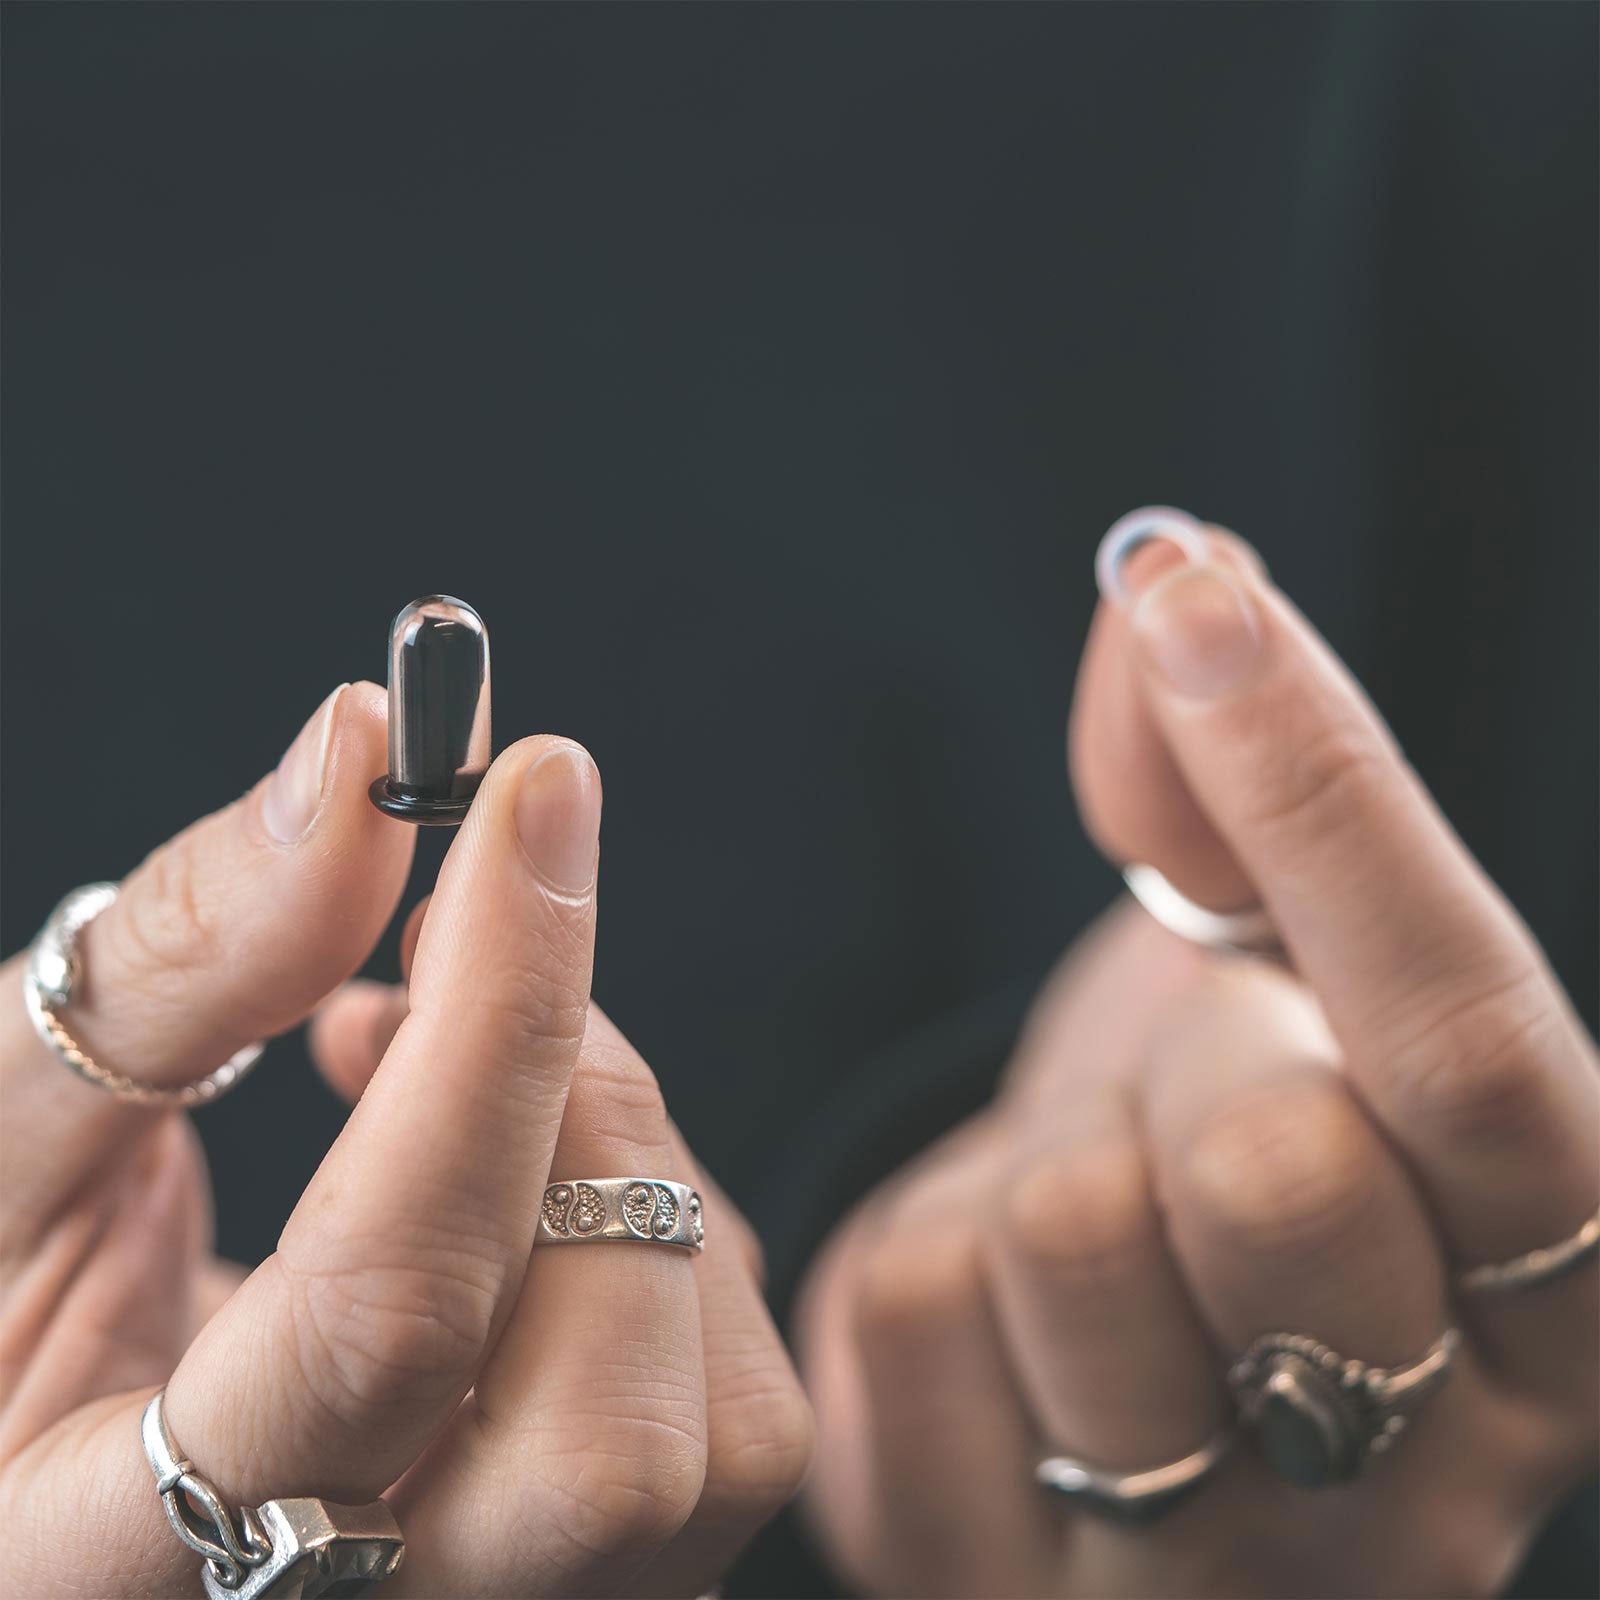
A solid, circular piece of jewellery worn in stretched piercings. Can also be known by other names and is commonly used to categorise all jewellery worn in stretched piercings.
AKA flesh tunnels, eyelets and other names. Same as a plug but has a hole through the middle.
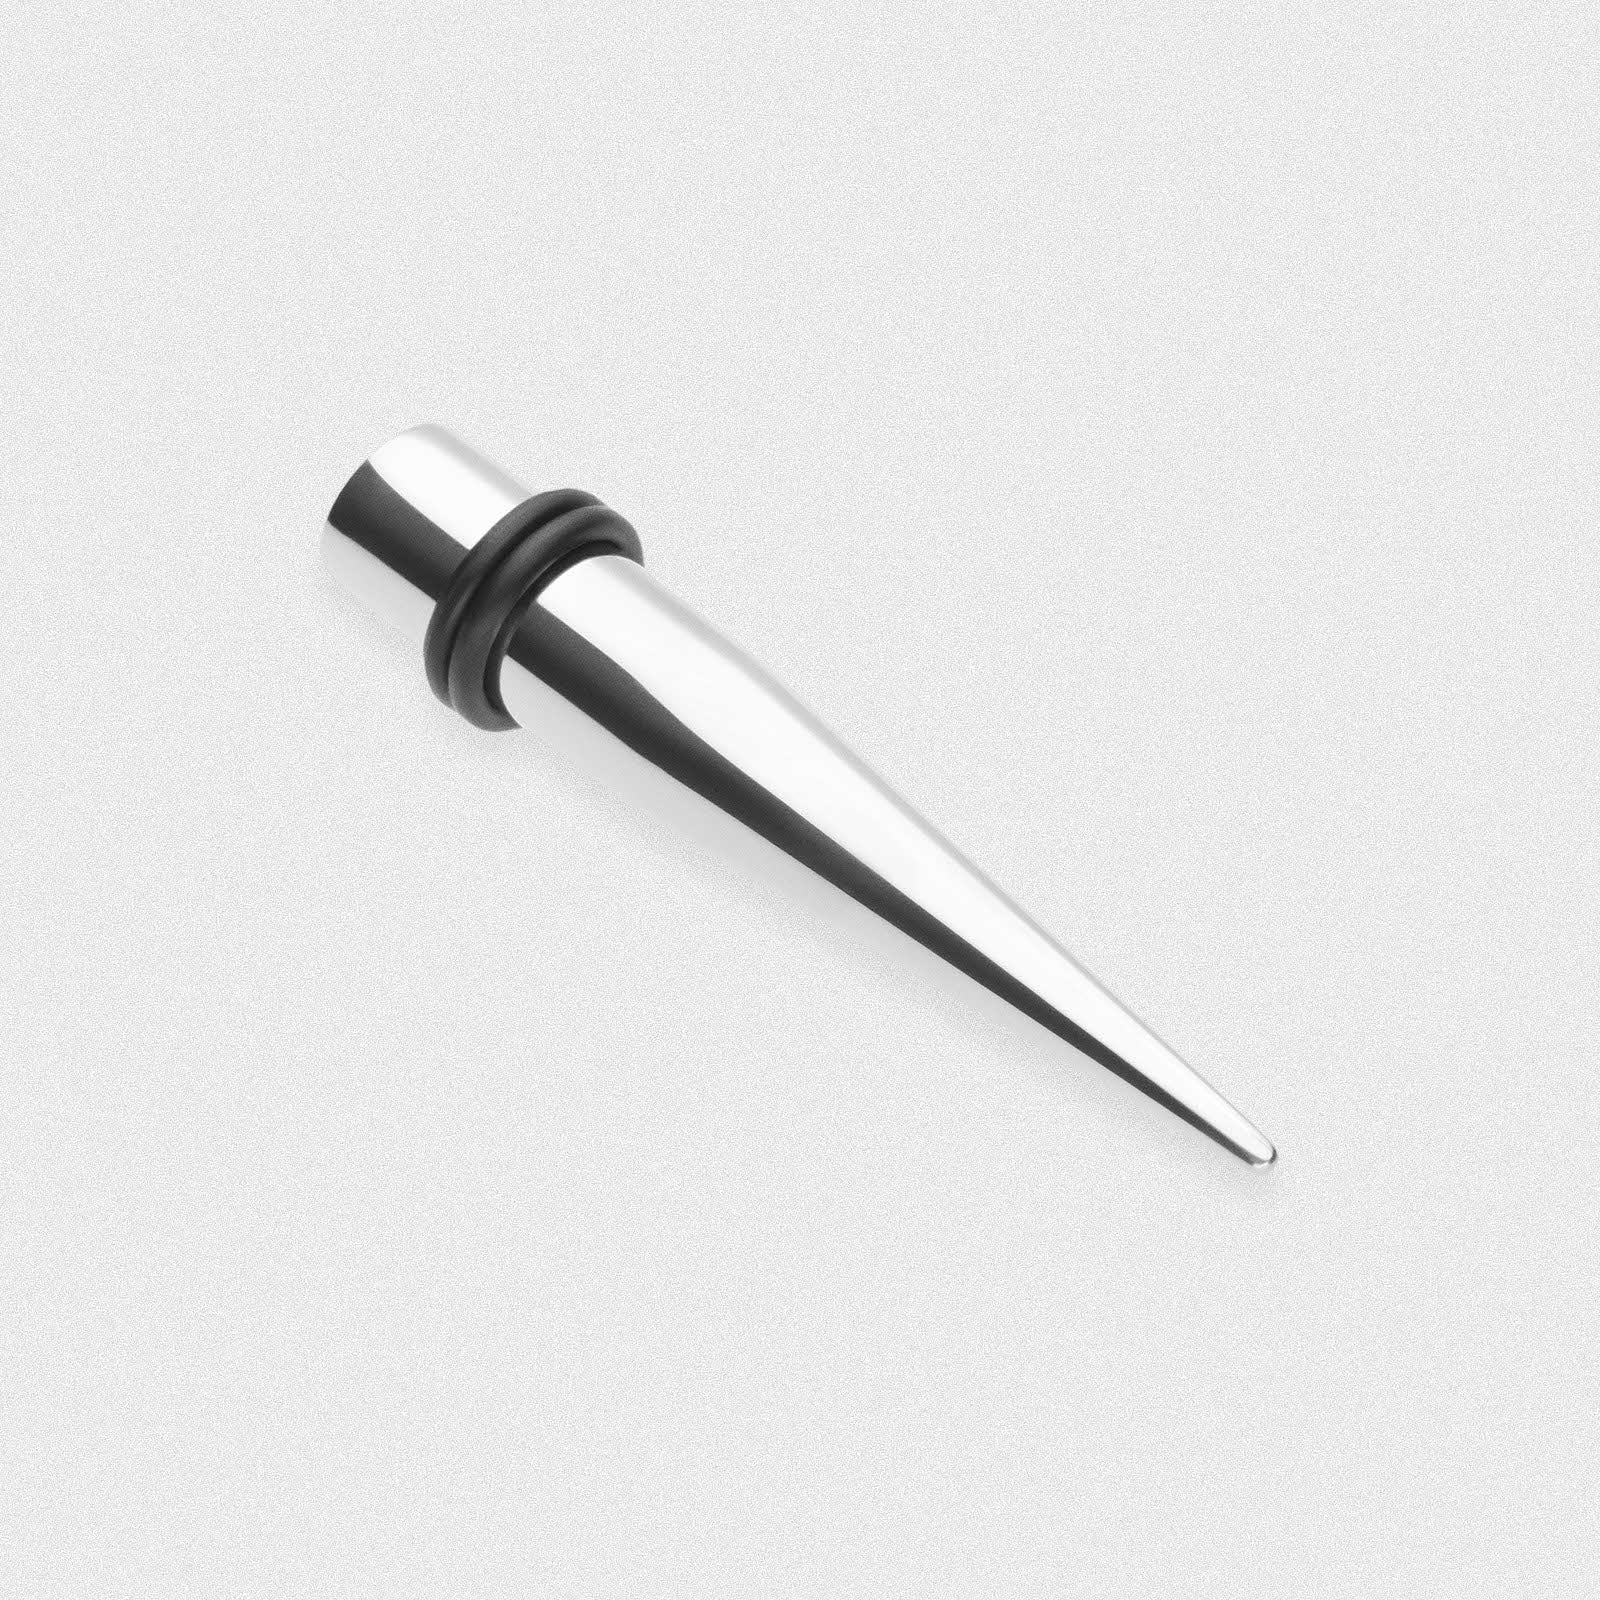
A spike-shaped tool used to assist with stretching a piercing. Small at one end, big at the other. Should NOT be worn as jewellery.
Technically an incorrect term used to describe jewellery worn in stretched piercings. But really, who cares? Call them what you want.
The part of a tunnel or plug that flares outwards to secure the jewellery in place.
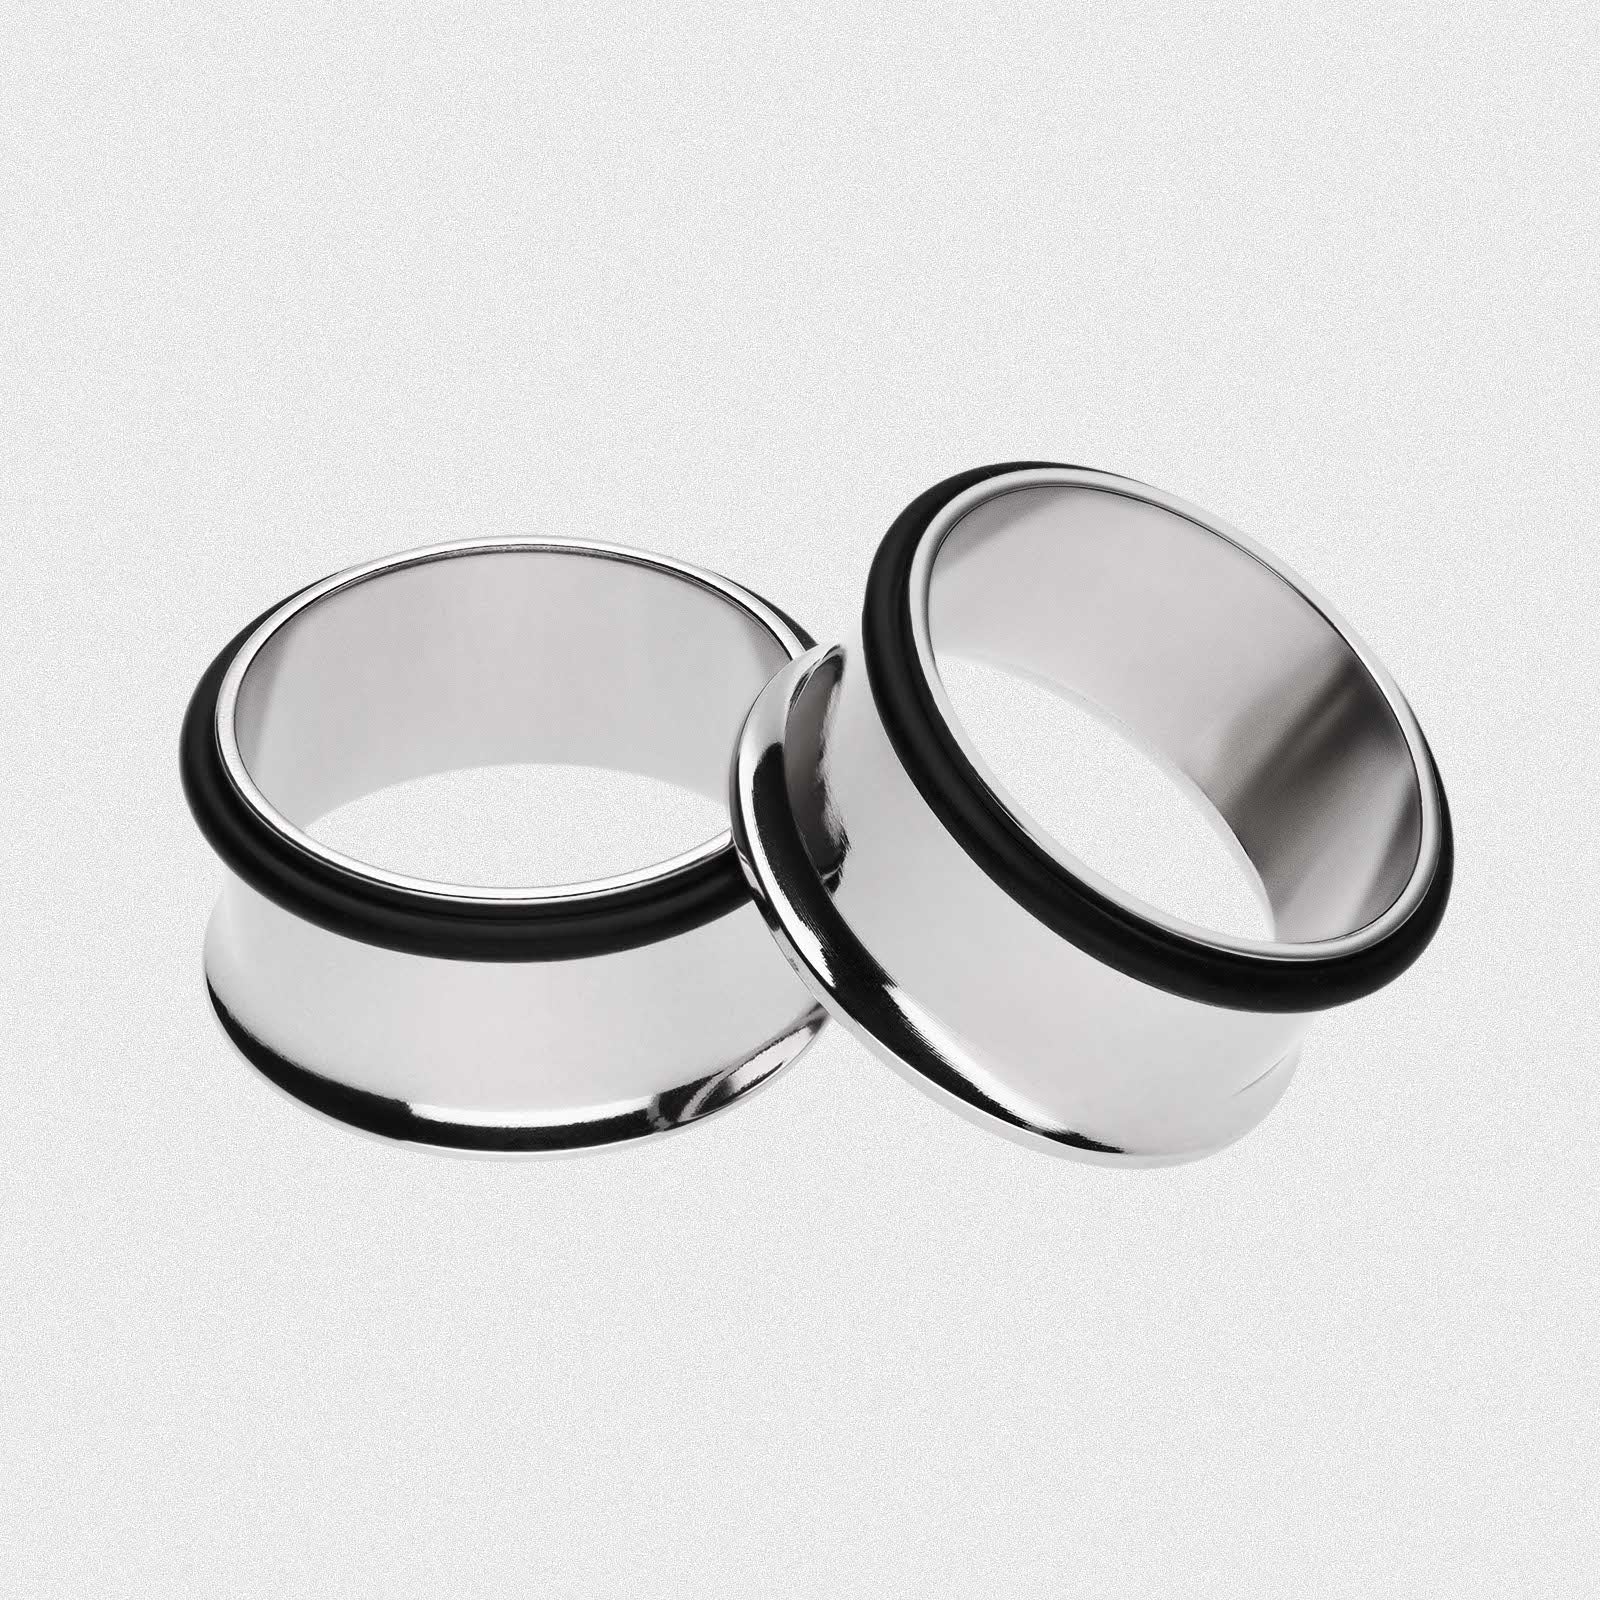
A piece of jewellery with one flare. Typically has an o-ring the other end.
A piece of jewellery with two flares, one either end.
The part of the jewellery that is in contact with your lobes. The area between flares or o-rings.
Used to secure single or no flare jewellery in place. Can also be used to fix a leaking tap.
Abbreviated to mm. A unit of measurement popularly used to measure jewellery in the UK and Europe. 1/10th of a centimetre.
Abbreviated to g. A unit of measurement popularly used to measure jewellery in the United States. Bigger is smaller. Rhymes with page.
Fistula skin (the skin in contact with your jewellery) is pushed out through the back of your piercing. Bad news but not the end of the world.
Now you are pretty well armed for someone on Reddit not shoot you down for being a noob we are just about ready to crack on. Before we start, I’d like to engrain two principles into your mind:

1. Common Sense

2. Patience
If you are ever in doubt throughout your ear stretching journey, just apply these two simple things and you really can’t go wrong!
When & What Size?
Most piercers will pierce your lobes at 1mm (18g) or 1.2mm (16g). We highly recommend waiting at least 4 - 6 months before thinking about ear lobe stretching. The piercing should be fully healed and showing no signs of infection.
Most of our ear stretching kits start at 1.6mm (14g) which is the perfect size for your first stretch from an initial piercing. From there on sizes should NEVER be skipped.
As mentioned previously in the terminology section, body jewellery shops don’t make things straight forward when it comes to units of measurement. Some display in millimetres whilst others use the gauge system or fractions of an inch.
Check out the conversion below in our ear gauge sizing chart if you are ever in doubt:
| Milimetre | Gauge / Inch |
| 0.6mm | 22g |
| 0.8mm | 20g |
| 1mm | 18g |
| 1.2mm | 16g |
| 1.6mm | 14g |
| 2mm | 12g |
| 2.4mm | 10g |
| 3mm | 8g |
| 4mm | 6g |
| 5mm | 4g |
| 6mm | 2g |
| 8mm | 0g |
| 10mm | 00g |
| 11mm | 7/16" |
| 12mm | 1/2" |
| 14mm | 9/16" |
| 16mm | 5/8" |
| 18mm | 11/16" |
| 19mm | 3/4" |
| 20mm | 13/16" |
| 22mm | 7/8" |
| 25mm | 1" |
Luckily, SIBJ displays their jewellery in both to avoid any confusion, but we always recommend using millimetres as your first choice of measurement due to superior accuracy and simplicity. And who wants to be messing around with fractions!?
How long do I wait between stretches?
I’m going to apologise in advance for the cliché answer. Sorry.
It depends and everyone is different.
Unfortunately, there is no set in stone answer to this question but we can give some guidelines so you don’t go completely mental and rock 25mm double flare plugs within 36 hours.
We recommend at least 2 months between stretches. This will give enough time for your lobes to fully heal from any micro-tears caused by stretching up. Once healed your lobes will then regain their elasticity and should be ready for the next gauge size.
But again, everybody and every stretch are different. Just because your last stretch only needed 2 months doesn’t mean your next one will be the same. Some sizes may take up to 6 months or even longer until your lobes are ready.
No pain, no gain couldn’t be further from the truth when it comes to the ear stretching process, resistance should be minimal and pain should be non-existent.
The slower you stretch your ears the better. Let me repeat that. The slower you stretch your ears the better!
Slow stretching means reduced chance of infections, blowouts and scar tissue. When in doubt, don’t stretch up. Common sense and patience.
How far is too far?
Again, it’s another ‘everyone is different’ answer I’m afraid. If you want to err on the side of caution with ‘the point of no return’ then stretching to 6mm (2g) is a pretty safe bet that your lobes will fully close up and return back to normal. Although, we do know of stretched ears much bigger shrinking right back down.
Stretching up slowly will dramatically increase your chances of your lobes returning to normal. So on the flip side to that, stretching up too quickly will dramatically decrease the chances of your lobes closing up if you ever change your mind.
The main reason for this is when you damage your lobes from stretching too fast or incorrectly, you create a lot of scar tissue. Although a natural part of the healing process, scar tissues are inferior and lack elasticity which is crucial for increasing and decreasing the size of a stretched lobe. The smaller the amount of scar tissue, the bigger point of no return. It pays to be patient.
Ear Stretching Techniques
Now we are getting to the really juicy parts... how to properly gauge ears. Well, there are three methods we approve to safely stretch your ears:
- Taper Method
- Dead Stretching Method (Recommended)
- Taping Method
Used to stretch up to 10mm (00g)
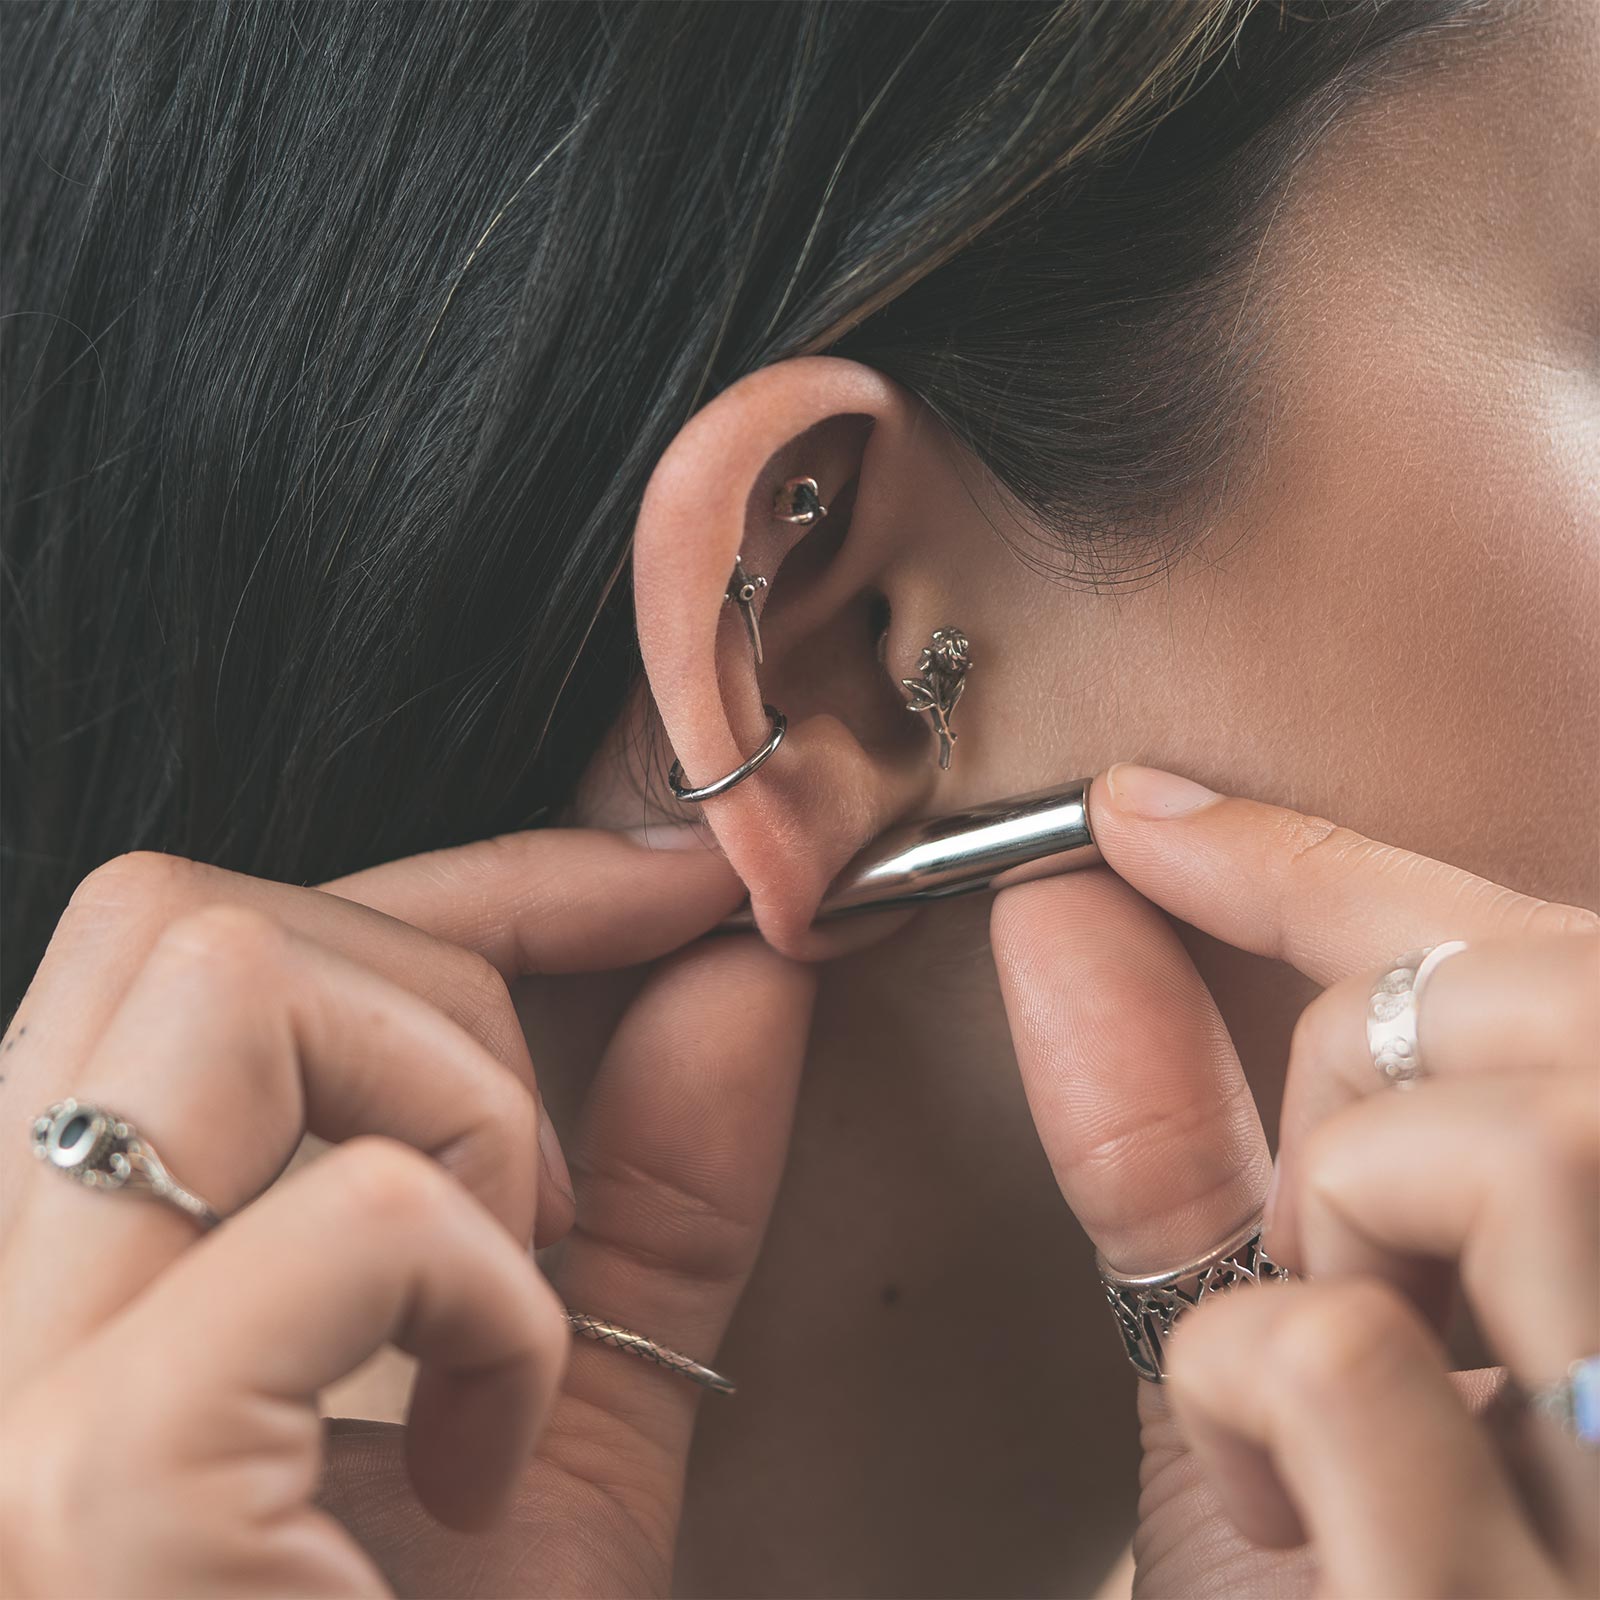
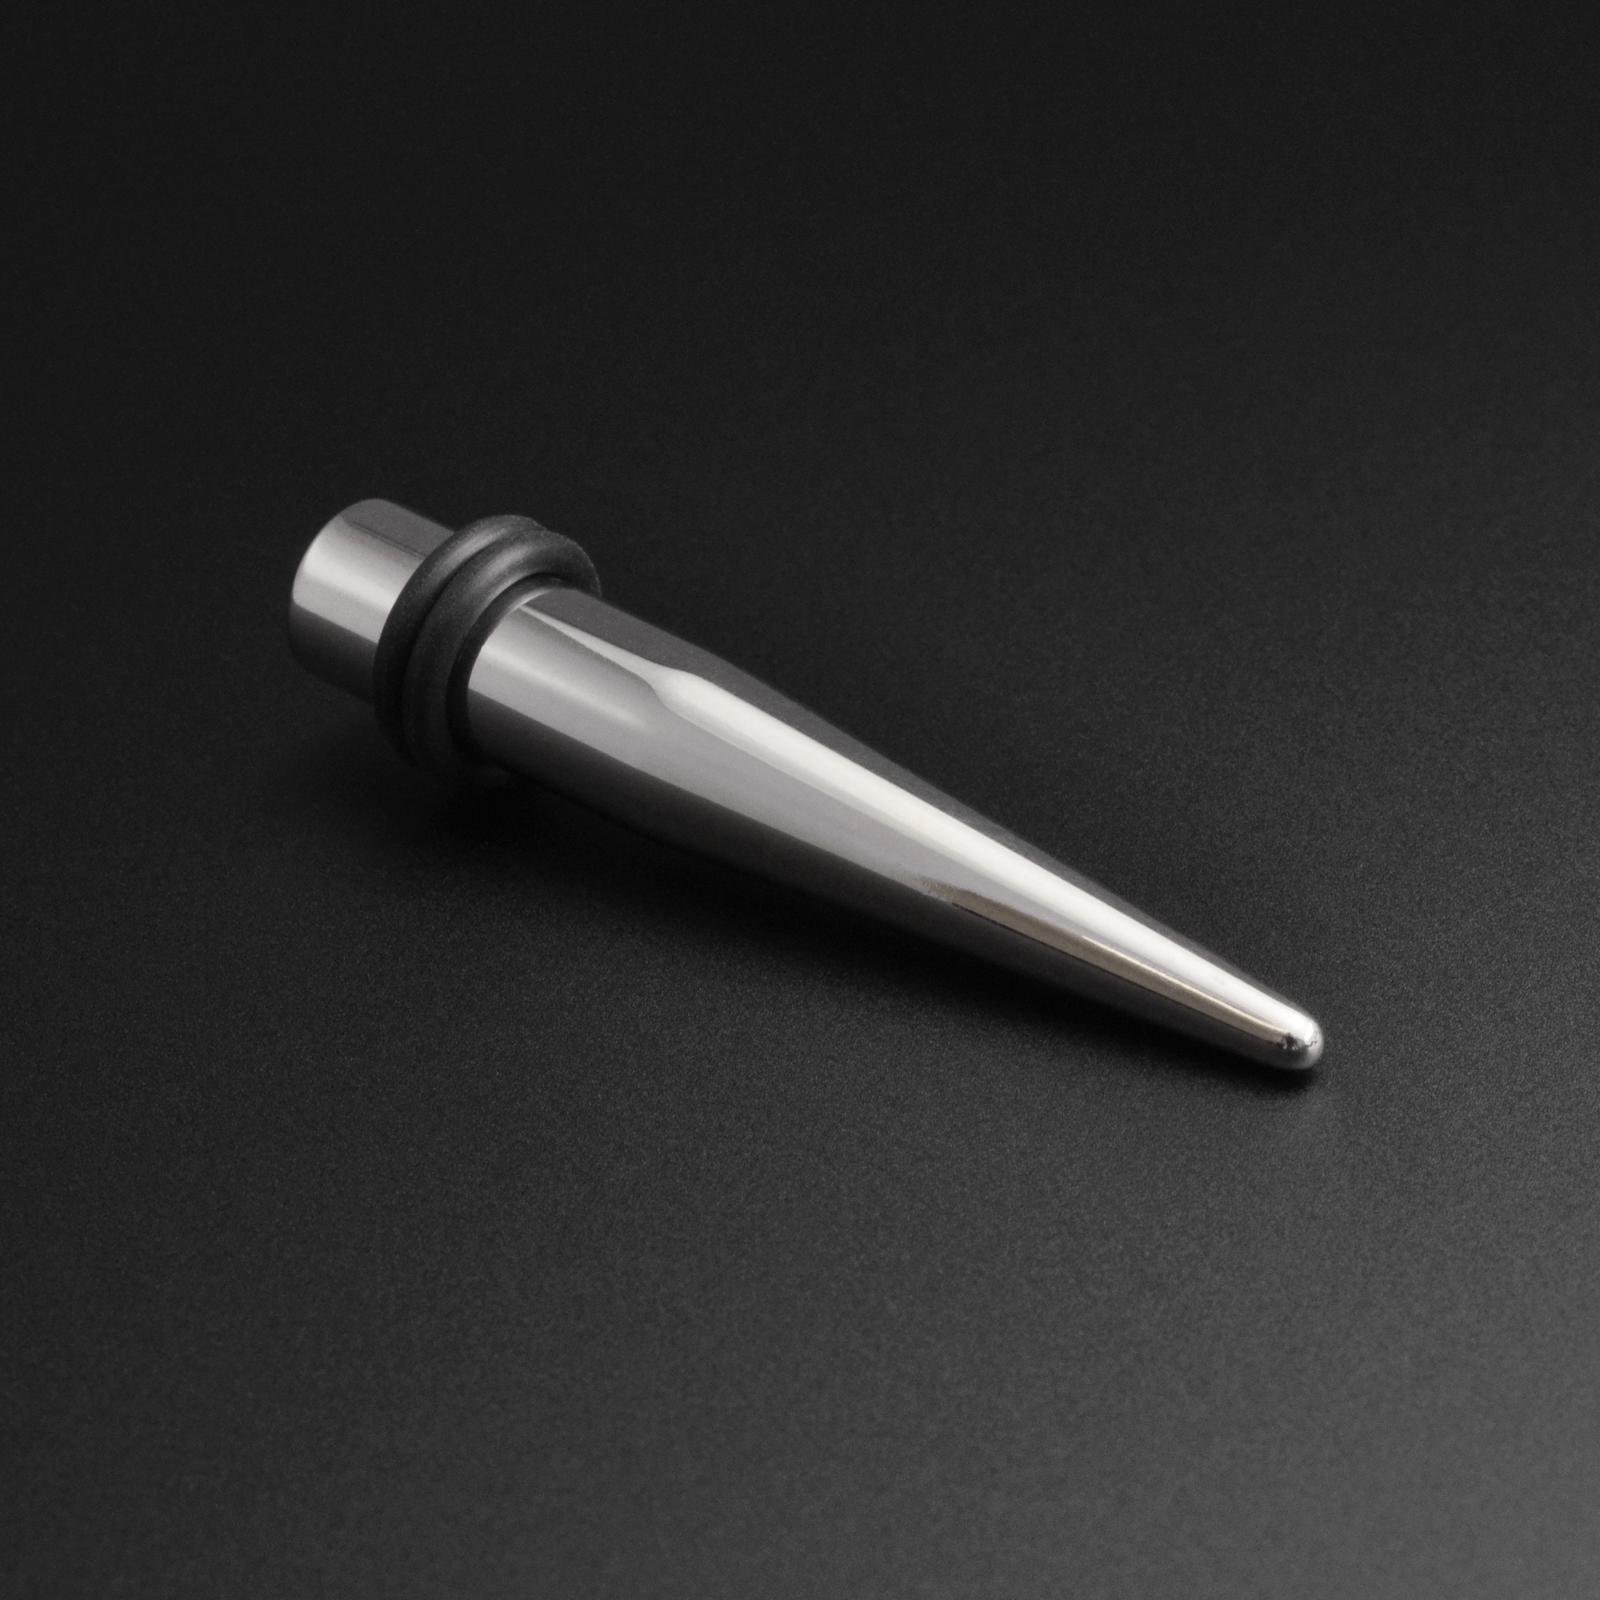
Taper Method
Tapers are simple tools used to aid in the stretching and insertion of jewellery. You will find some sources say that tapers are not safe to use.
Let me tell you tapers are perfectly safe to use when used properly.
The problem with tapers (and why they get such a bad rap) is they are generally misused and abused.
Misused - you’ll see people walking around wearing tapers. Whilst light tapers are ‘ok’ to be worn for short periods of time in fully healed stretched lobes. Generally, tapers should only be seen as a ‘tool’ to stretch with and not a piece of jewellery.
Abused - just because you bought an ear stretching kit containing tapers up to 10mm (00g) doesn’t mean you should start ramming these things into your lobes every other week. Tapers tempt people into stretching too fast and trick them into thinking the tapering on the taper makes the stretch gradual, when really it doesn't.
Tapers, when used properly should help aid in the insertion of a single flare plug or tunnel. The amount the taper stretches the lobe is minimal and should not cause any pain, certainly not bleeding!
The taper method will also require the use of fresh stretch friendly tunnels or plugs. For jewellery to qualify as ‘fresh stretch friendly’ it needs to be two things:
1. Single Flare
2. Non-porous (316L surgical steel, titanium or glass are good choices)
All of our complete ear stretching kits contain surgical steel ear tapers with single flare plugs or tunnels. Whilst cheap ear tapers can be used as they aren’t actually going to be worn, we always recommend good quality steel tapers due to their smooth surface and easy insertion.
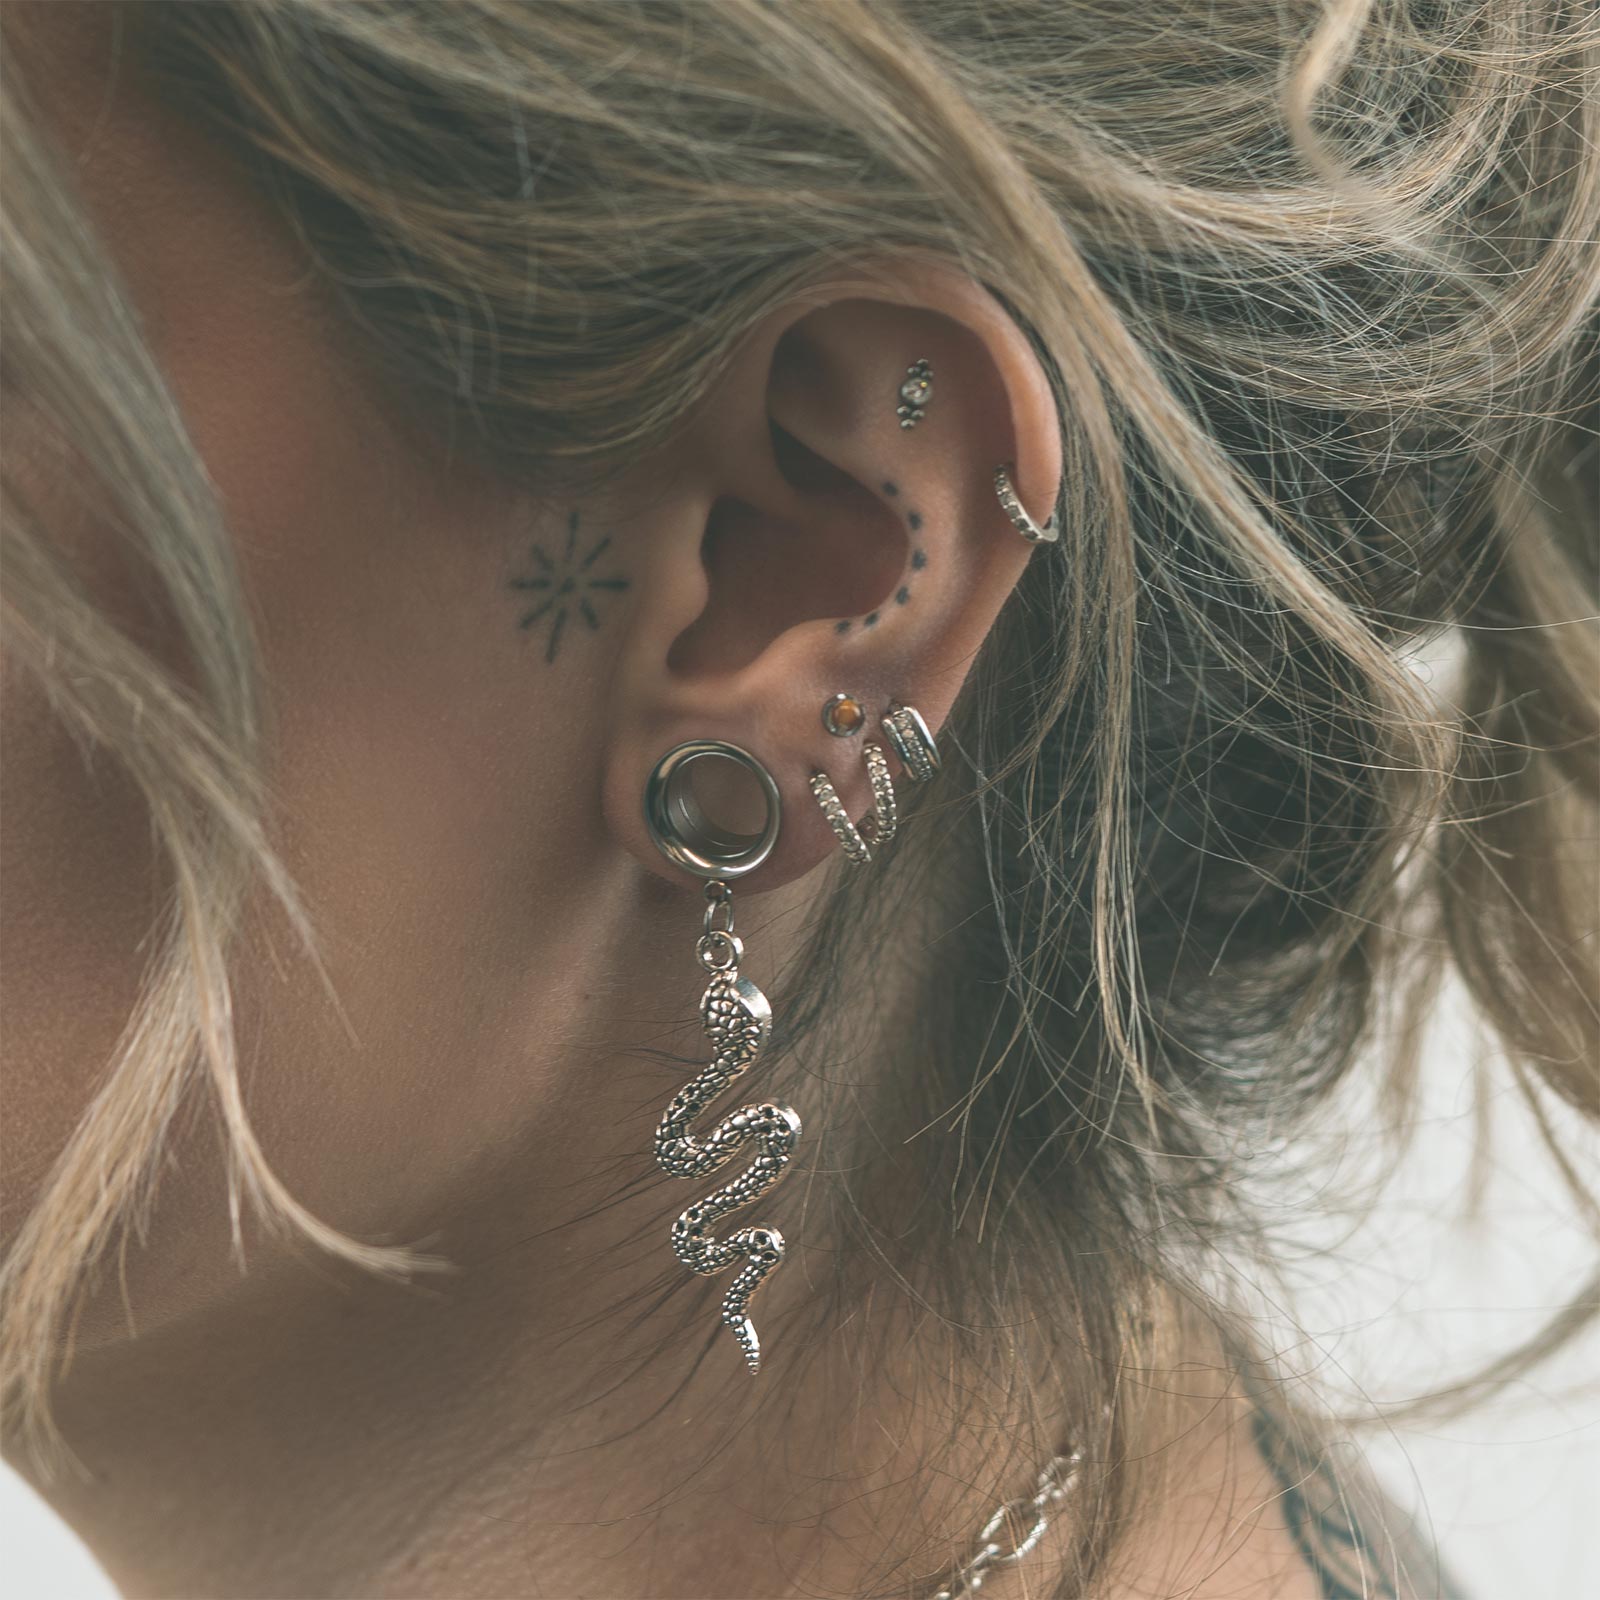
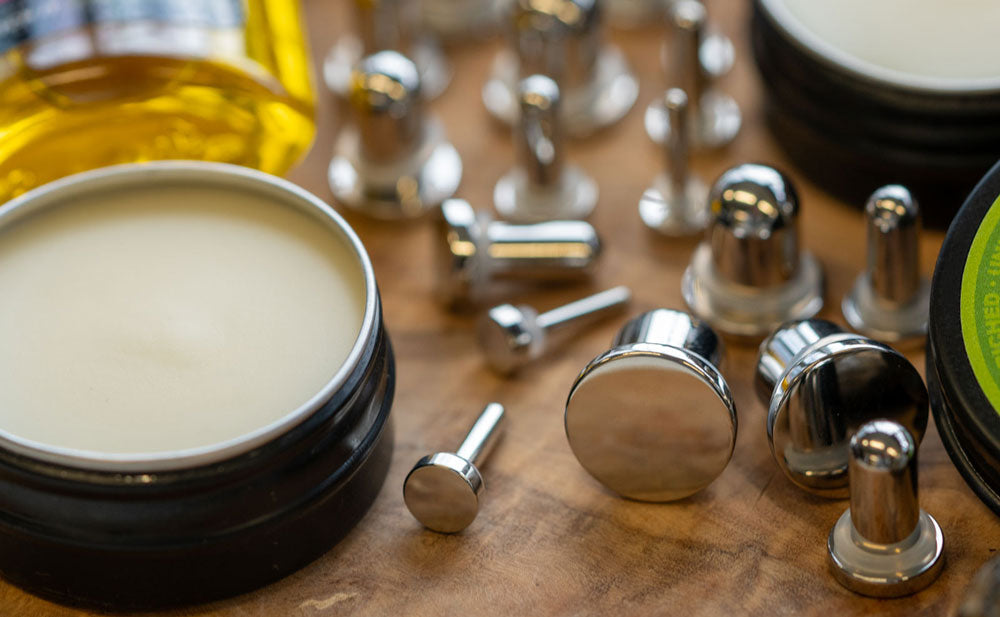
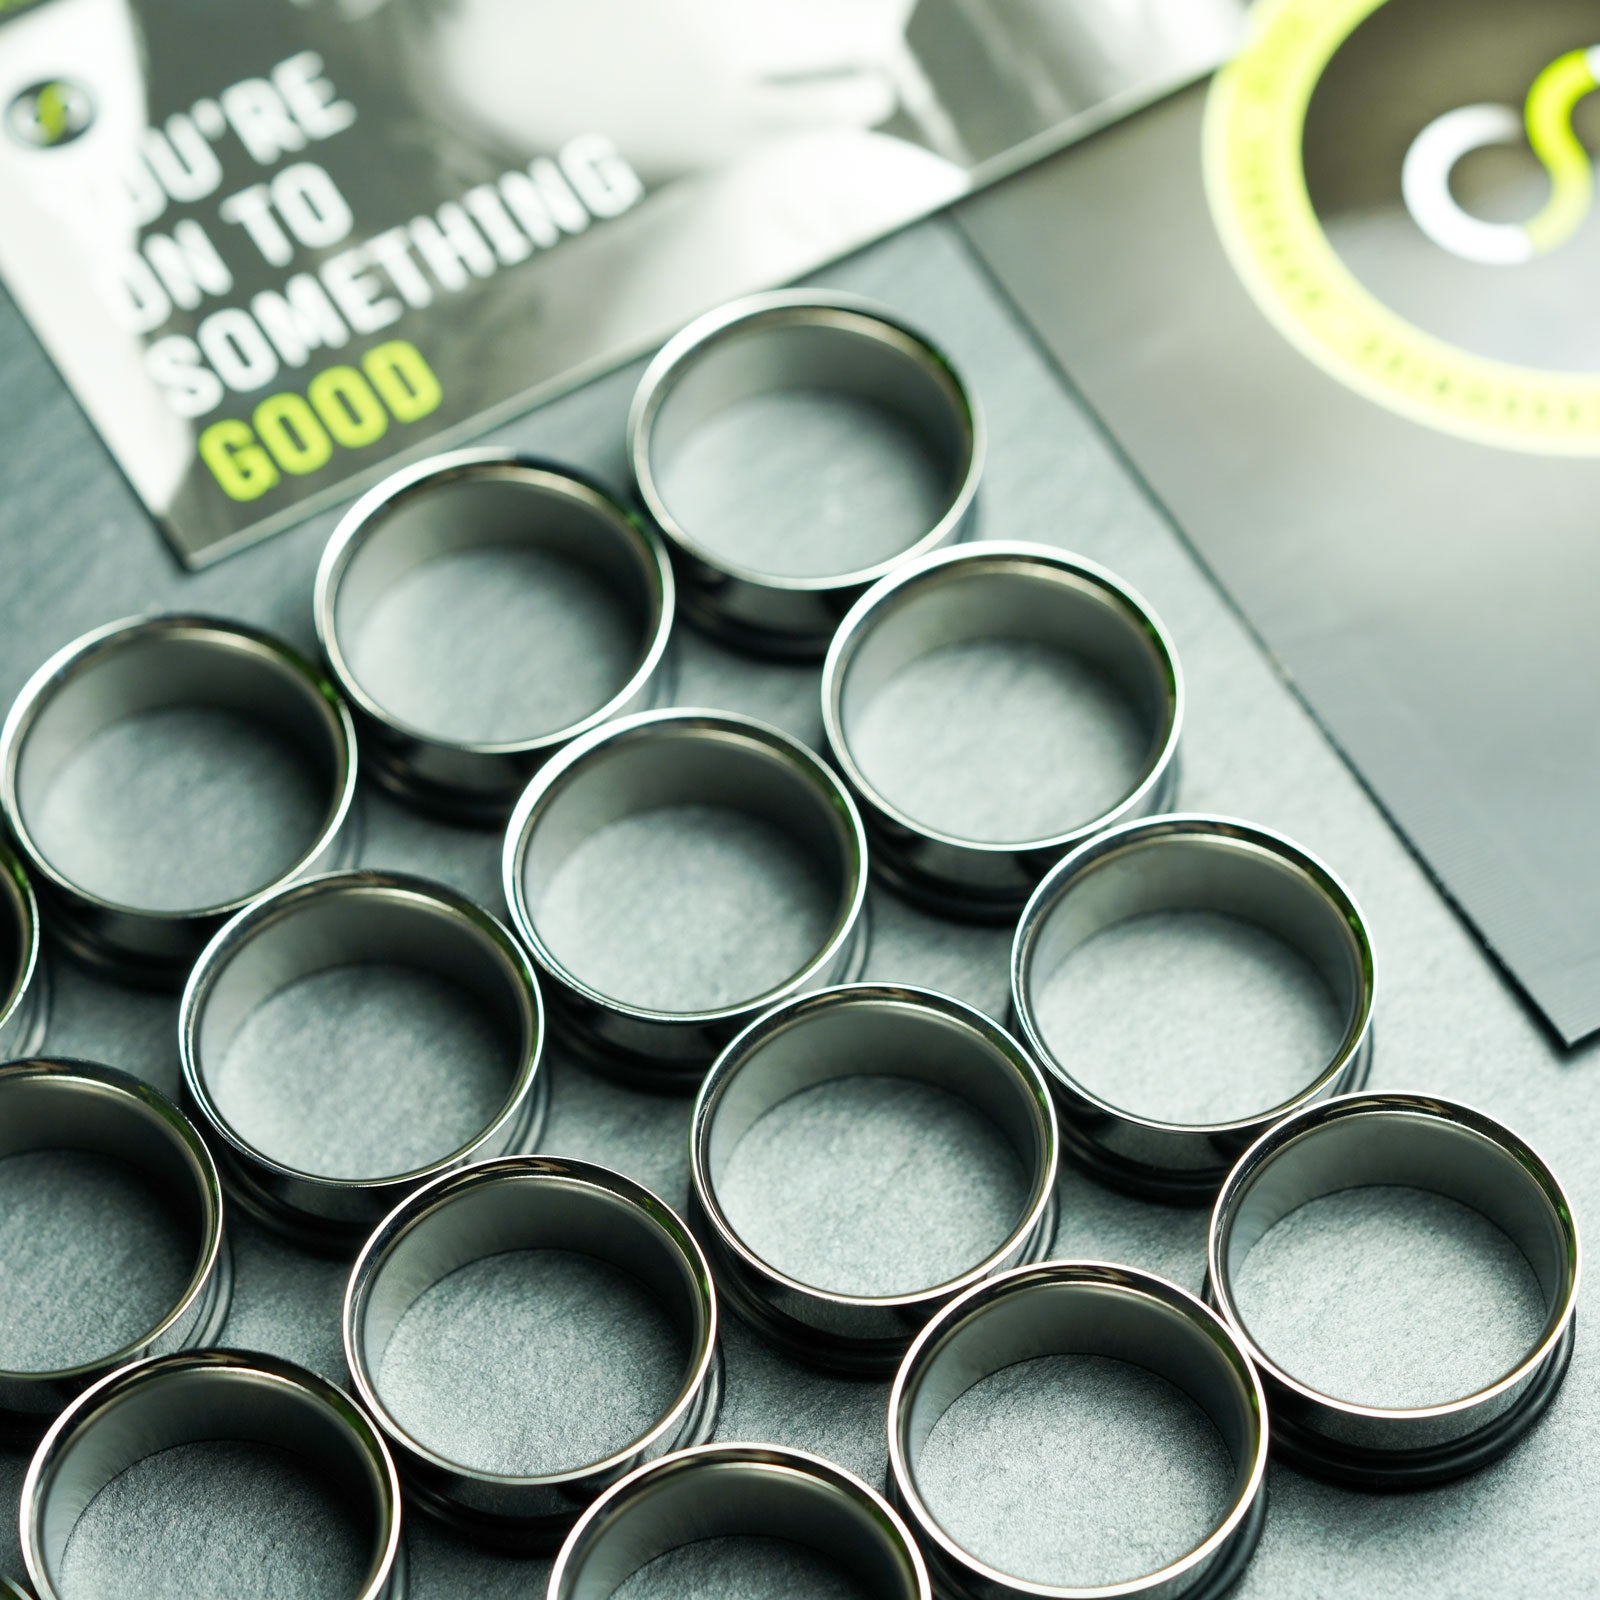
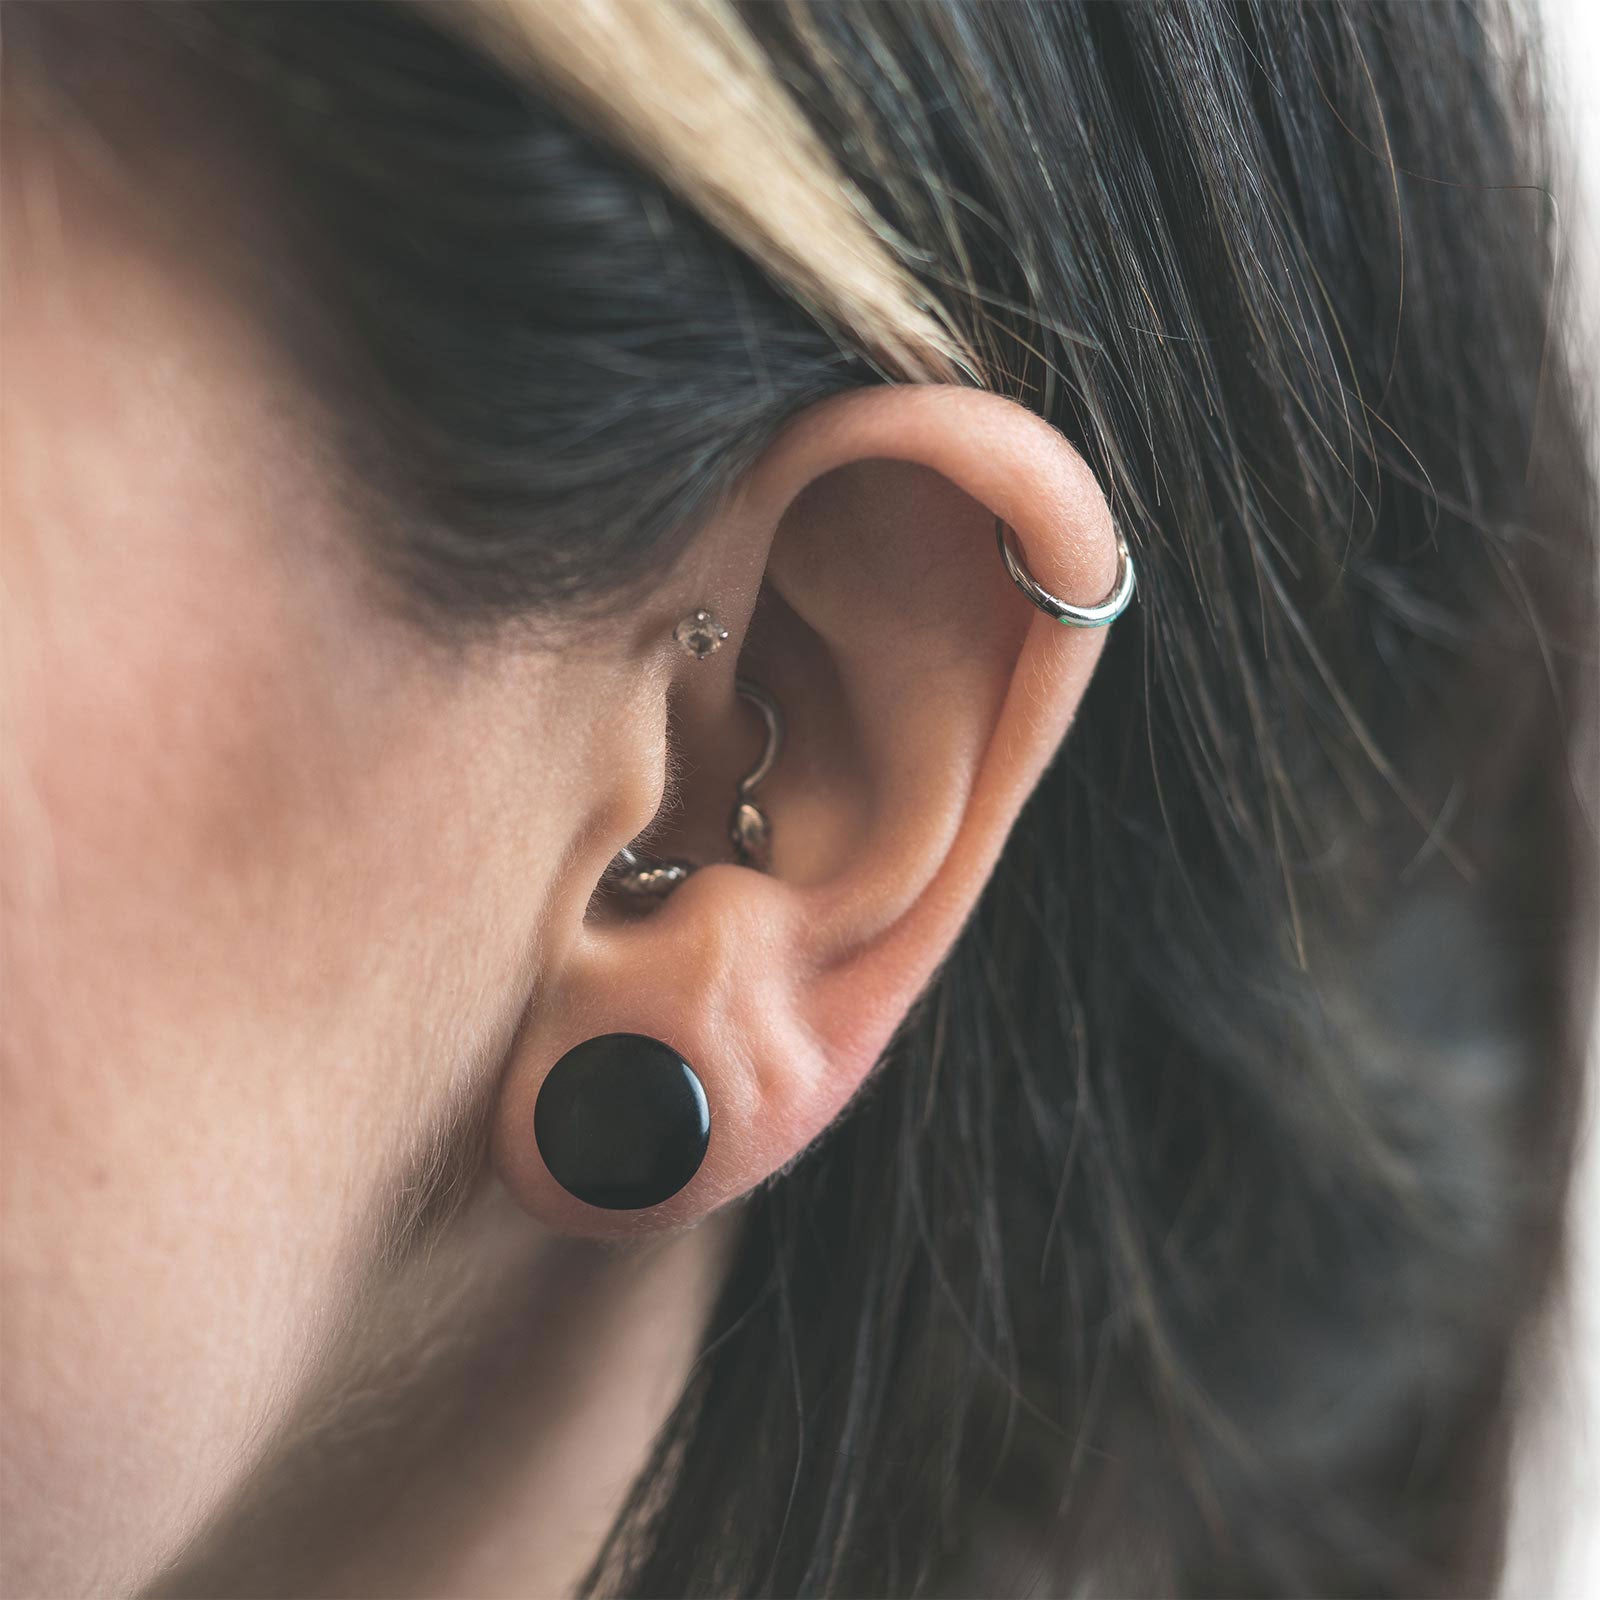
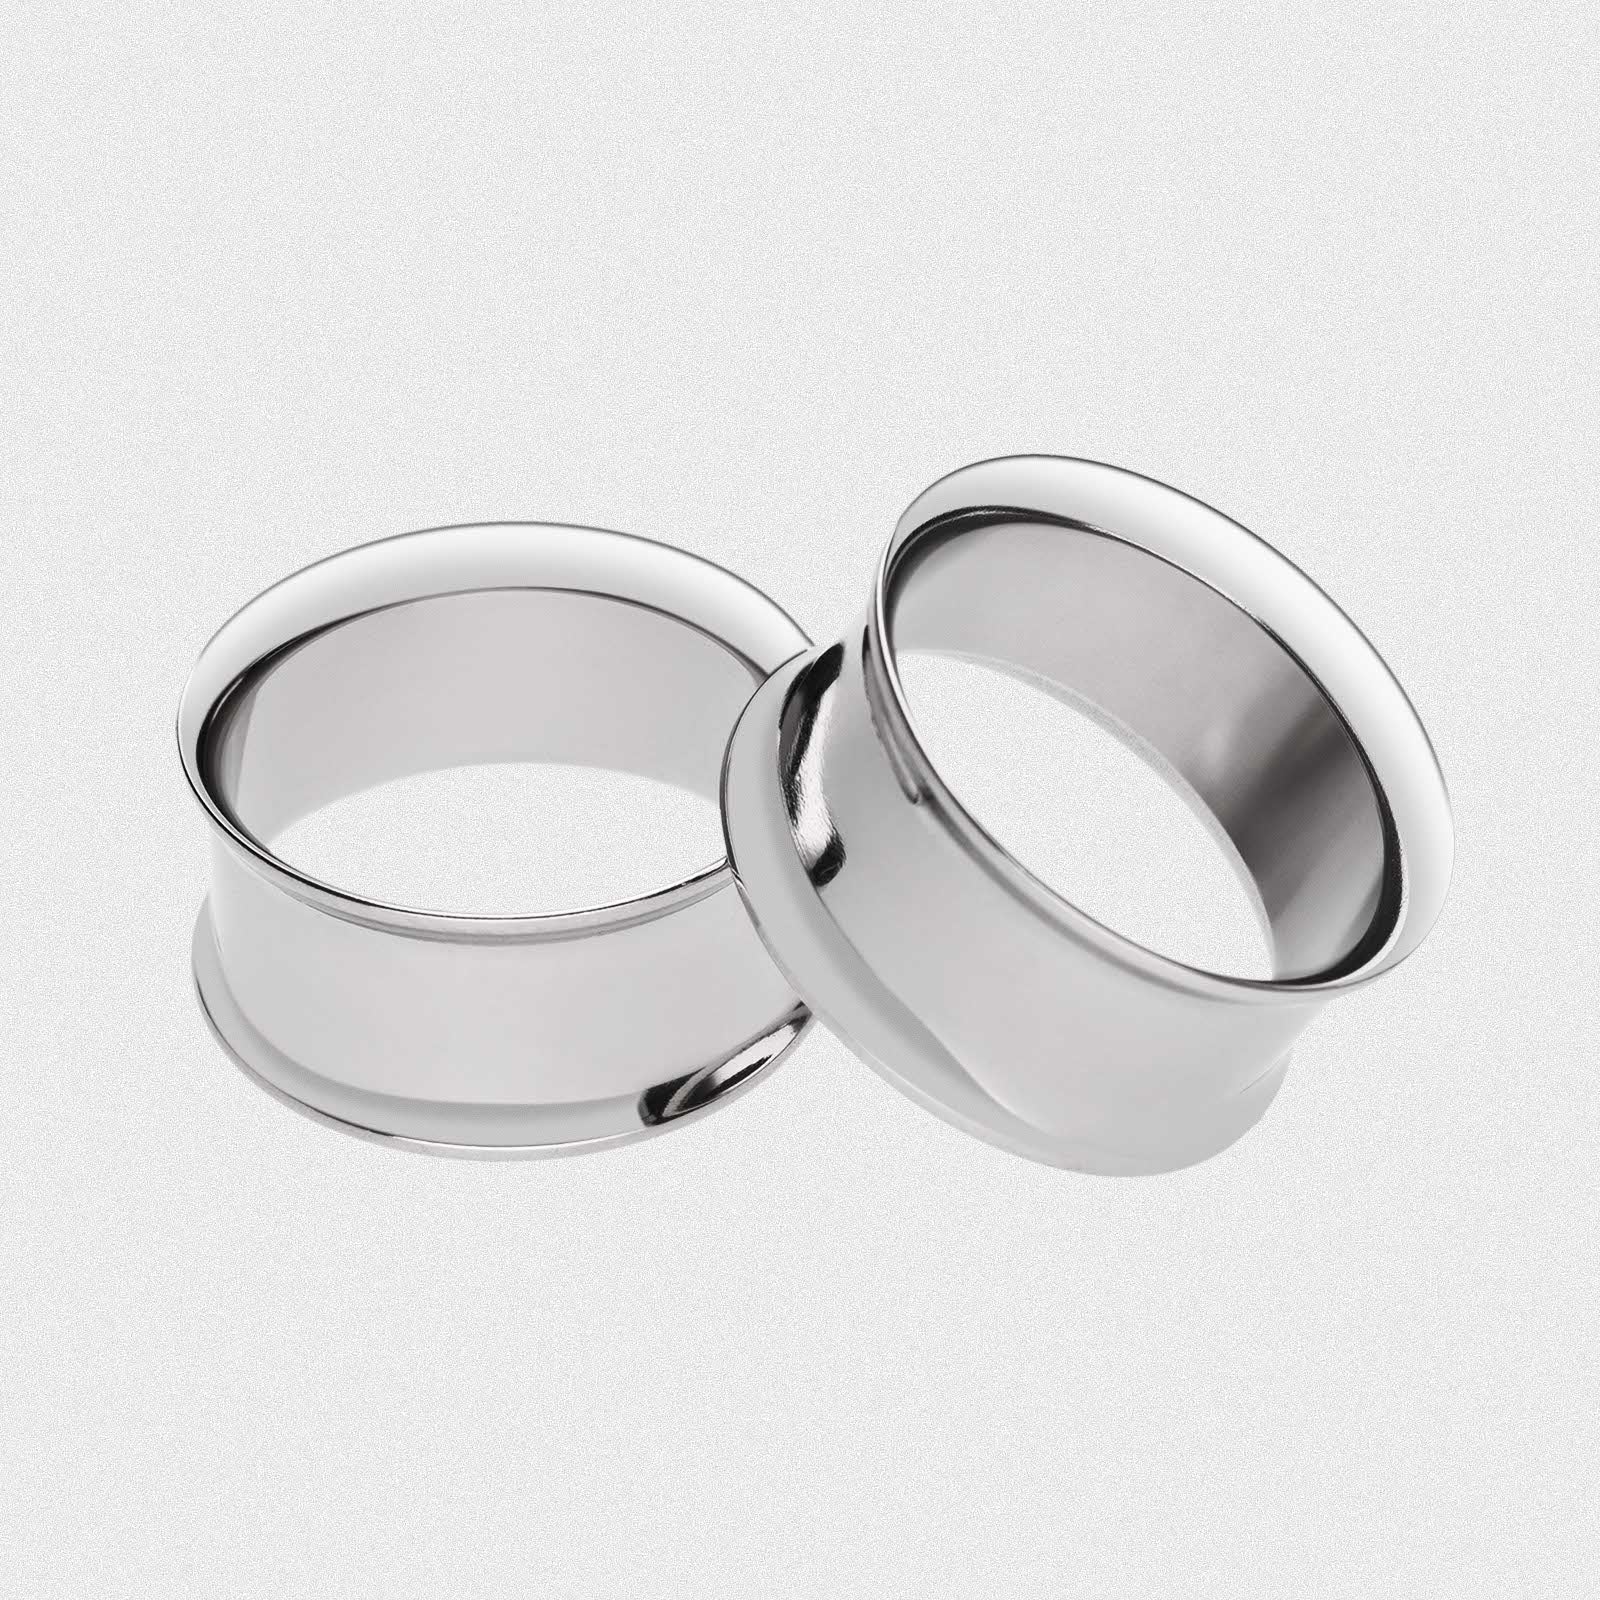
Plug or Tunnel?
This tends to be a personal preference. While we recommend our flesh tunnel kits due to their light weight, some people prefer the look of plugs. Plugs are also less noticeable and sometimes a requirement for professional environments when flesh tunnels are not acceptable.
What you'll need:
- Clean pair of hands
- Surgical steel ear stretching kit consisting of tapers and single flare tunnels or plugs
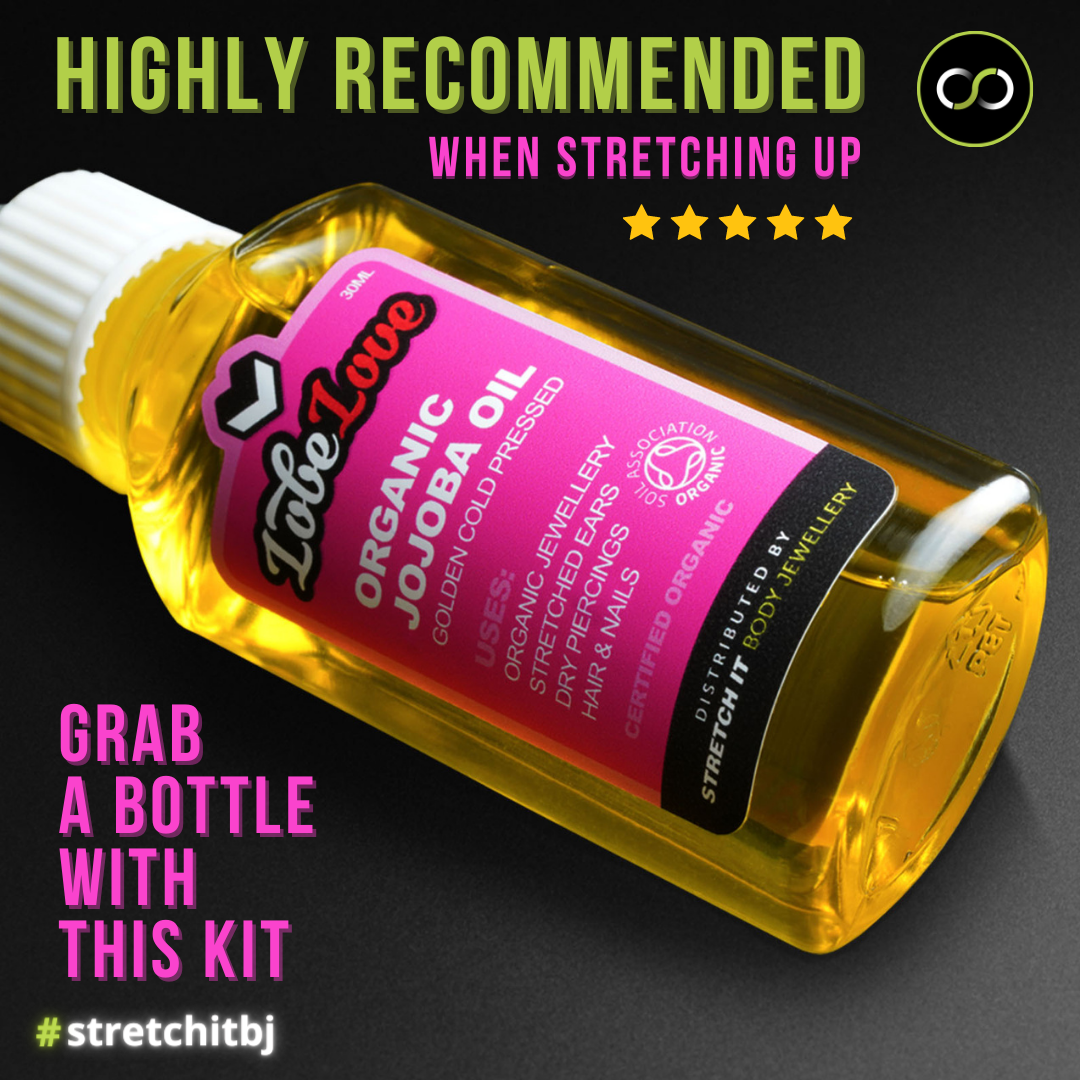
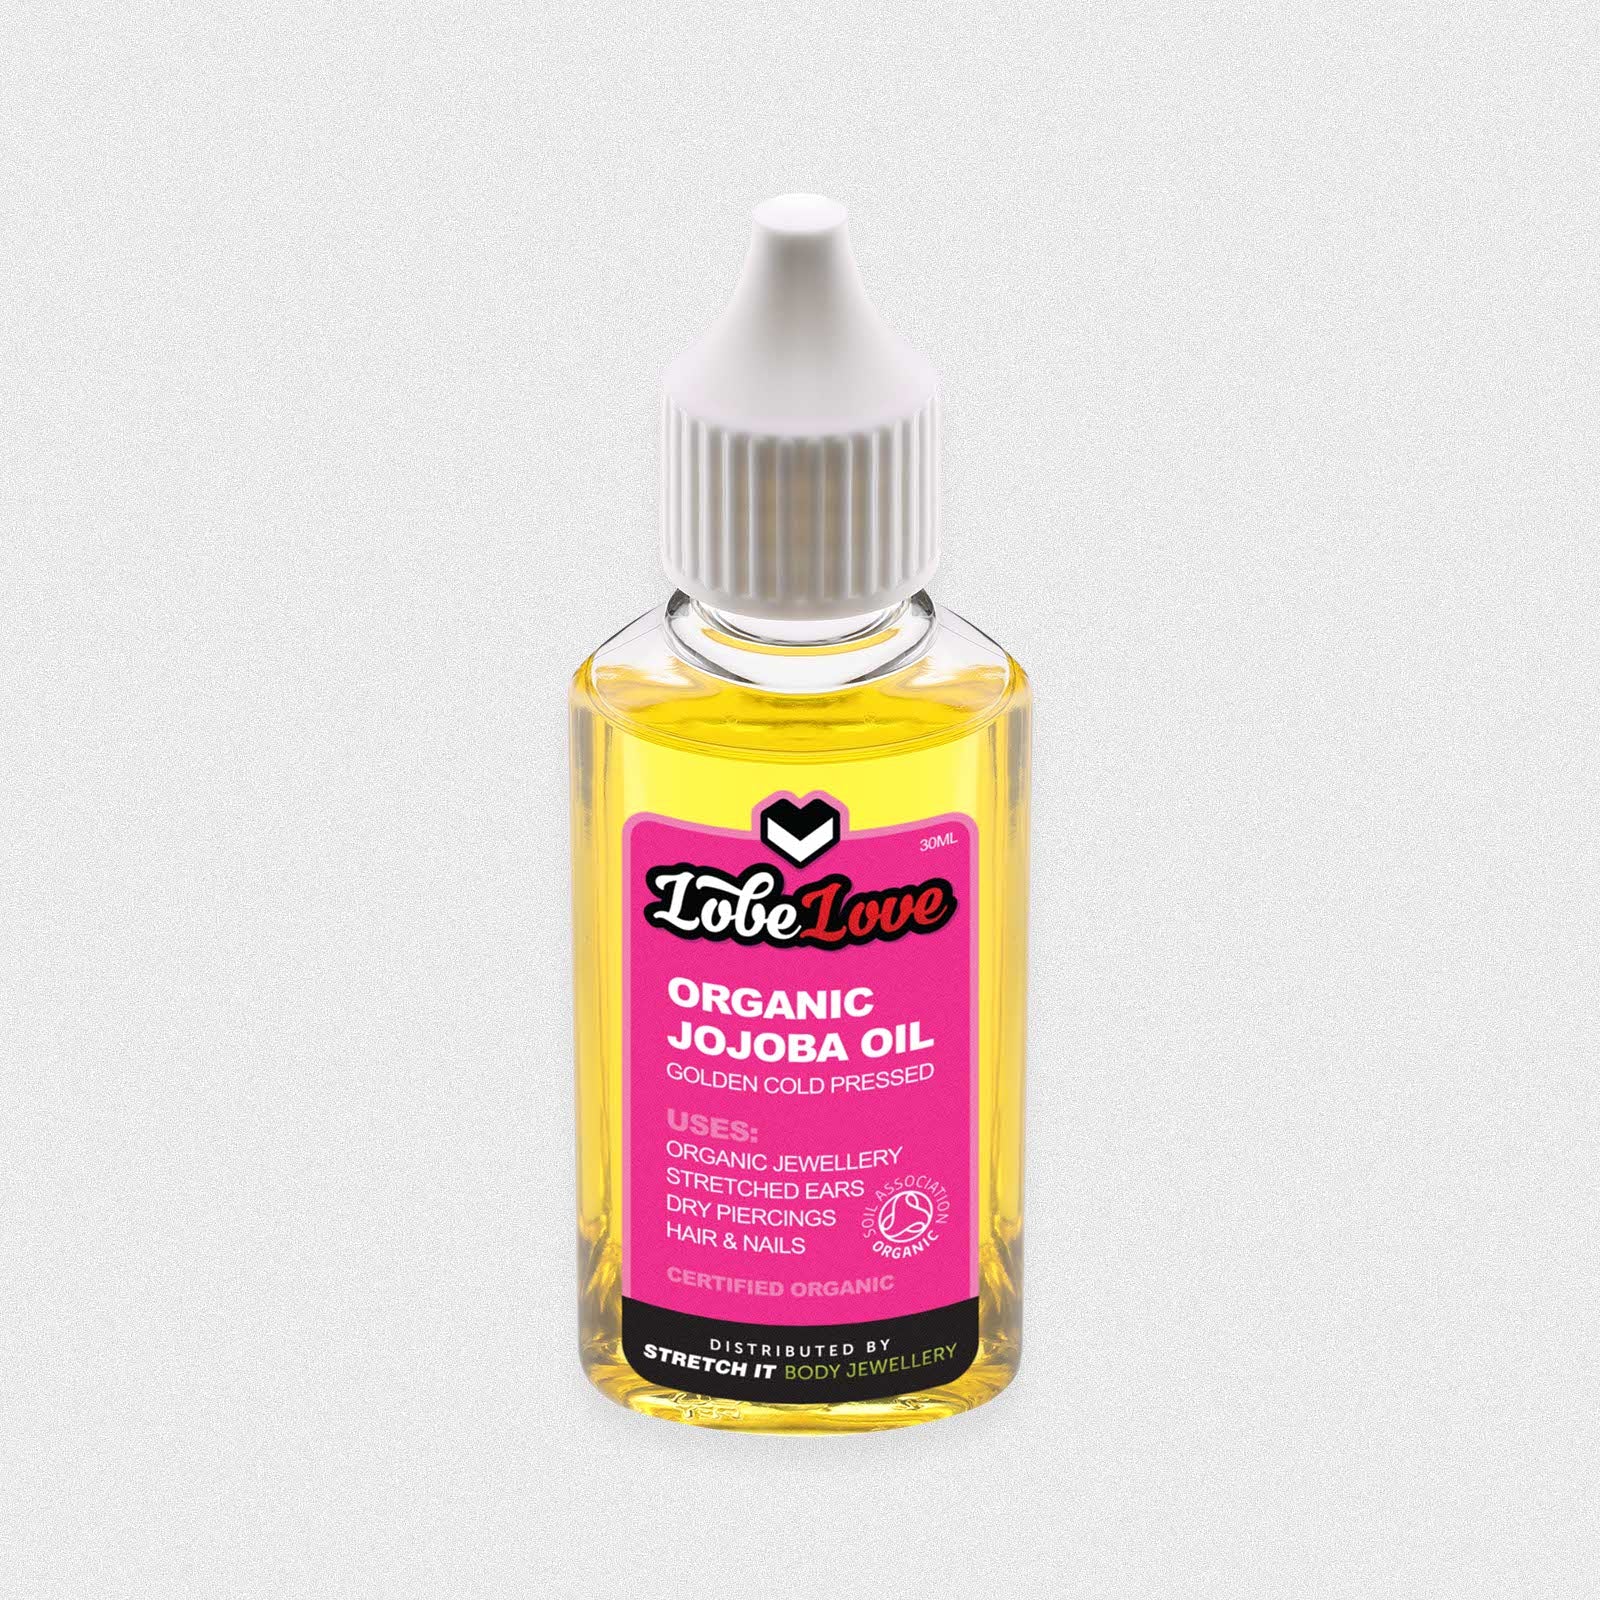
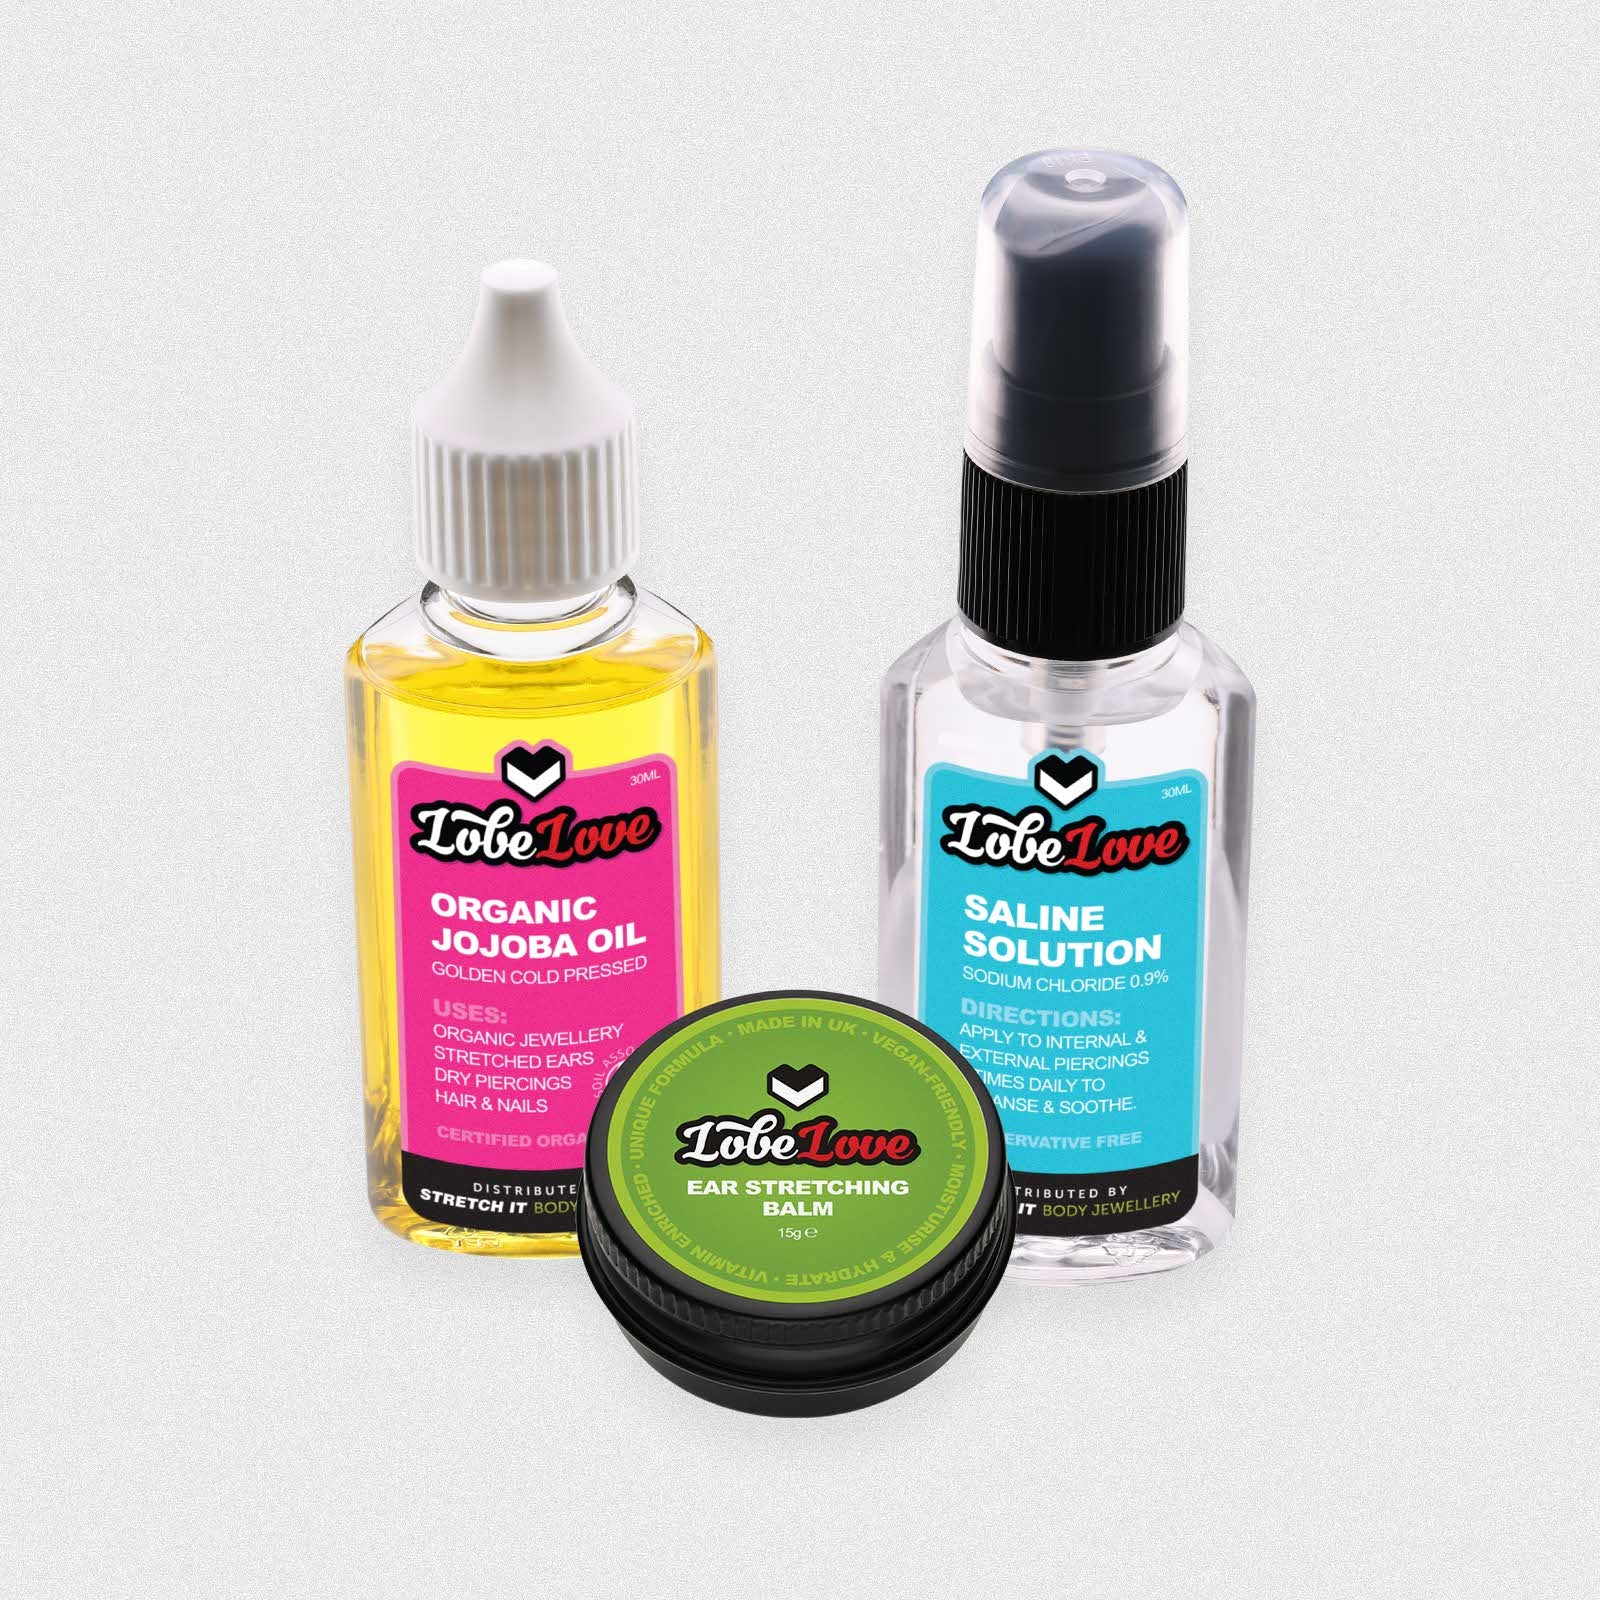
- Jojoba Oil
- Fragrance-free antibacterial soap
- Hot shower or bath
Step by step guide
Taper Method


SIBJ's Top Pick
Recommended Taper Kit


Surgical Steel Taper & Single Flare Tunnel Kit
4 easy payments of £4.00 with![]()
4 easy payments of £4.00 with![]()
Kit Size
Stretching Both Lobes
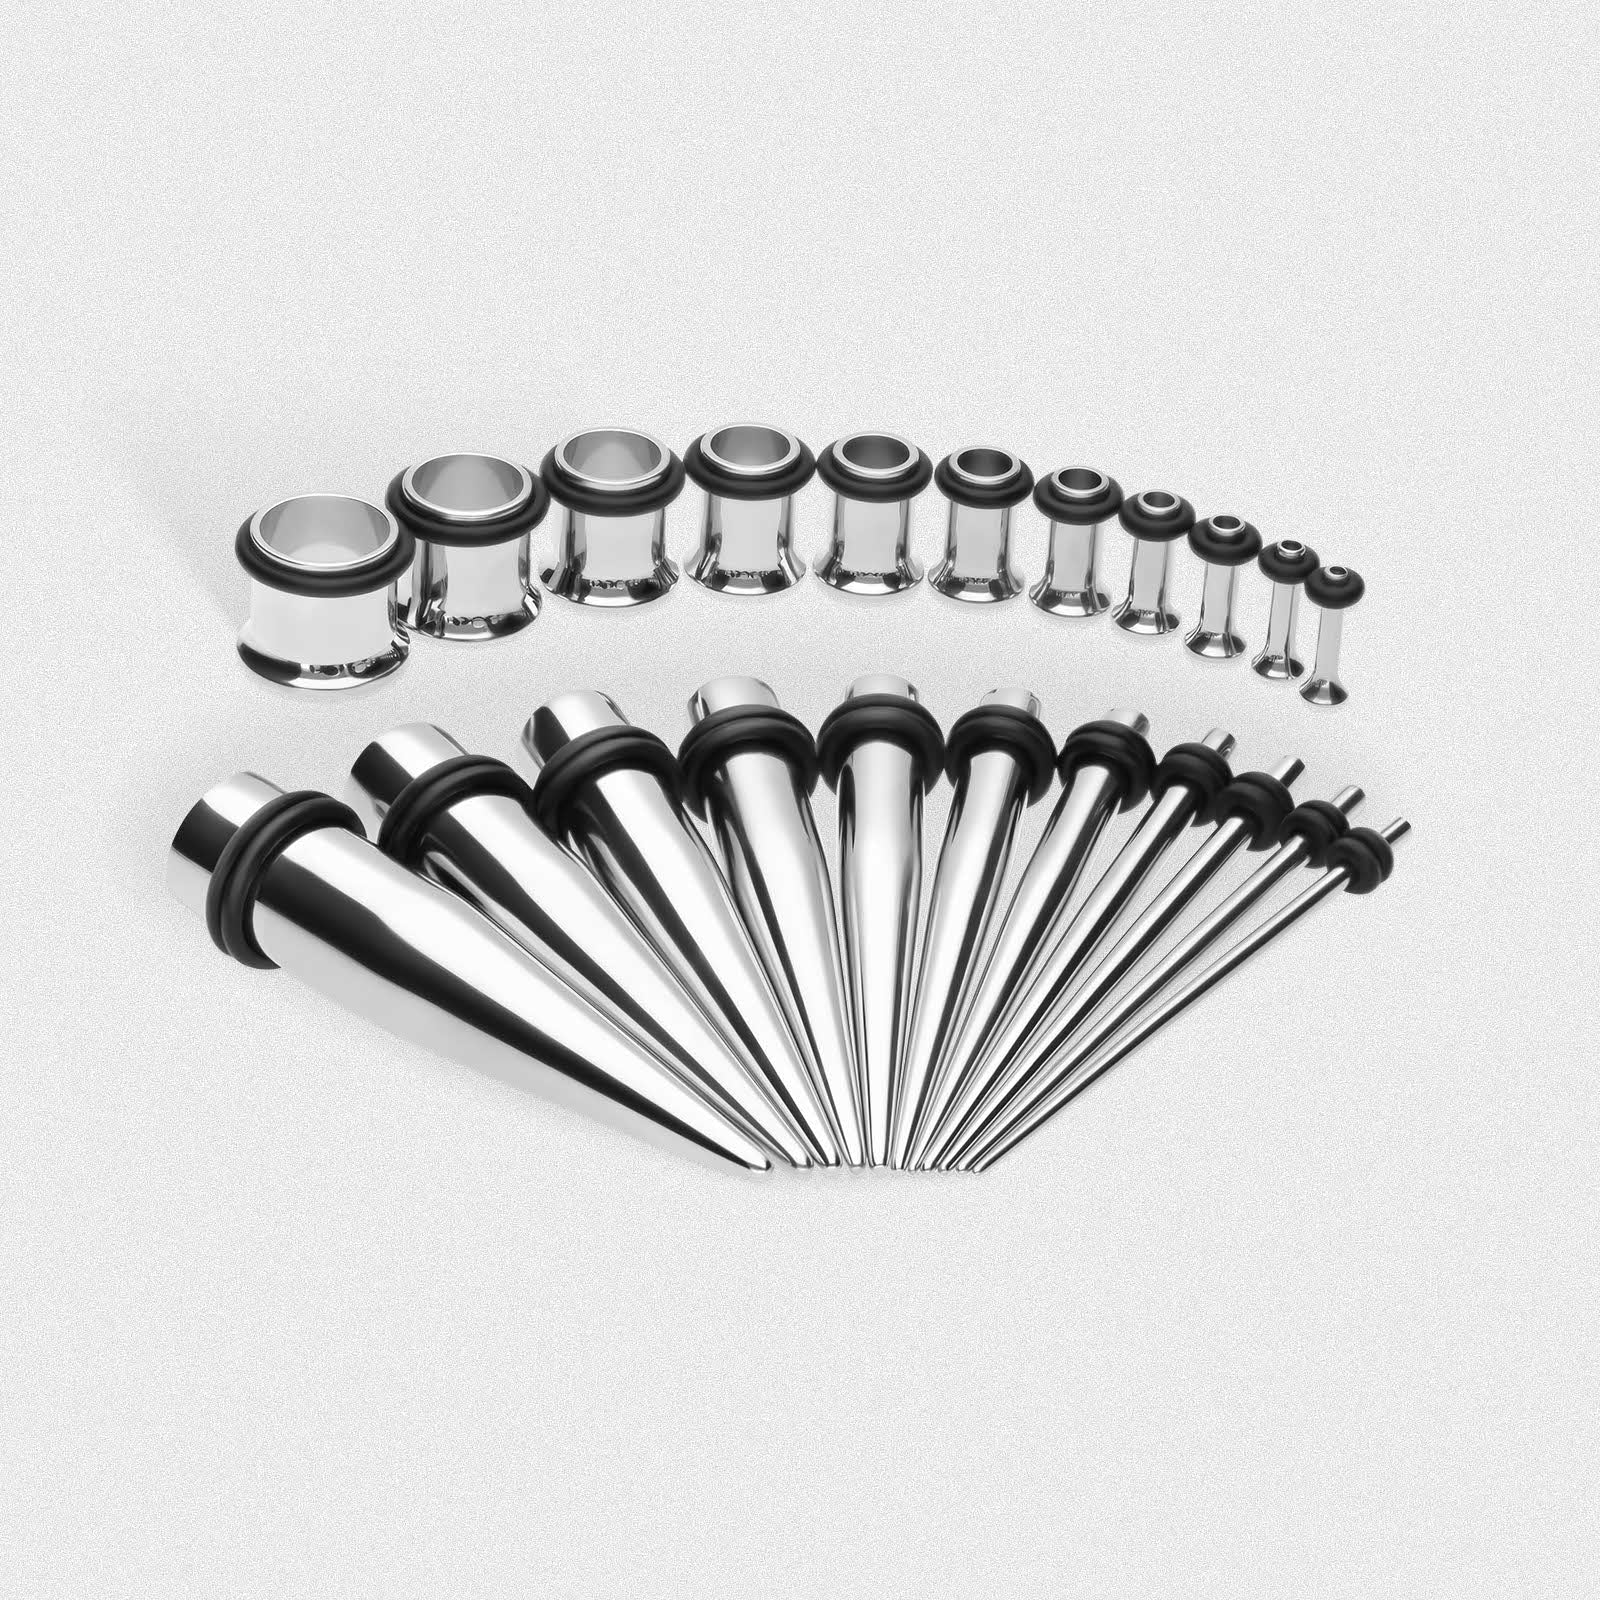
We sell ear stretching kits from 1.6mm (14g) up to 10mm (00g) with some smaller kits in between.
When stretching past 10mm (00g) we highly recommend you put down the tapers and pick up the dead stretchers or tape. I know, tapers and tape - it’s like the art of ear stretching was destined to be confusing!
Ear stretching blowouts increase dramatically when stretching past 10mm (00g) with tapers. Dead stretching or taping then become your safest options to stretch up.
SIBJ Recommended Method
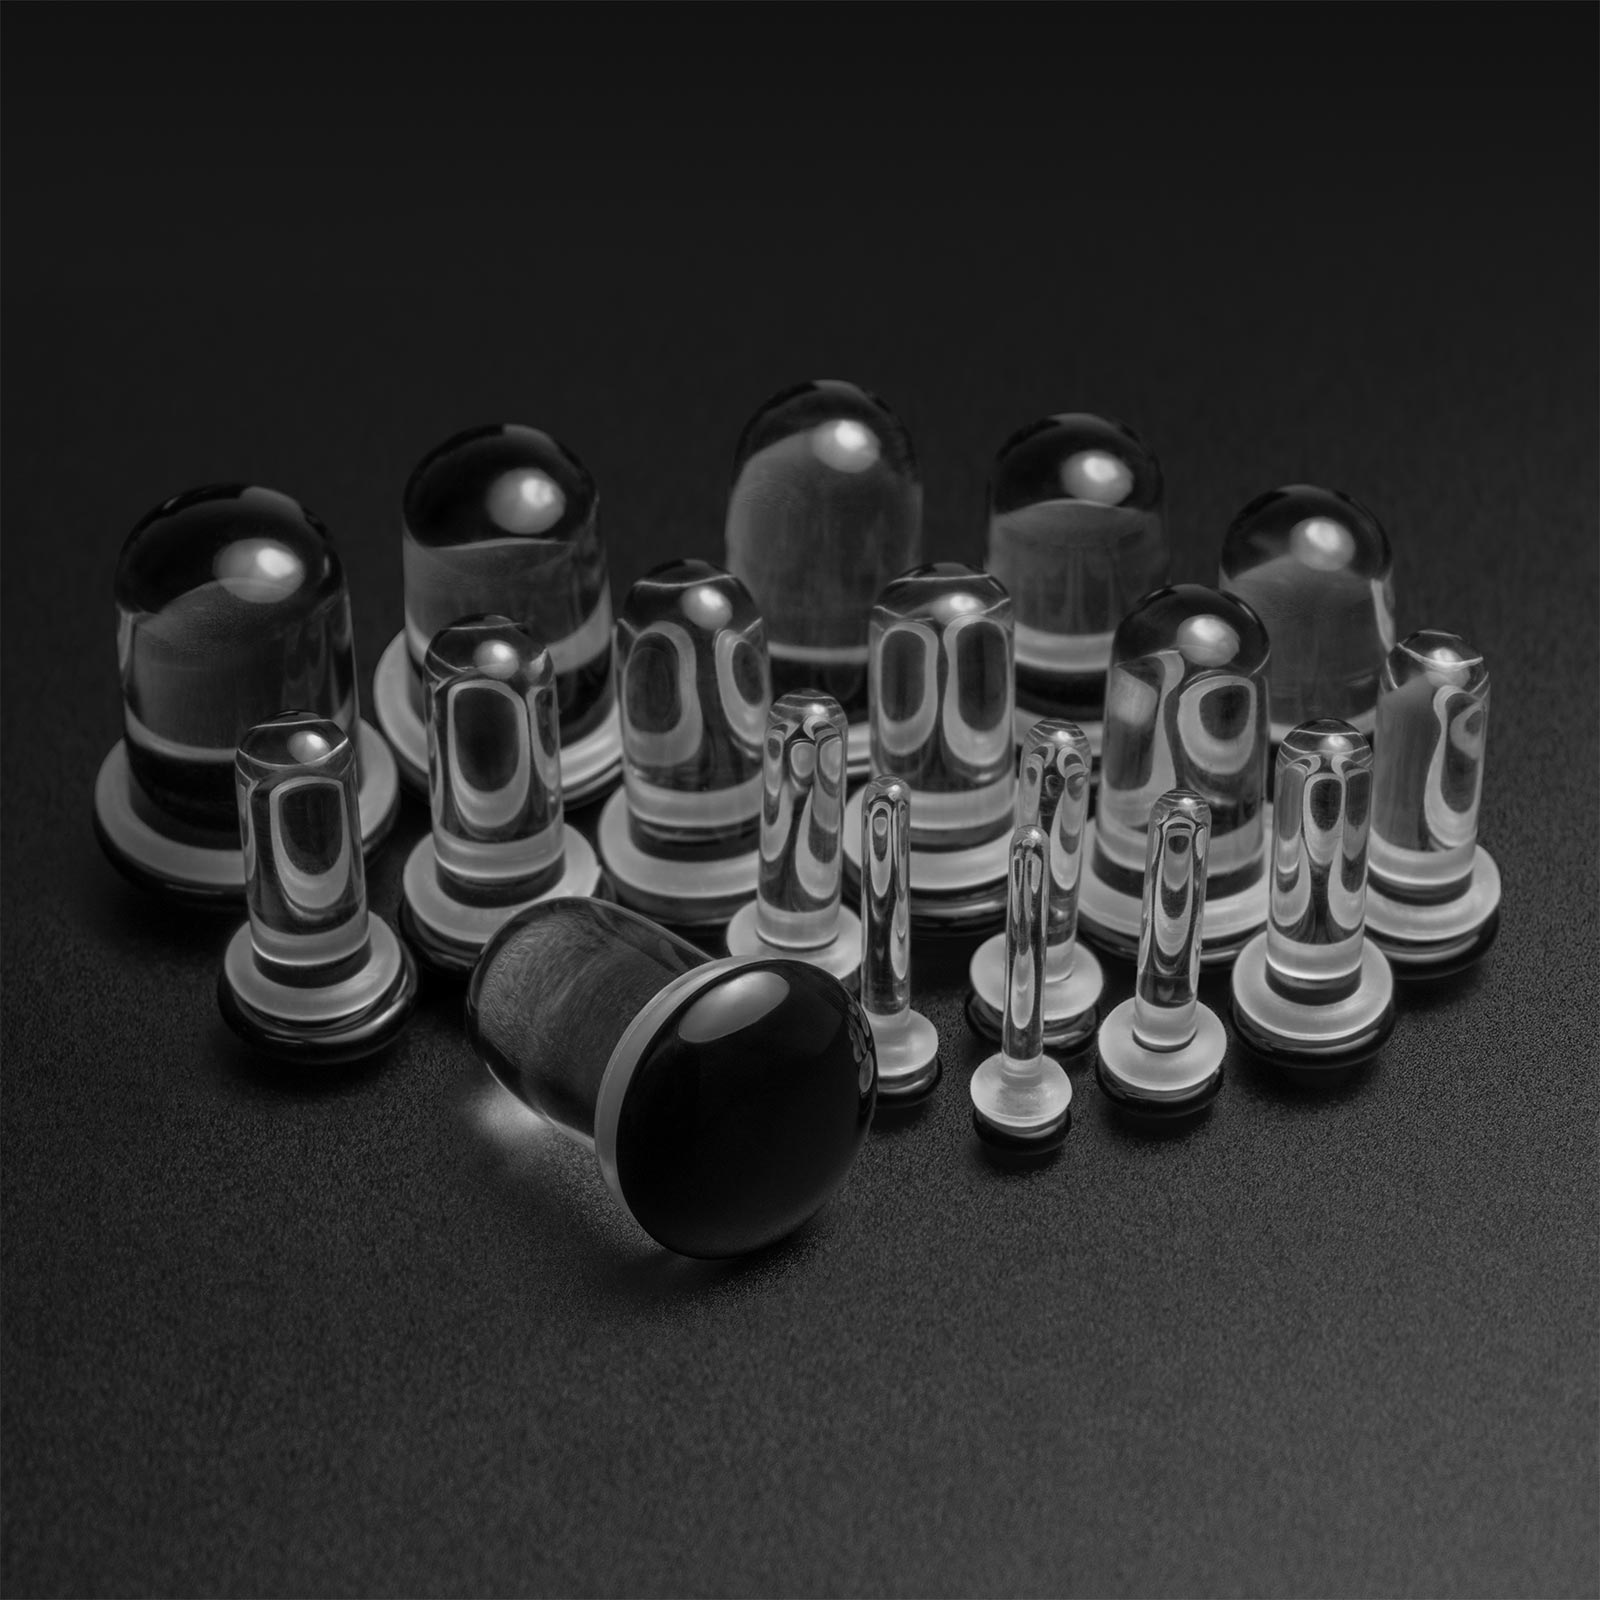
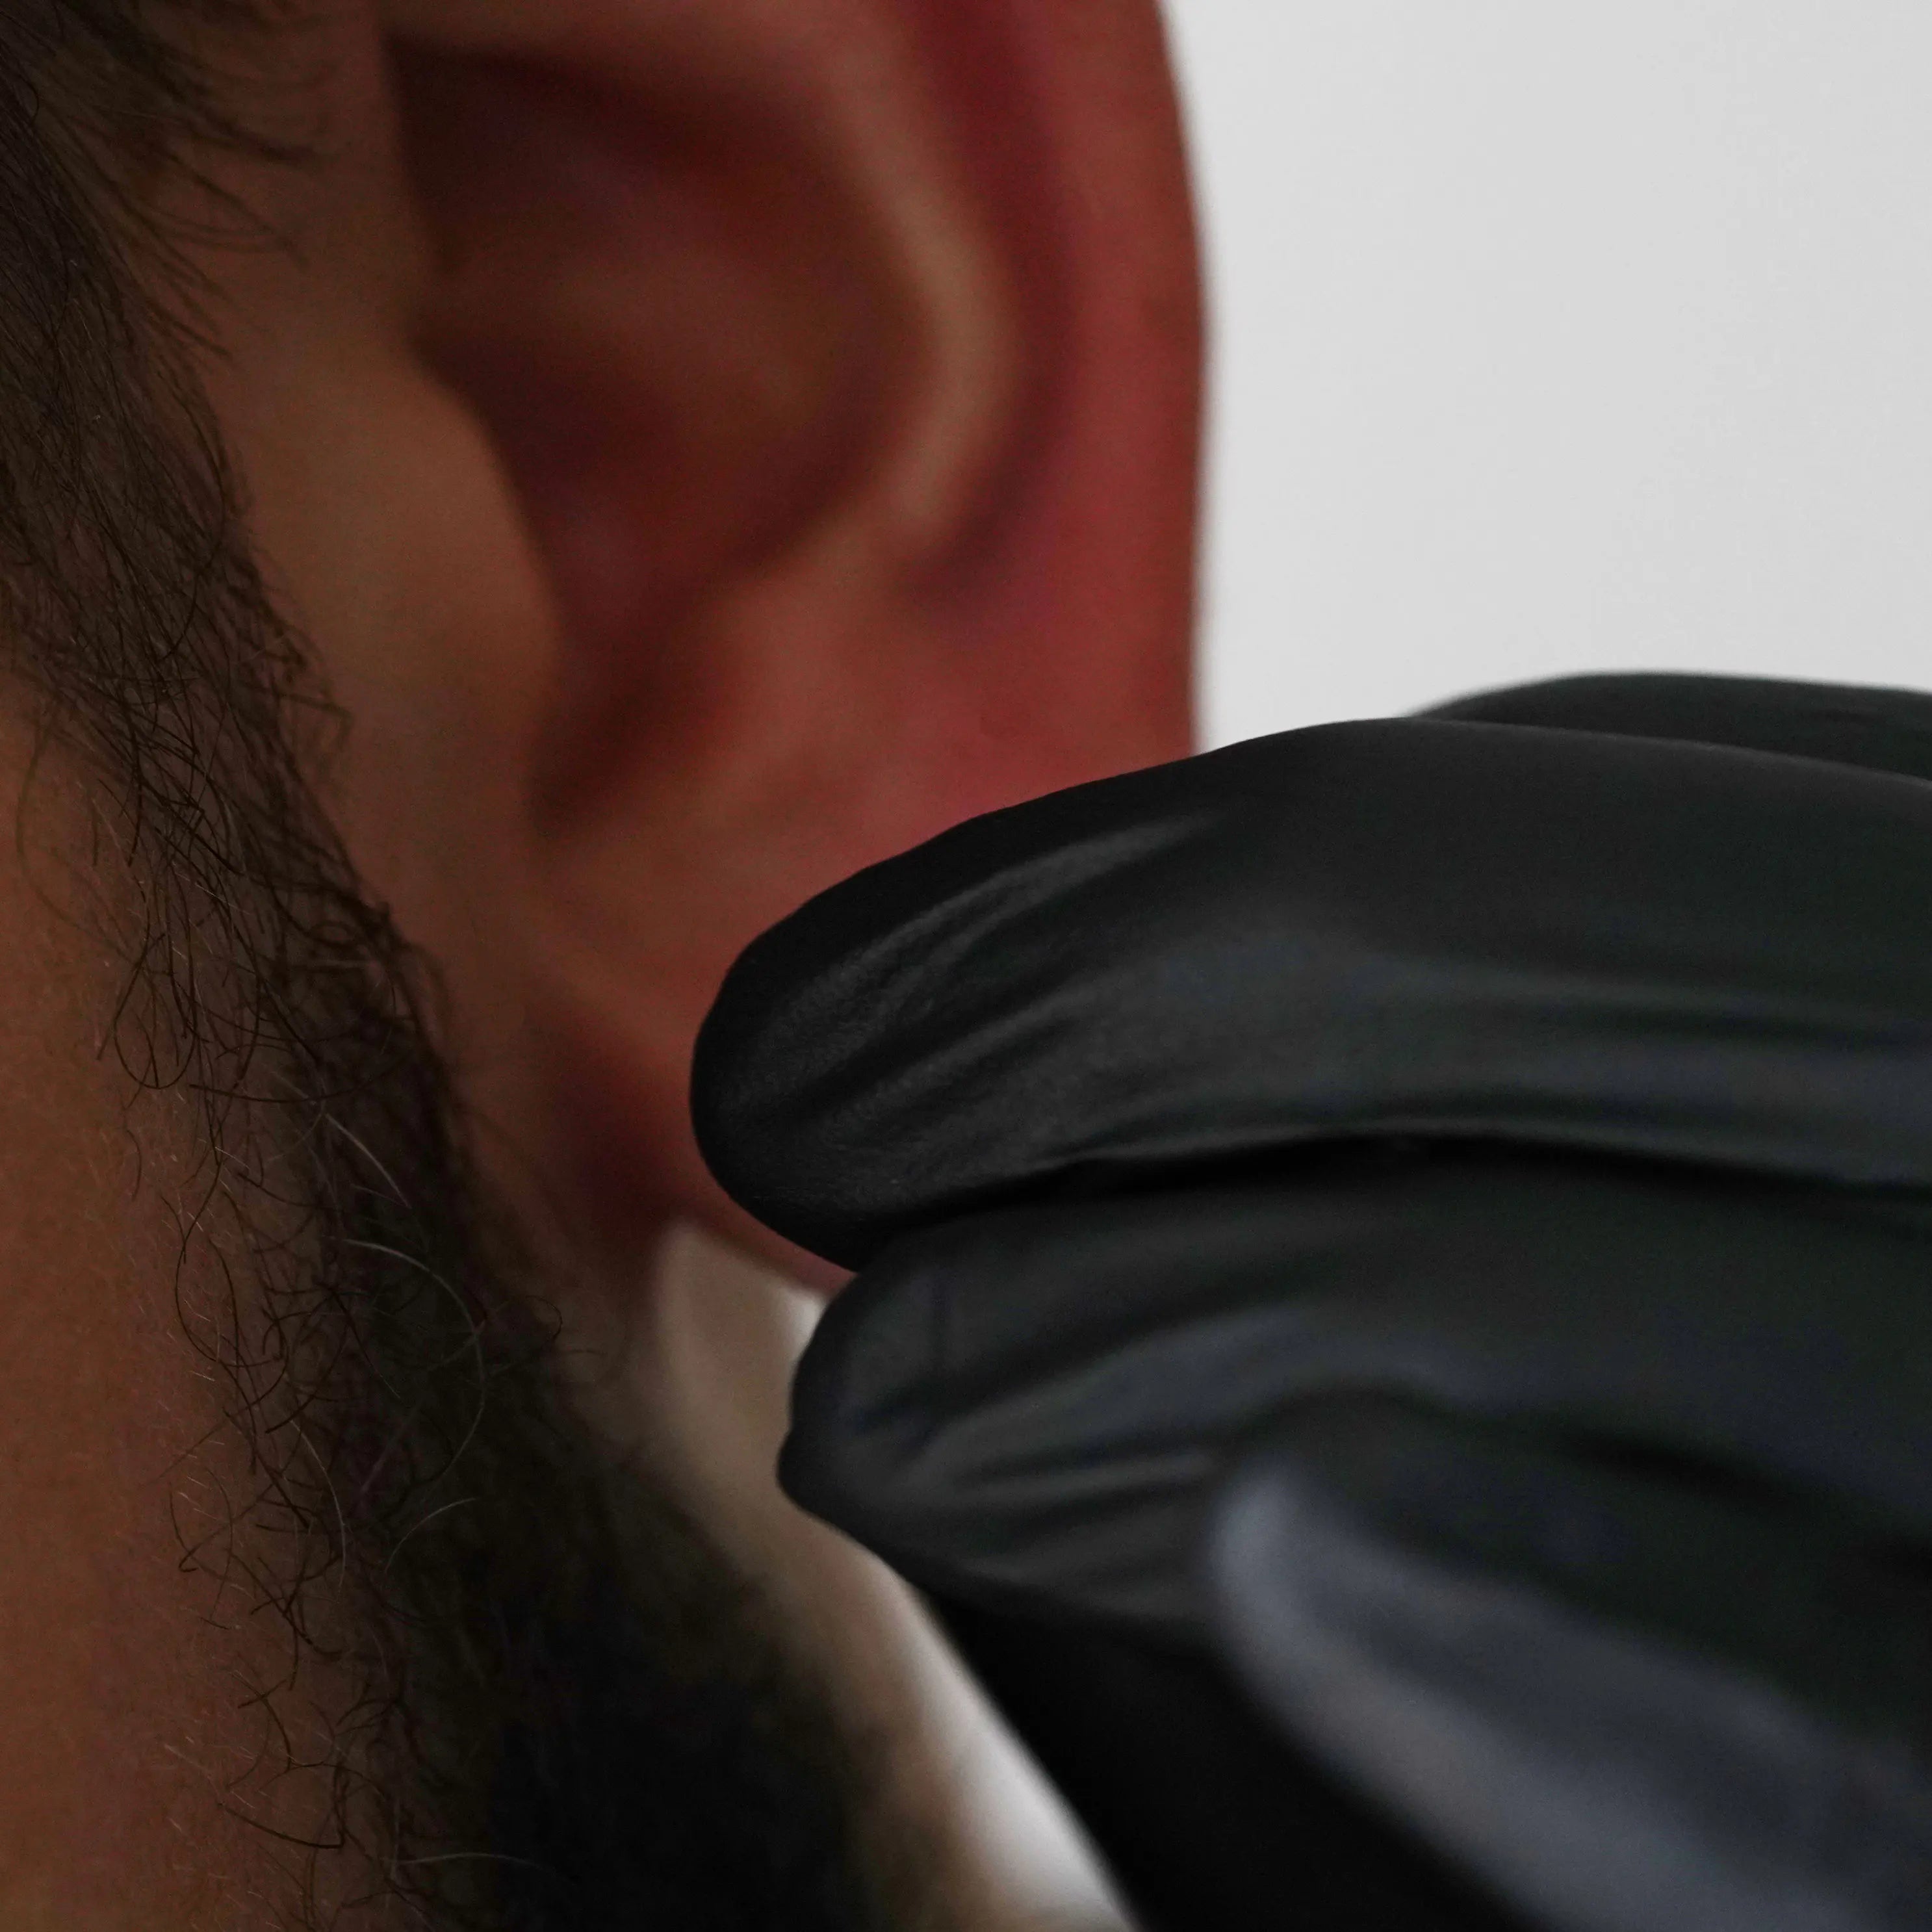
Dead Stretching Method
Dead stretching is considered to be the unrivaled stretching technique amongst the diehard body modifiers. And to be fair, for good reason. Dead stretching is dead straight forward, there is not much to do and therefore not much can go wrong.
Some may argue dead stretching is not safe, ramming a larger blunt object into a smaller stretched lobe doesn’t sound like a good idea. But again, the process has been misunderstood.
Dead stretching requires patience and plenty of it. Whilst tapers are great to safely assist with the transition of larger gauge piece of jewellery, dead stretching should only be used when your current jewellery is getting loose.
The industry standard for dead stretching is going up in 1mm increments and as always, never skipping sizes. Over time the weight of the jewellery will slightly stretch your lobes and then the next size can be inserted with ease. The problem here is that smaller gauge jewellery is very light and this process could take a long time, even with 1mm increments.
SIBJ have gone a step further with their ultimate Dead Stretching Kits, offering tiny 0.5mm increments between stretches! This means you can stretch up more easily, and more importantly, make the process even safer.
And the best thing? You can use this method from a standard pierced ear up to 25mm+ with SIBJ.
What you'll need:
- Clean pair of hands
- Surgical steel or titanium dead stretching kit consisting of single flare plugs/tunnels with 0.5mm increments
- Jojoba Oil
- Fragrance-free antibacterial soap
- Hot shower or bath

SIBJ's Top Pick
Recommended Dead Stretching Kit


Black Glass Dead Stretching Kit
4 easy payments of £4.00 with![]()
4 easy payments of £4.00 with![]()
Kit Size
Stretching Both Lobes
Generally used to stretch past 10mm (00g)
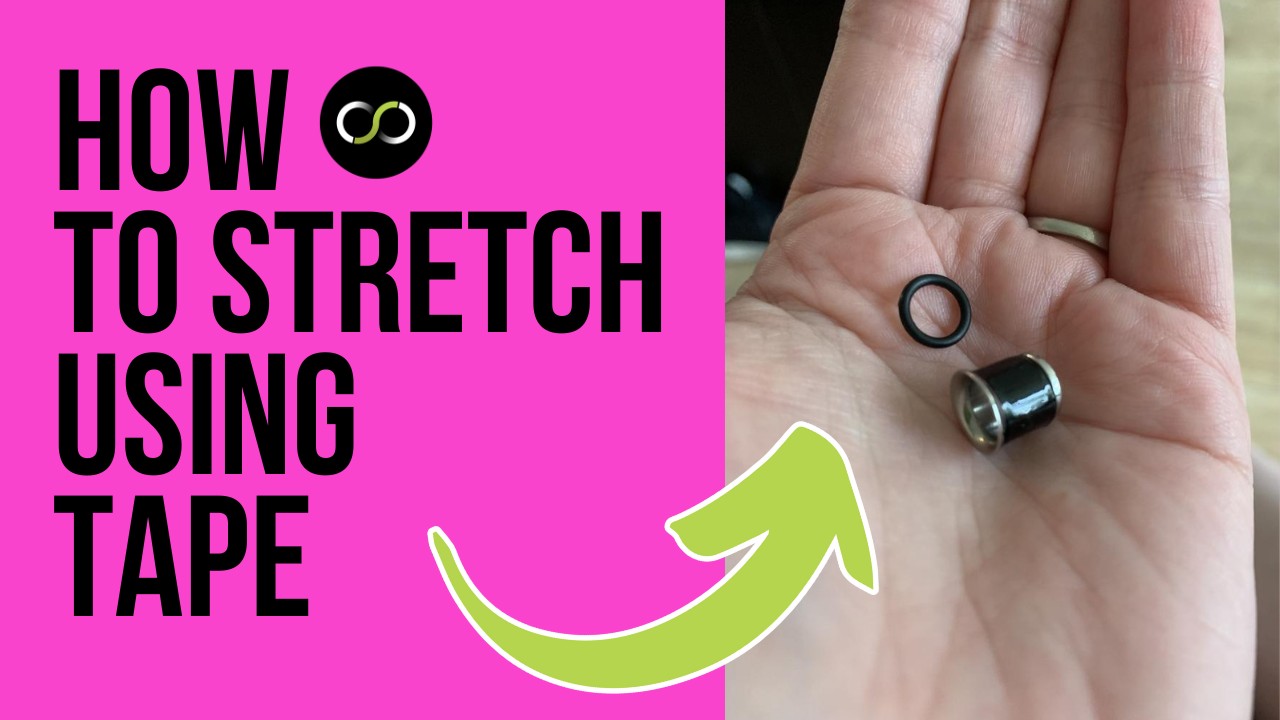
Taping Method
When plugs get bigger, so do the jumps between sizes. This is where the taping method comes into its own and bridges these gaps.
Simply put, the taping method involves wrapping tape around your current jewellery to gradually increase its diameter.
This method can be fiddly at first, but once you have mastered the art of wrapping the results are a cheap, super gradual and safe method of stretching up in the larger gauge sizes.
Which tape do I use?
Get out of your garage and put down that roll of electrical tape! Most household tapes are not suitable for the taping method. This is mainly due to the horrible adhesives and the porous properties that 99% of tapes on the market use.
Strong sticky tape that can harbour bacteria wrapped around freshly stretched lobes, not a good idea!
We only recommend using bondage tape when it comes to the taping method - no joke. Quality bondage tape is made from non-porous PVC that does not contain any phthalates, paraffins, or latex. Most importantly bondage tape is self-amalgamating which means it contains no adhesives and only sticks to itself, not your lobes!
Traditional bondage tape comes in large, wide rolls that can only be purchased from sex shops. Luckily SIBJ has developed their own ear stretching tape that is thinner, cheaper and does not require an embarrassing trip into town.
What you'll need:
- Clean pair of hands
- Single flare tunnel or plug (Surgical steel, glass or other fresh stretch friendly material)
- SIBJ Premium Ear Stretching Tape
- Jojoba Oil
- Fragrance-free antibacterial soap
- Hot shower or bath
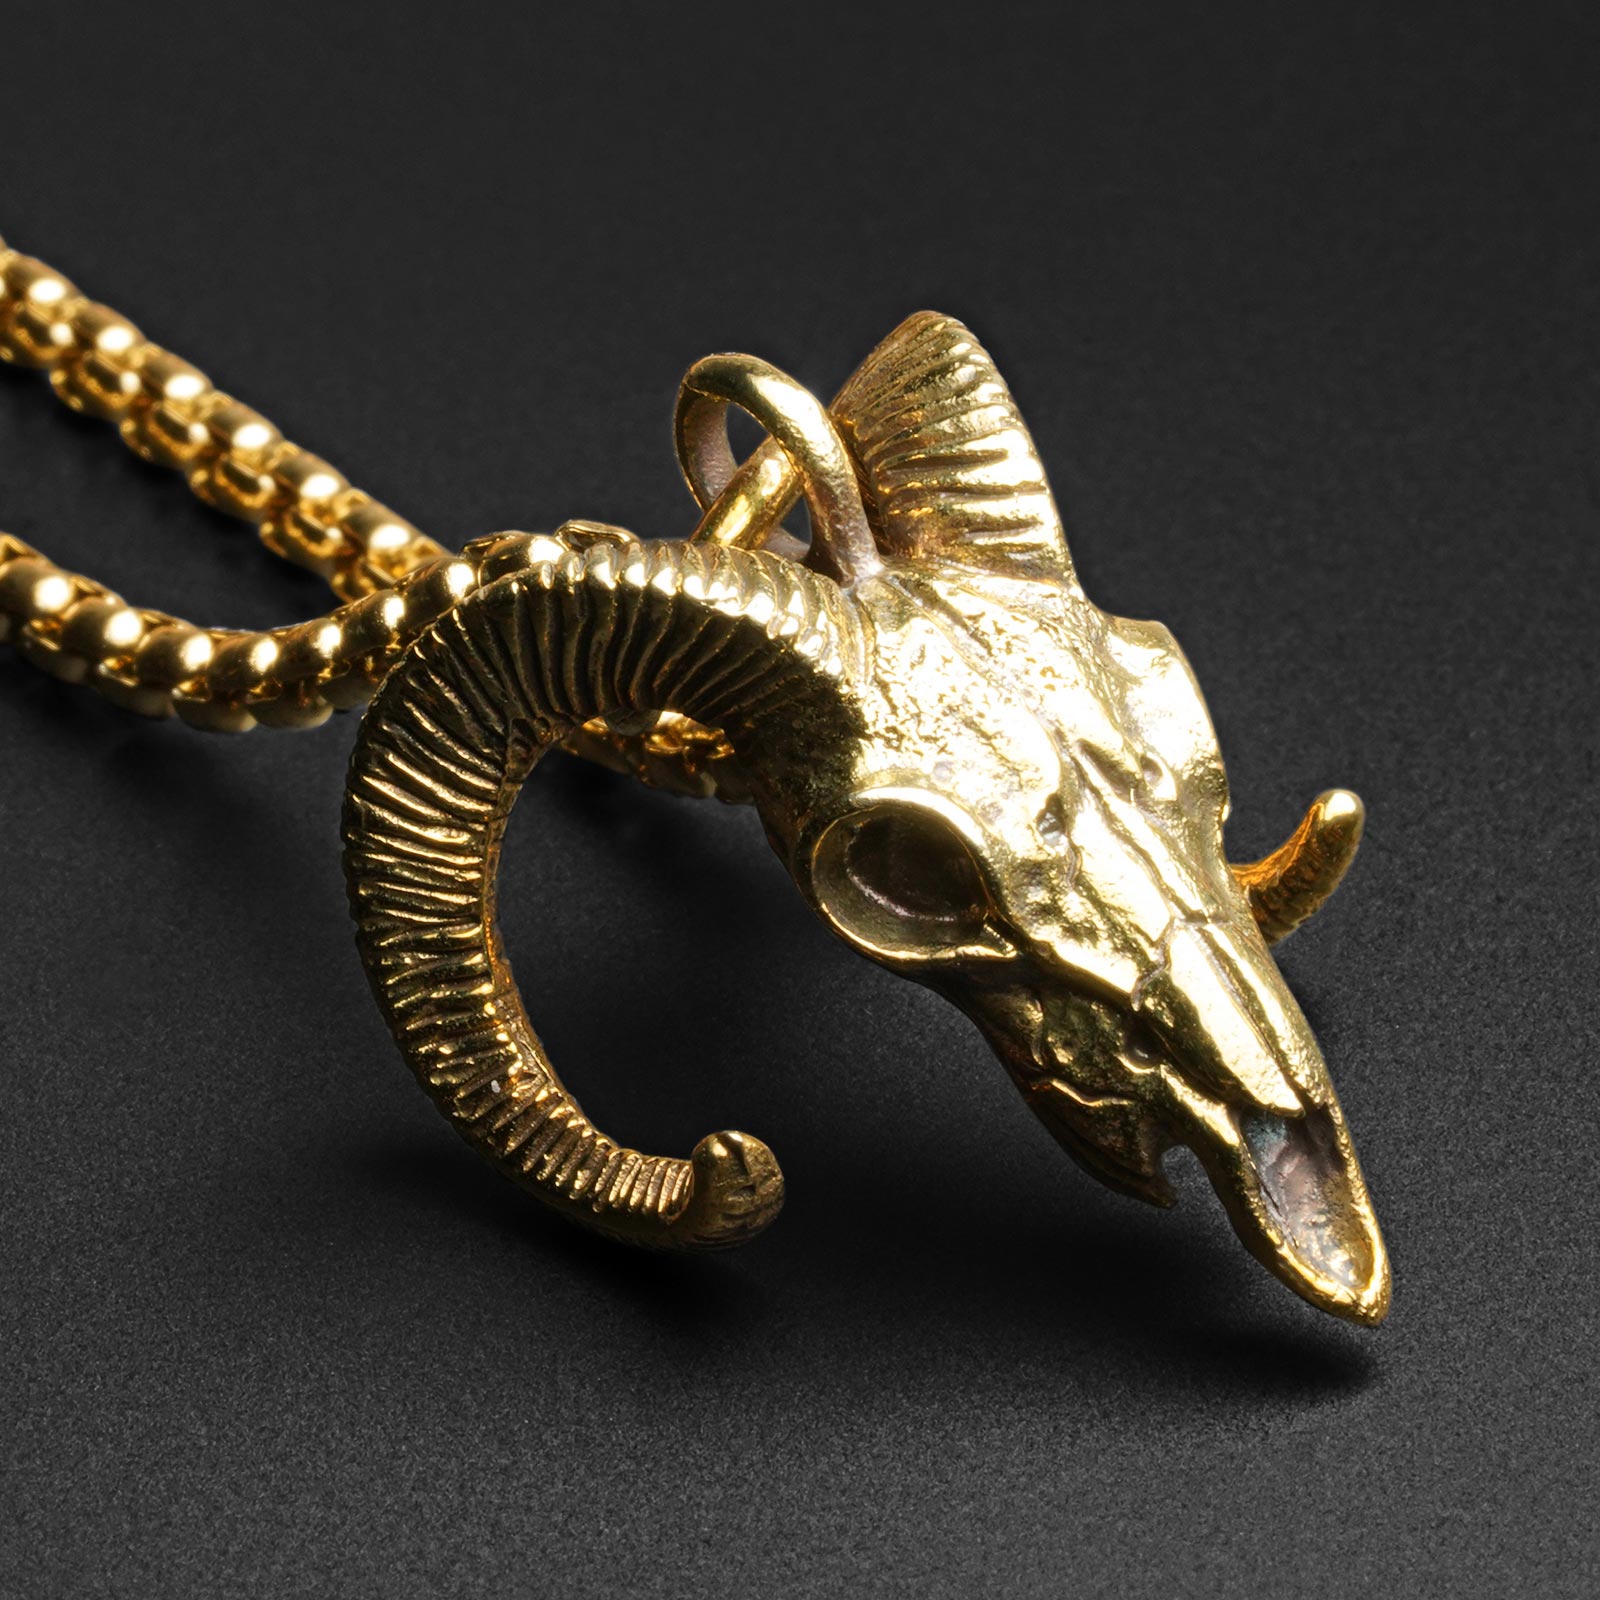
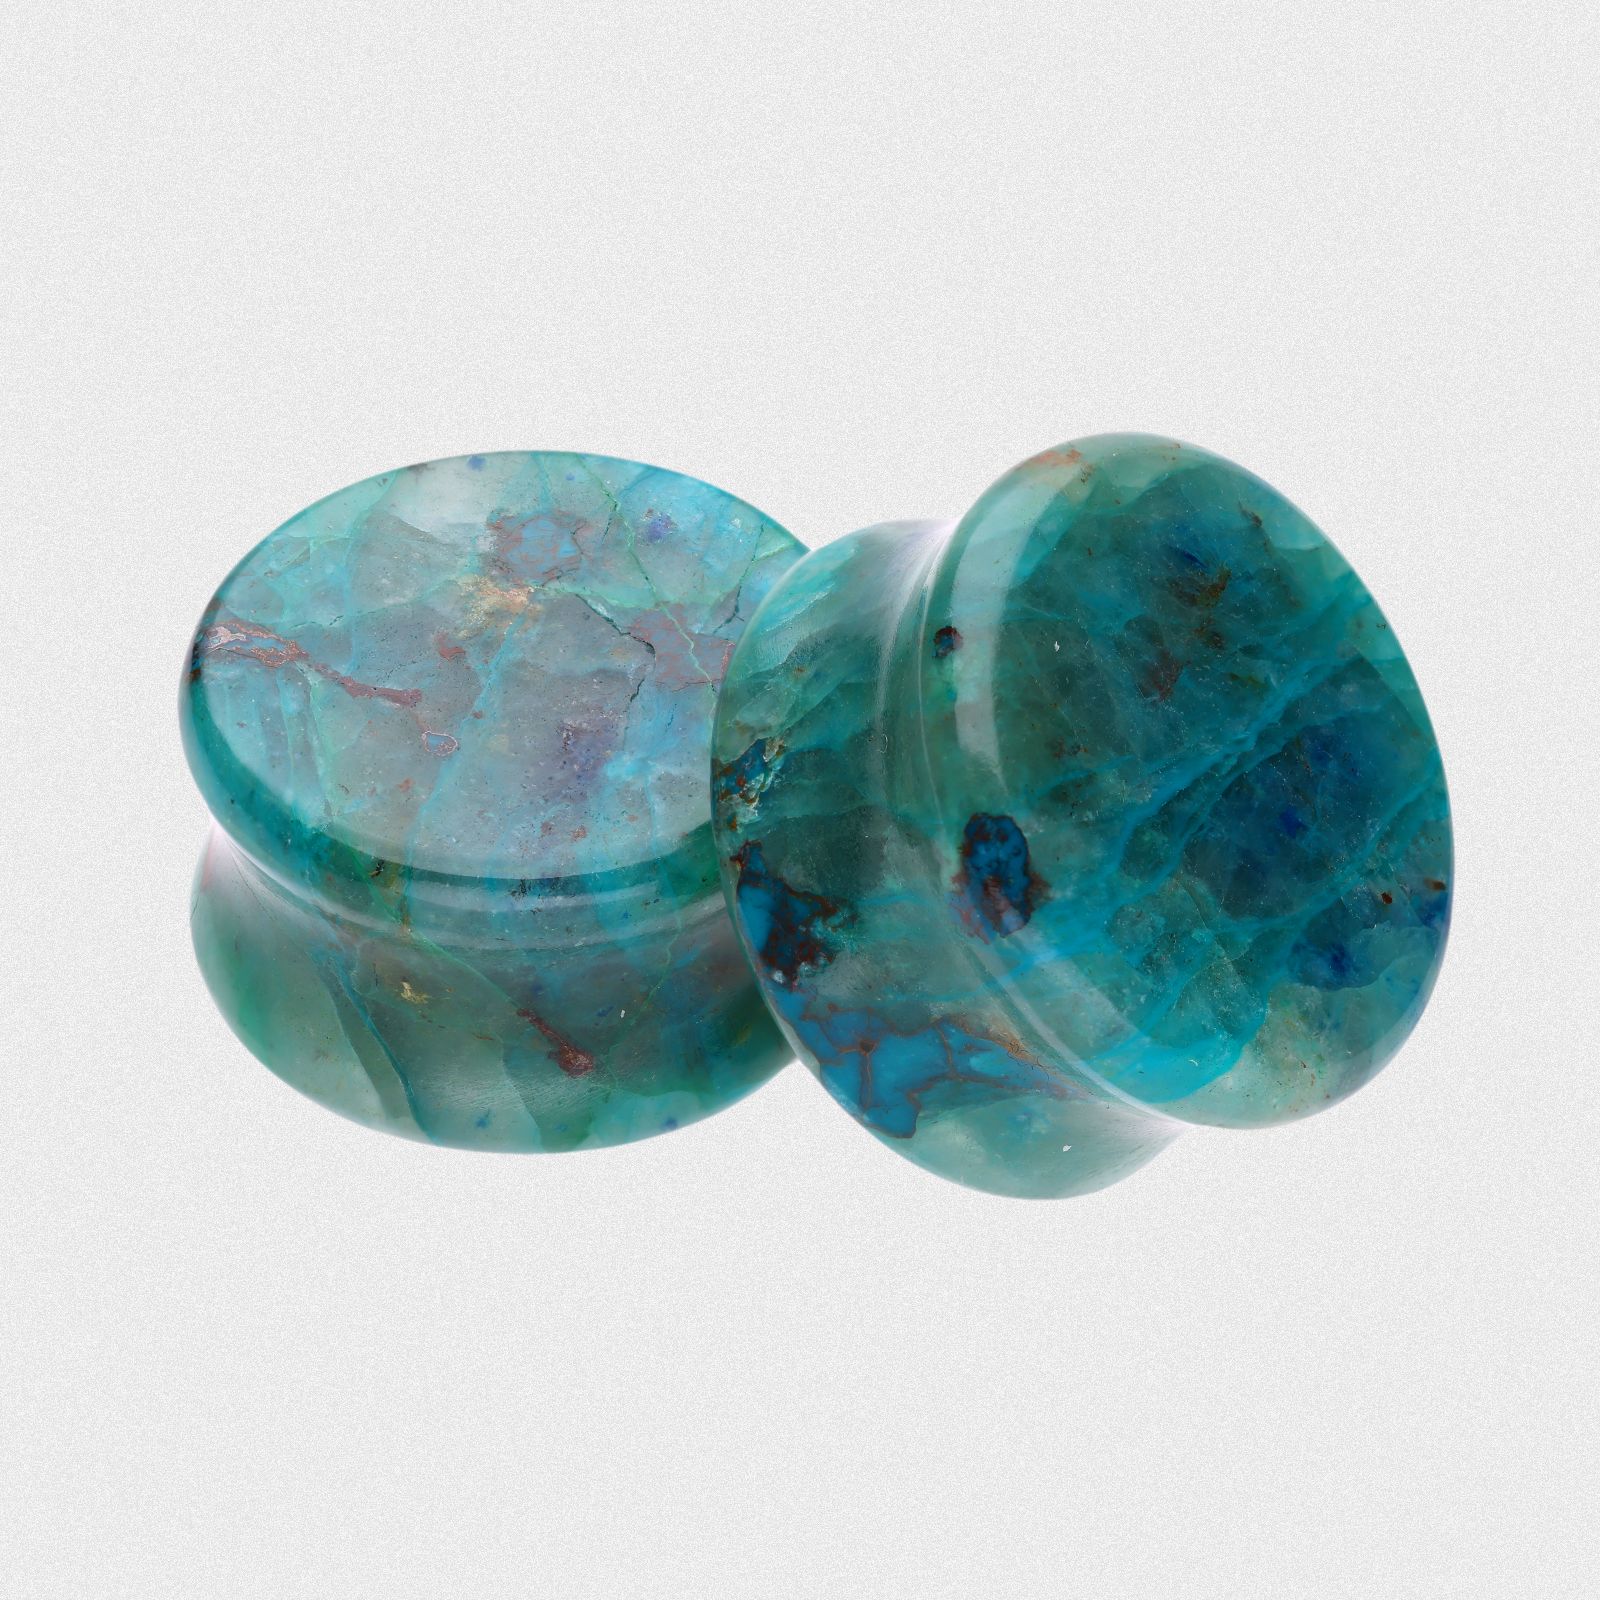
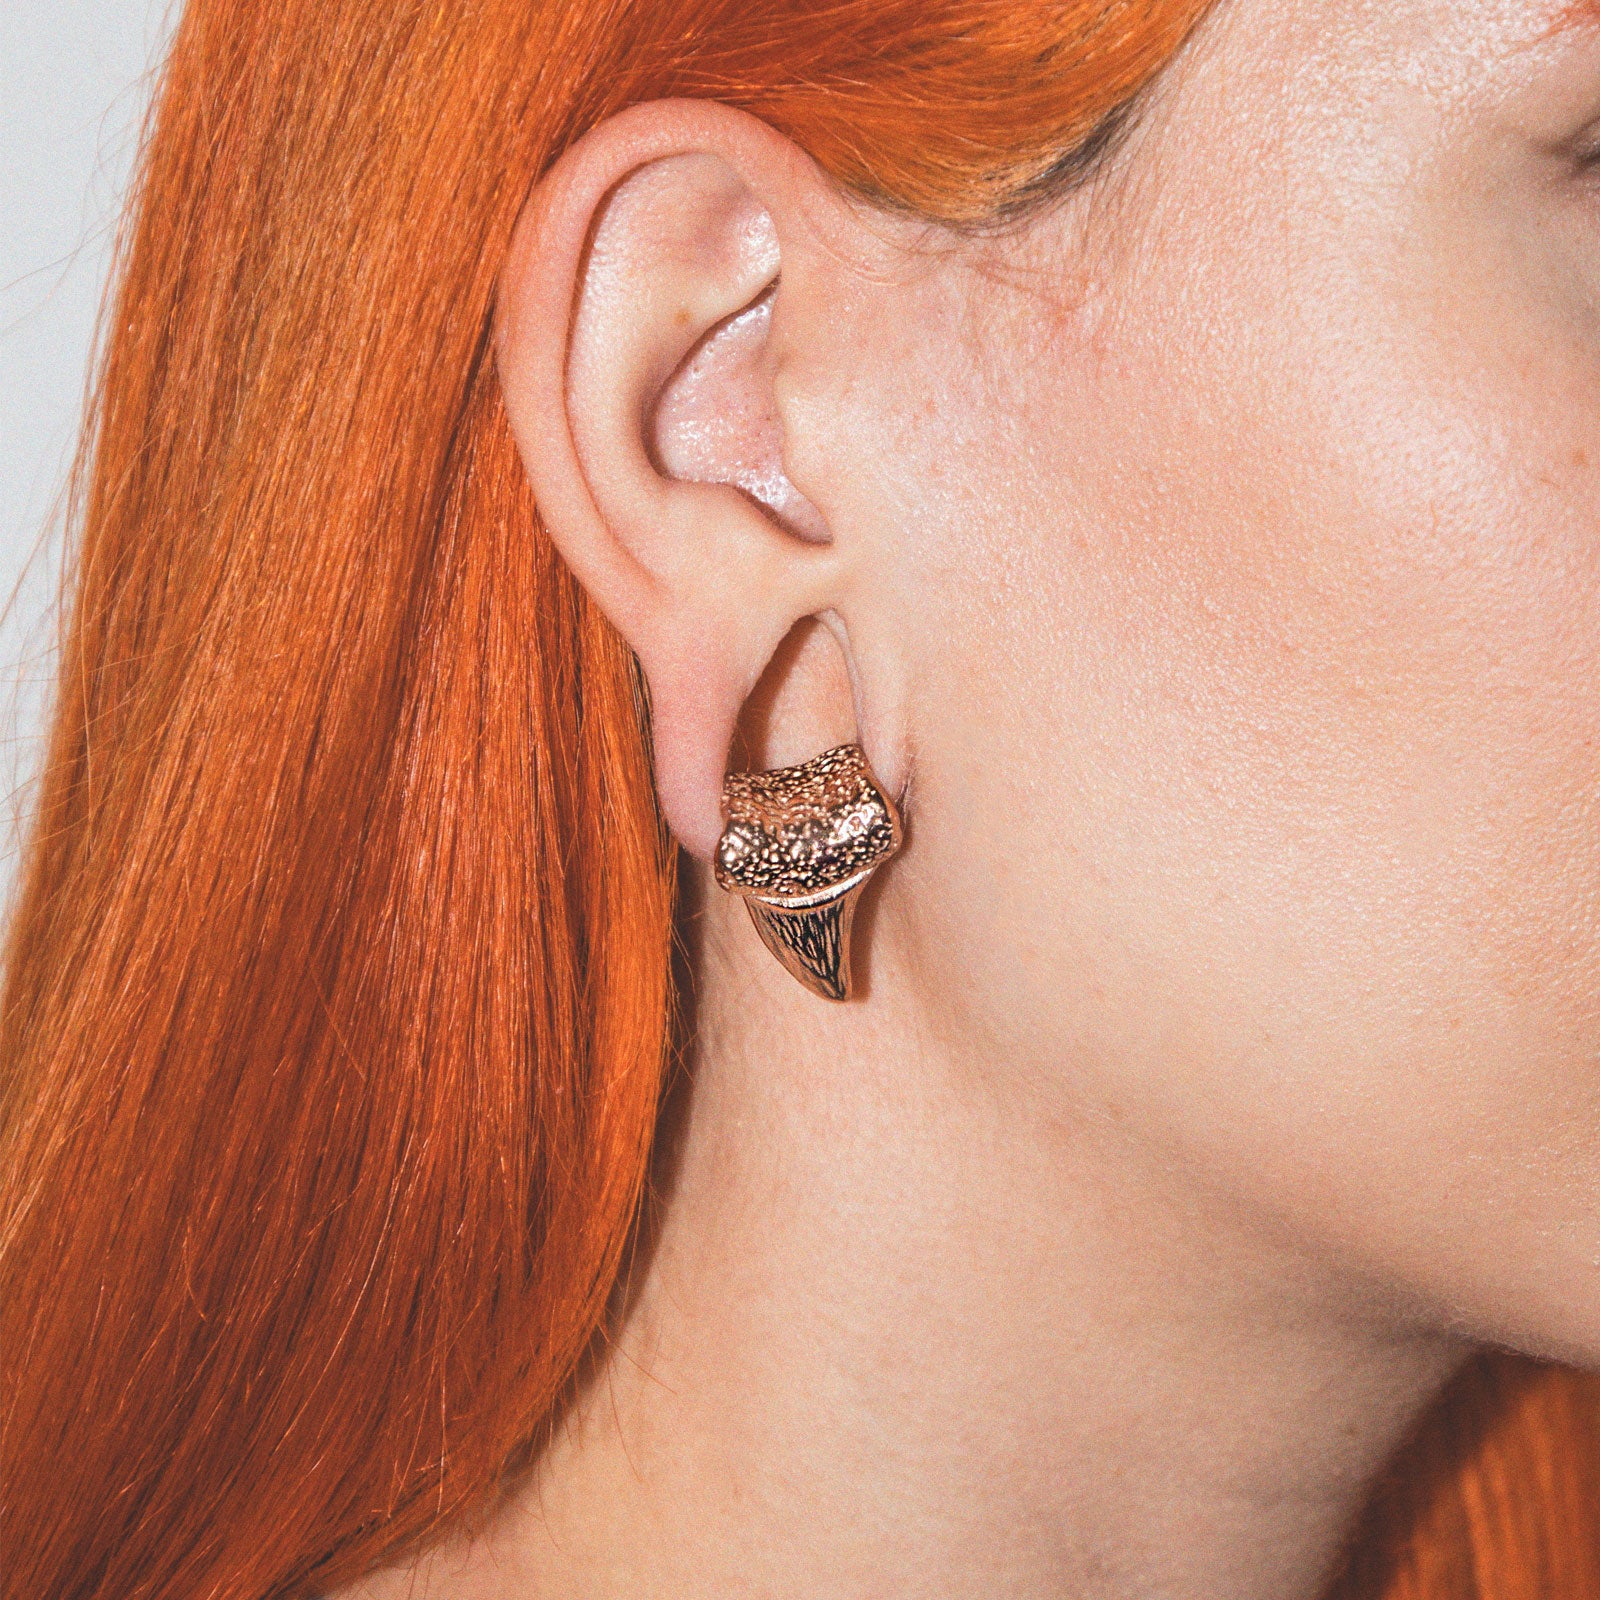
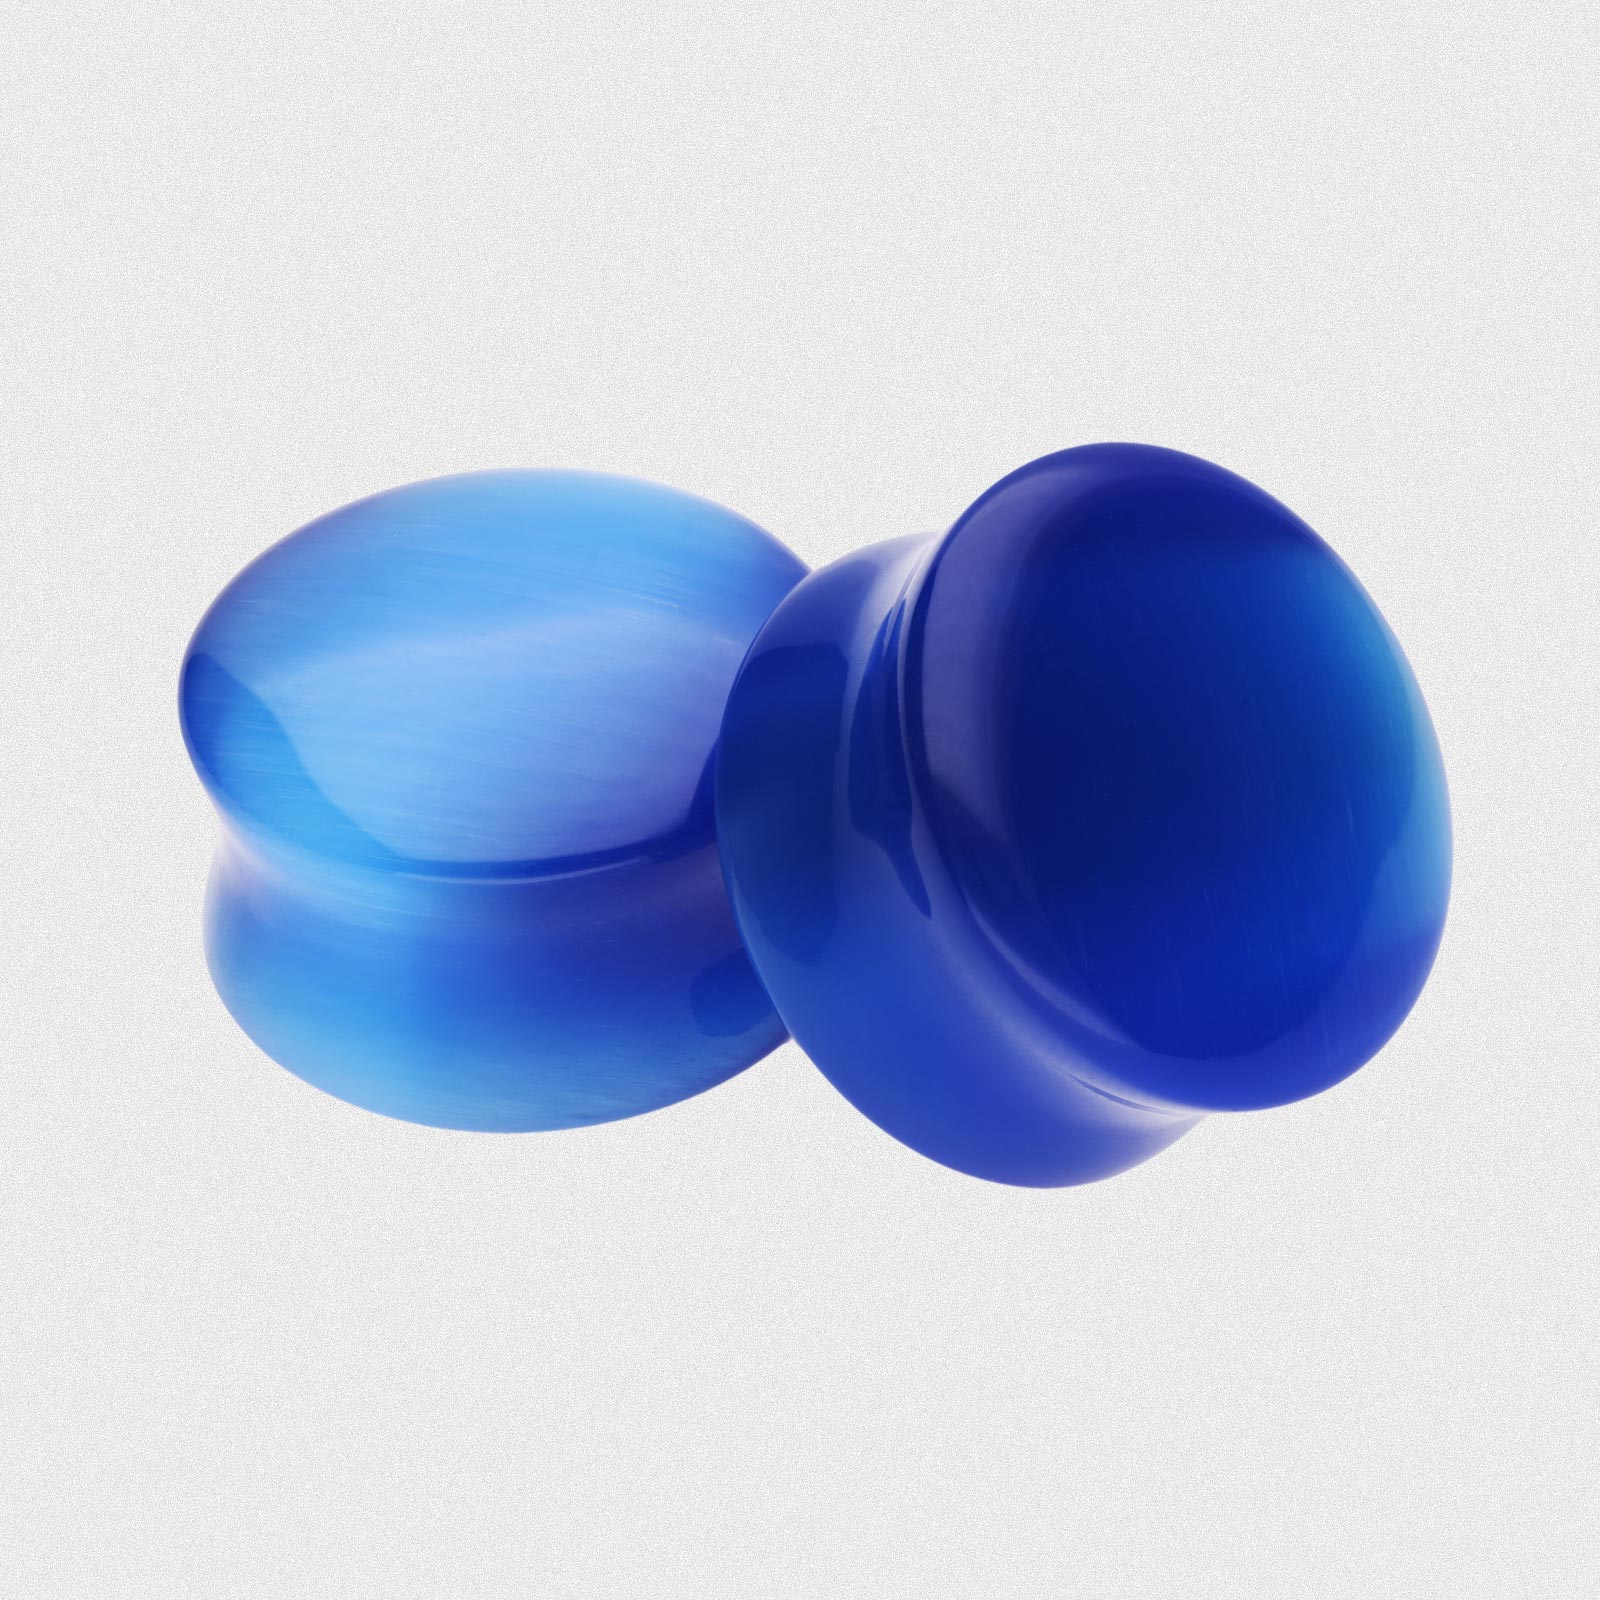
Jewellery & Material Types
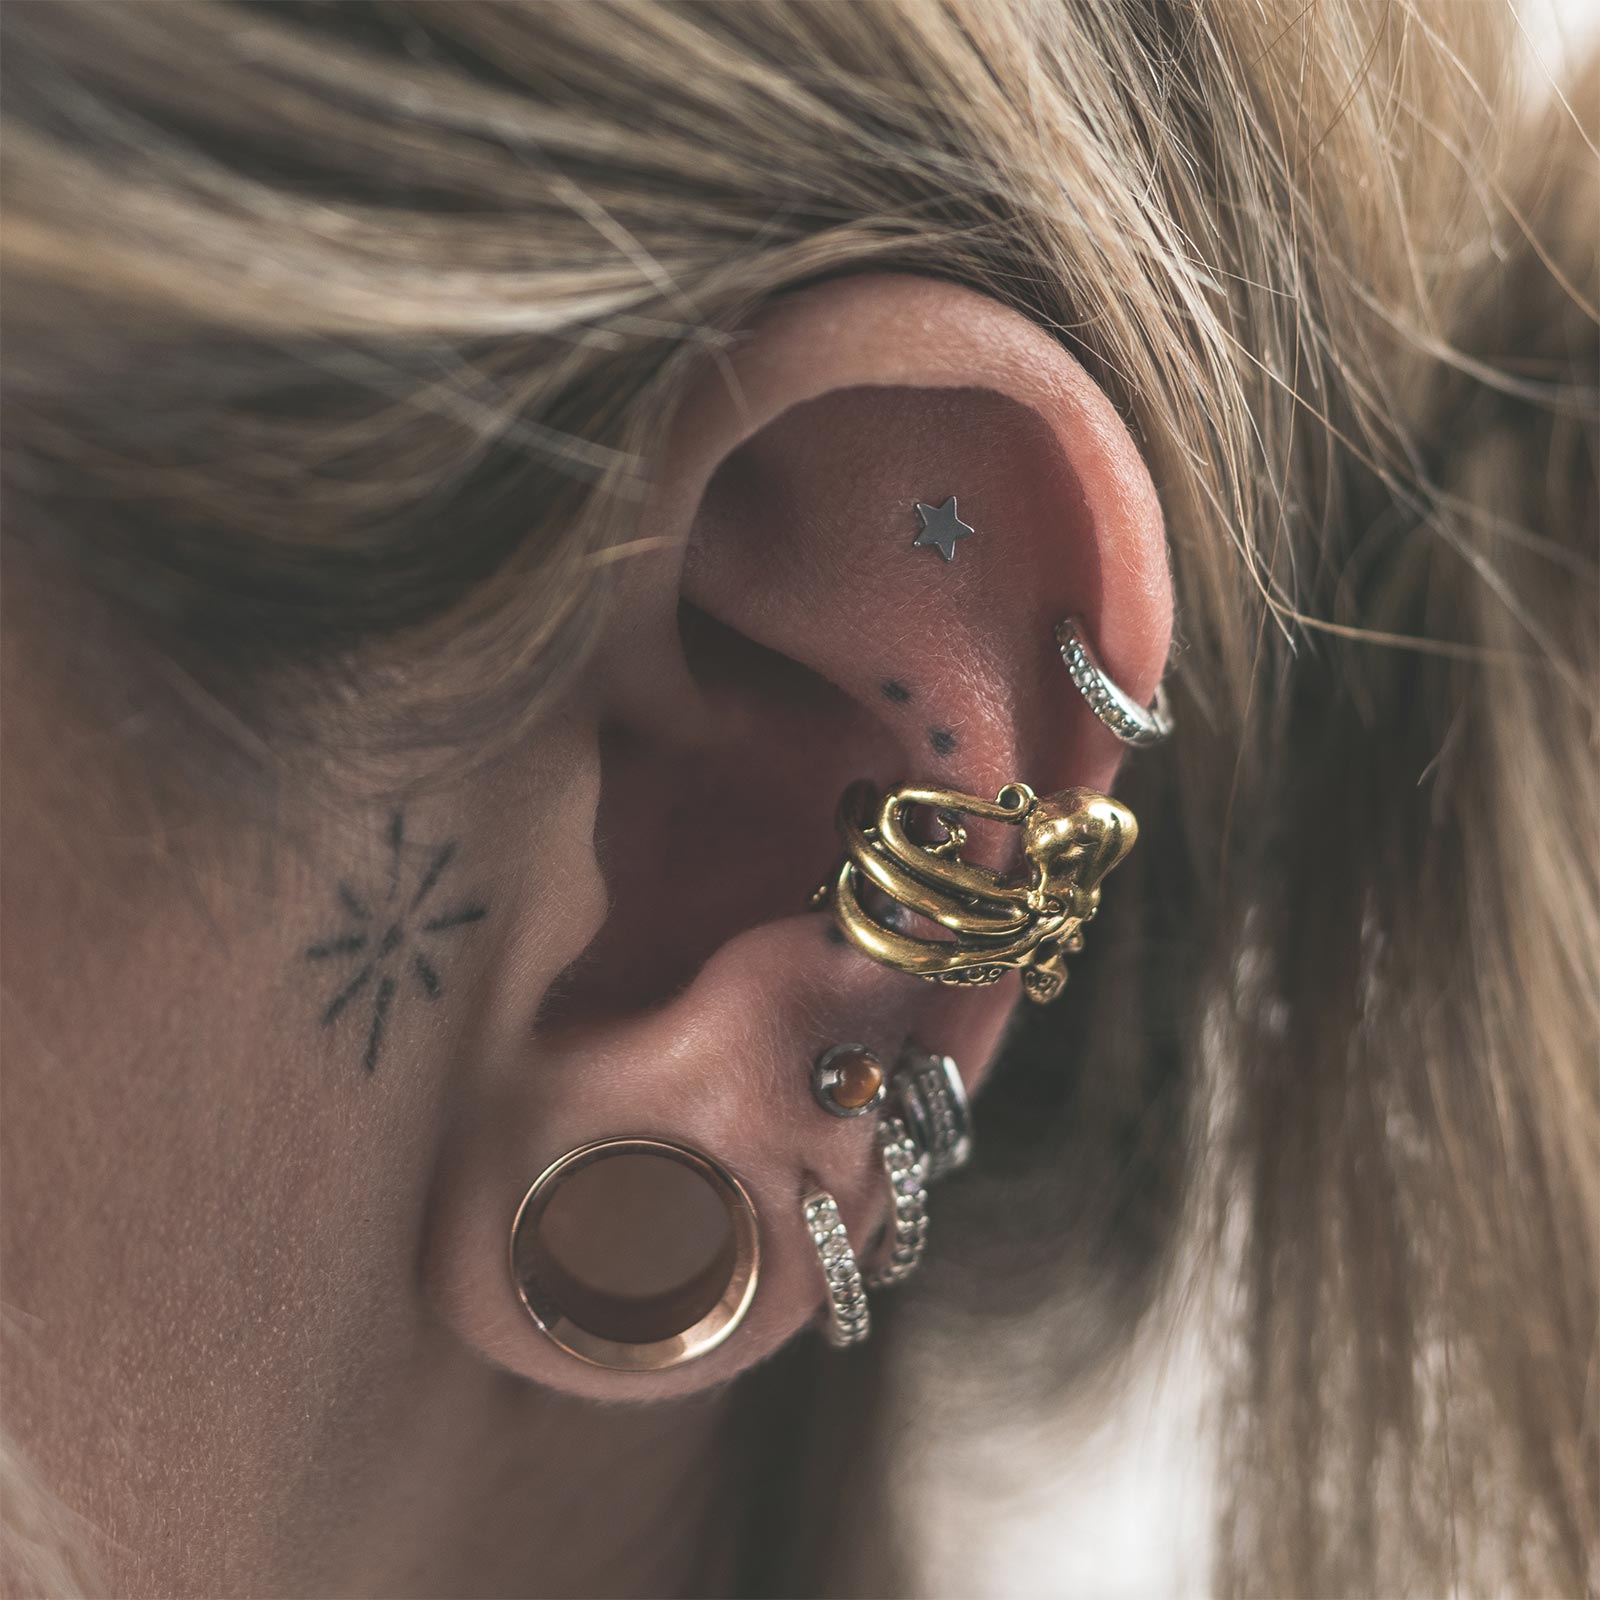
Once you’ve reached a size you are happy to stop at for a while, it’s time to start building your plug collection!
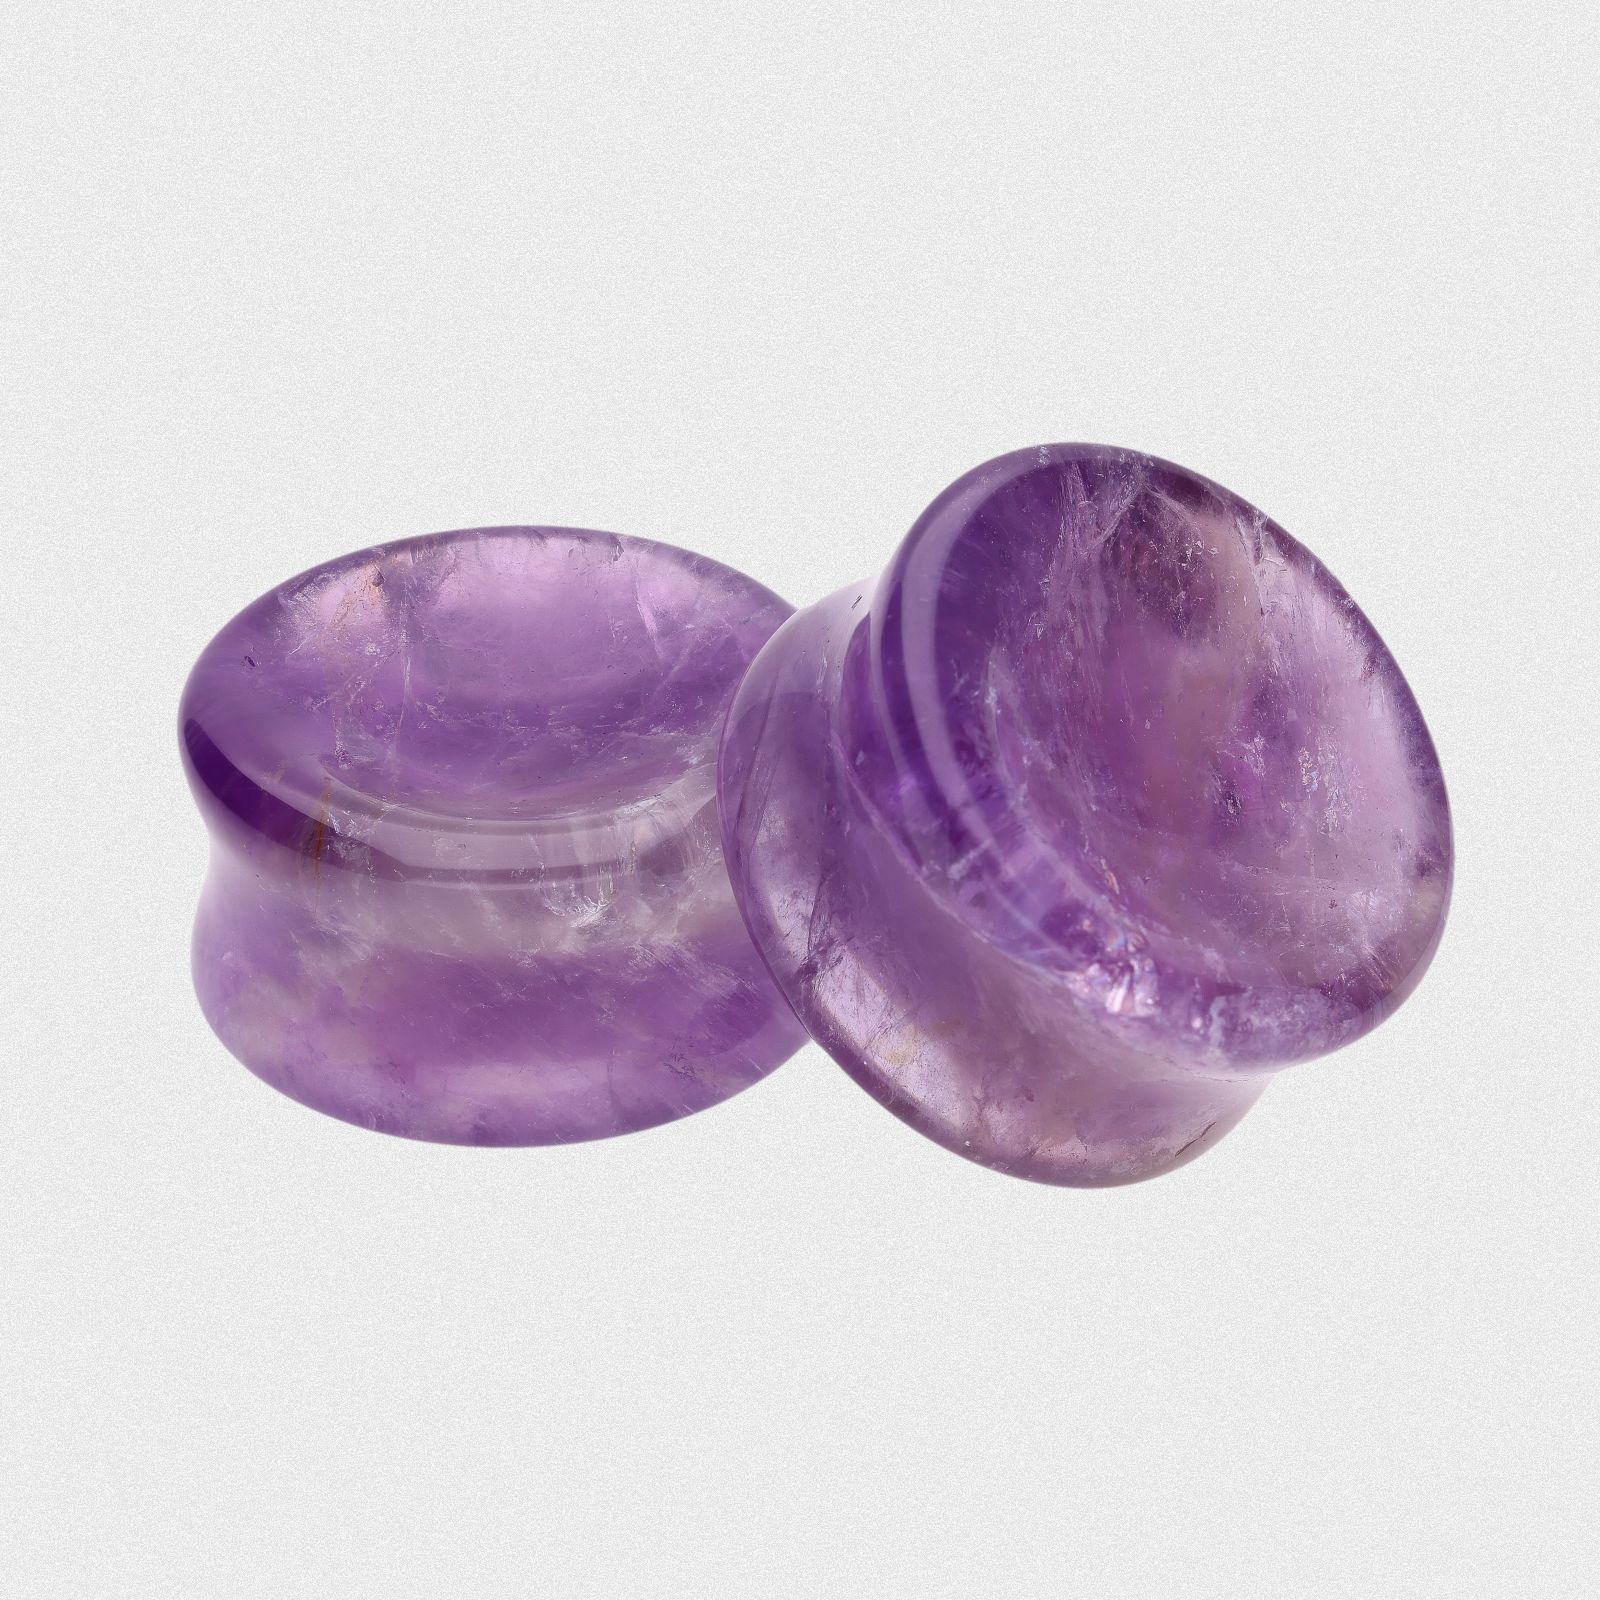
Typically, you start getting more choice around 6mm (2g), but there is still plenty to choose from in the smaller gauge sizes. The great thing about having stretched lobes is there is an abundance of awesome jewellery types, designs and materials.
Ear Stretching
Jewellery Types


Ear Stretching
Material Types


Aftercare
Ear stretching aftercare is a breeze when you follow the right steps to achieving happy and healthy stretched ears. So, if you've followed our guide above there really isn't much to do and aftercare is extemely simple!
Follow our full aftercare guide and discover our awesome ear stretching blog by click the button below:


Did we miss anything?
There we have it. Everything you need to know about ear stretching!
We hope you are now sitting firmly in camp 3 but if you still have any questions regarding the process or our products, please do not hesitate to get in touch.