



548 products
Sort by
Sort by
Black Onyx Double Flare Stone Plug Black Onyx Double Flare Stone Plug Model Shot Close Up
Rose Quartz Double Flare Stone Plug Rose Quartz Double Flare Stone Plug Model Shot
Amethyst Double Flare Stone Plug Amethyst Double Flare Stone Plug Model Shot
Blue Tiger's Eye Double Flare Coffin Stone Plug Blue Tigers Eye Double Flare Coffin Stone Plug Groupshot
Indian Agate Bead Stone Stretch Bracelet Indian Agate Bead Stone Stretch Bracelet Model Shot
Rainbow Fluorite Bead Stone Stretch Bracelet Rainbow Fluorite Bead Stone Stretch Bracelet Model Shot
Rose Quartz Bead Stone Stretch Bracelet Black Obsidian Bead Stone Stretch Bracelet Model Shot
Rose Quartz Bead Stone Stretch Bracelet Rose Quartz Bead Stone Stretch Bracelet Model Shot
Amethyst Bead Stone Stretch Bracelet Amethyst Bead Stone Stretch Bracelet Model Shot
Faceted Black Obsidian Single Flare Convex Stone Plug faceted black obsidian single flare plug model shot close up
Moondevite Double Flare Stone Plug Moondevite Double Flare Plugs Groupshot
Cloudy Quartz Double Flare Concave Stone Tunnel Cloudy Quartz Double Flare Concave Stone Tunnel Model Shot
Saba Wood Fake Gauge Plug Saba Wood Fake Gauge Plug Model Shot
Sono Wood Double Flare Convex Plug With Tiger Cowrie Shell Inlay Sono Wood Double Flare Convex Plug With Tiger Cowrie Shell Inlay Model Shot
Brass Saddle Fit Double Flare Plug With Amethyst Stone Inlay Model Wearing brass amethyst inlay plug in 20mm gauge
Jackfruit Wood Heart Shaped Double Flare Plug Jackfruit Wood Heart Shaped Double Flare Plug Model Shot
White Synth Opal & Brass Seamless Septum Ring How to use seamless rings info graphic
Blue Synth Opal & Brass Seamless Septum Ring Blue Synth Opal & Brass Seamless Septum Ring Model Shot
Black Onyx & Brass Seamless Septum Ring How to use seamless rings info graphic
Sold out
Dark Synth Ruby Drop & Brass Seamless Septum Ring Dark Synth Ruby Drop & Brass Seamless Septum Ring Model Shot
Sold out
White Synth Opal Drop & Brass Seamless Septum Ring White Synth Opal Drop & Brass Seamless Septum Ring Model Shot
Sold out
Blue Synth Opal Drop & Brass Seamless Septum Ring Blue Synth Opal Drop & Brass Seamless Septum Ring Model Shot

Black Onyx Drop & Brass Seamless Septum Ring How to use seamless rings info graphic
Three Prong Yellow Tiger's Eye & Titanium Threadless Top Three Prong Yellow Tiger's Eye & Titanium Threadless Top Model Shot
Three Prong Synth Pearl & Titanium Threadless Top Three Prong Synth Pearl & Titanium Threadless Top Model Shot
Three Prong Synth White Opal & Titanium Threadless Top Three Prong Synth White Opal & Titanium Threadless Top Model Shot
Three Prong Synth Blue Opal & Titanium Threadless Top Three Prong Synth Blue Opal & Titanium Threadless Top Model Shot
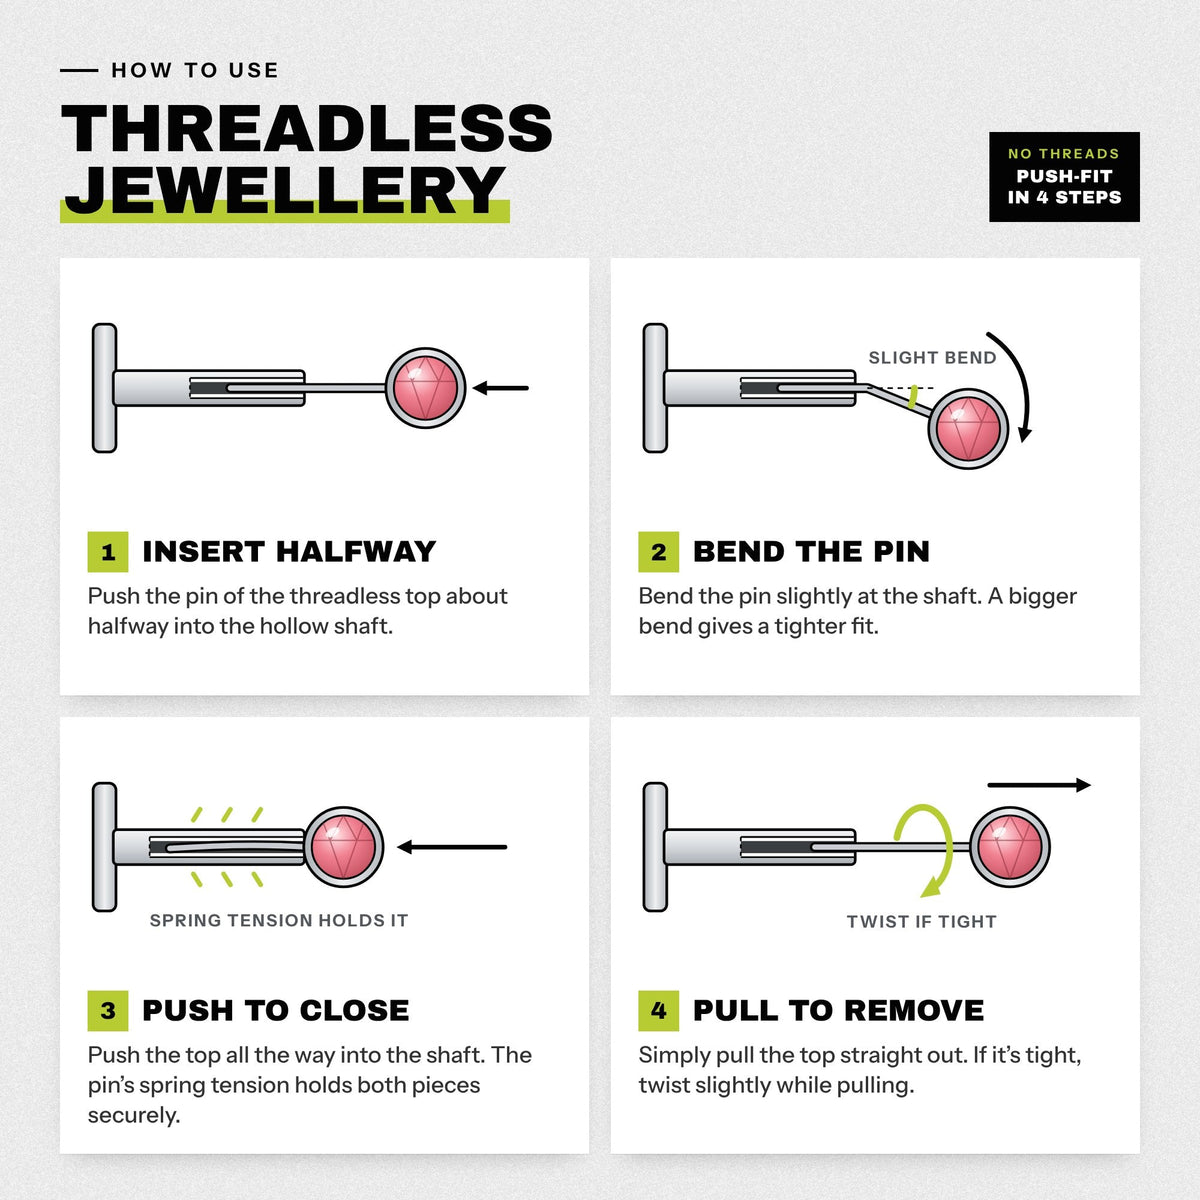
Three Prong Black Onyx & Titanium Threadless Top How to use threadless body jewellery in 4 steps
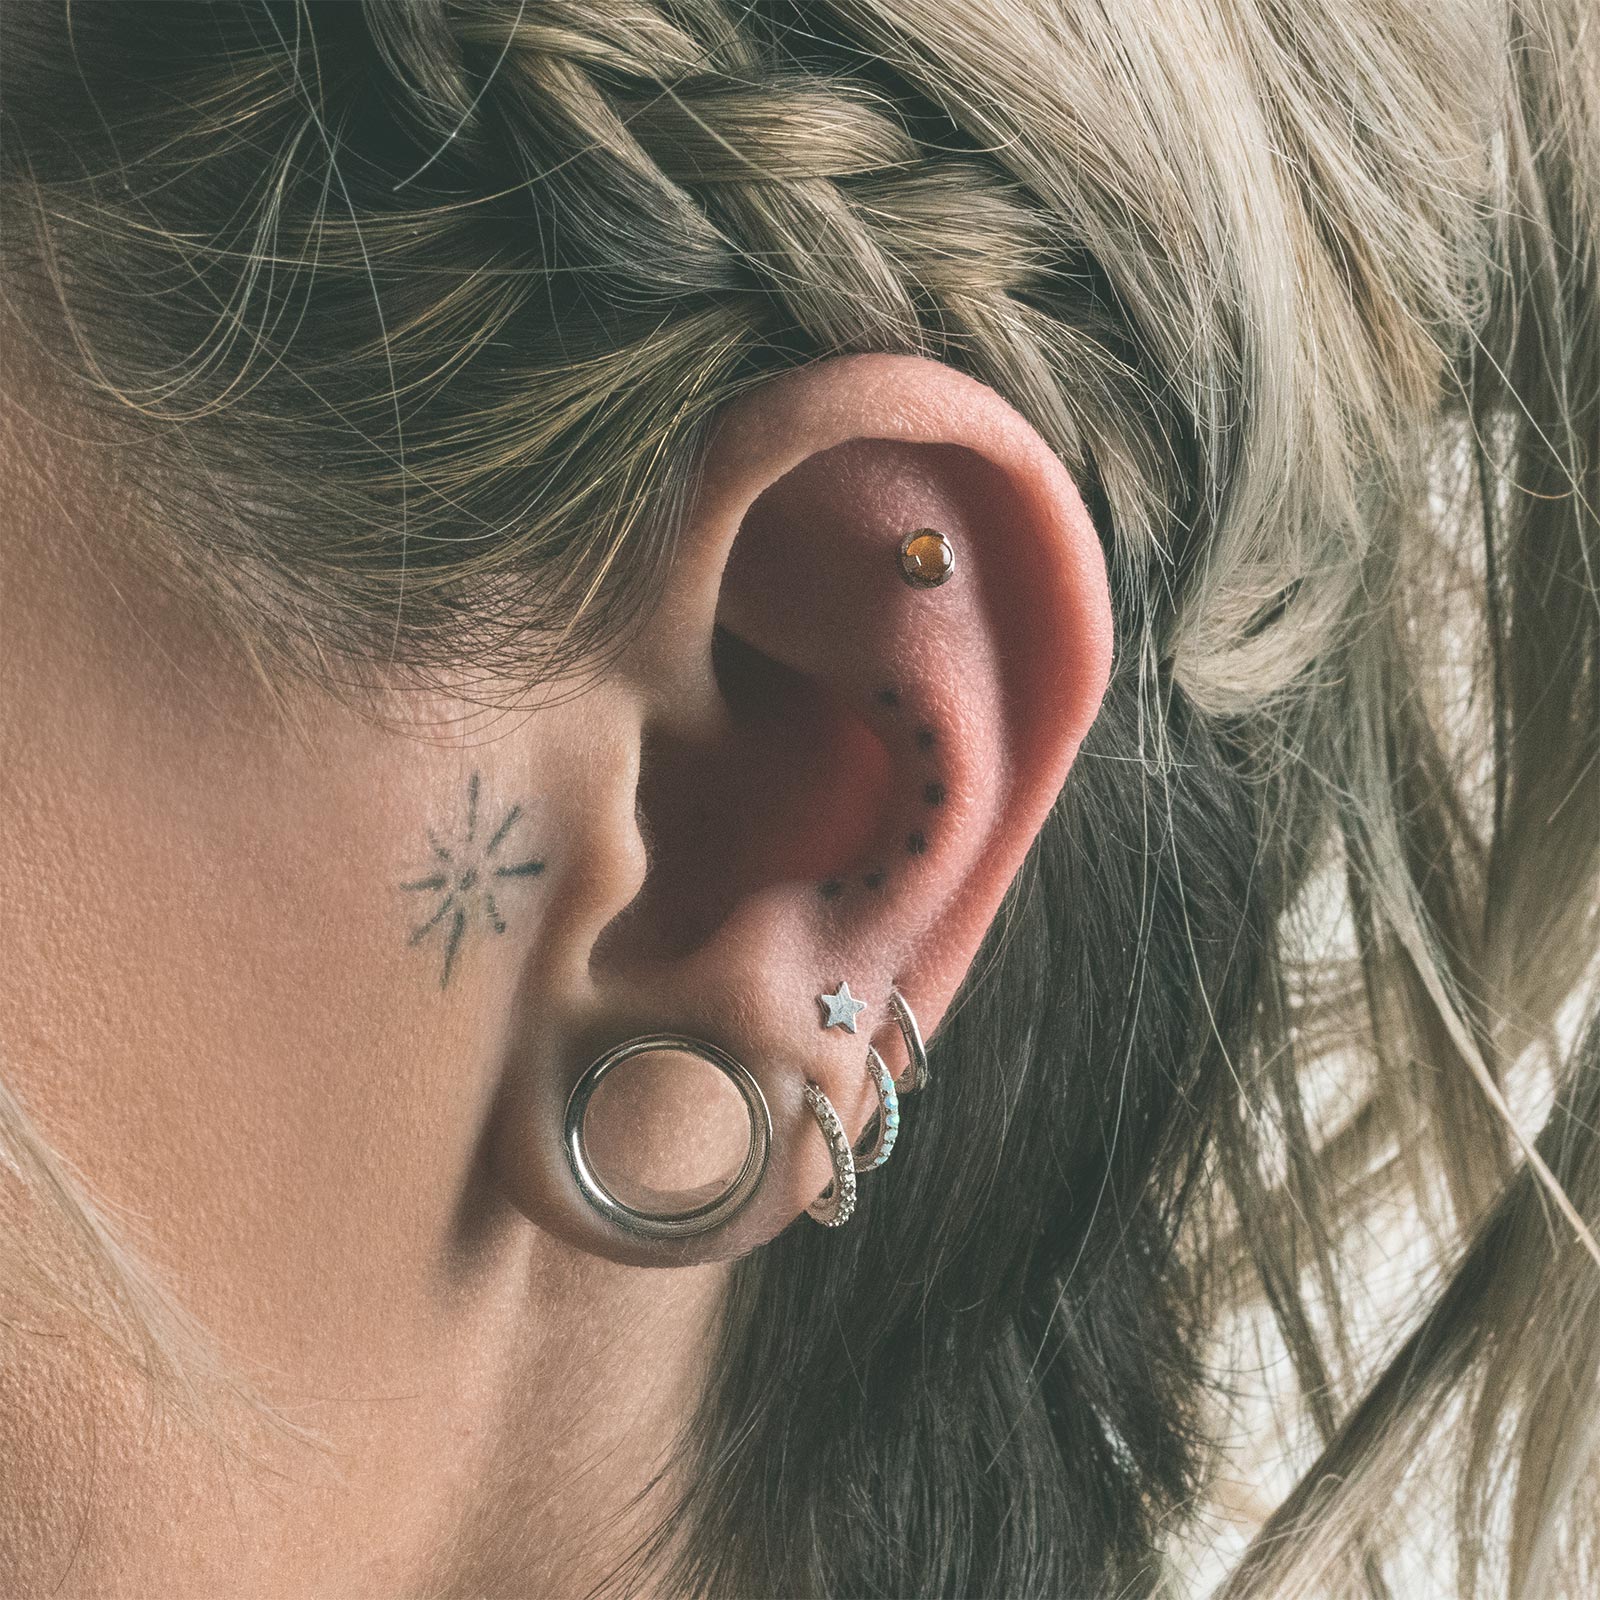
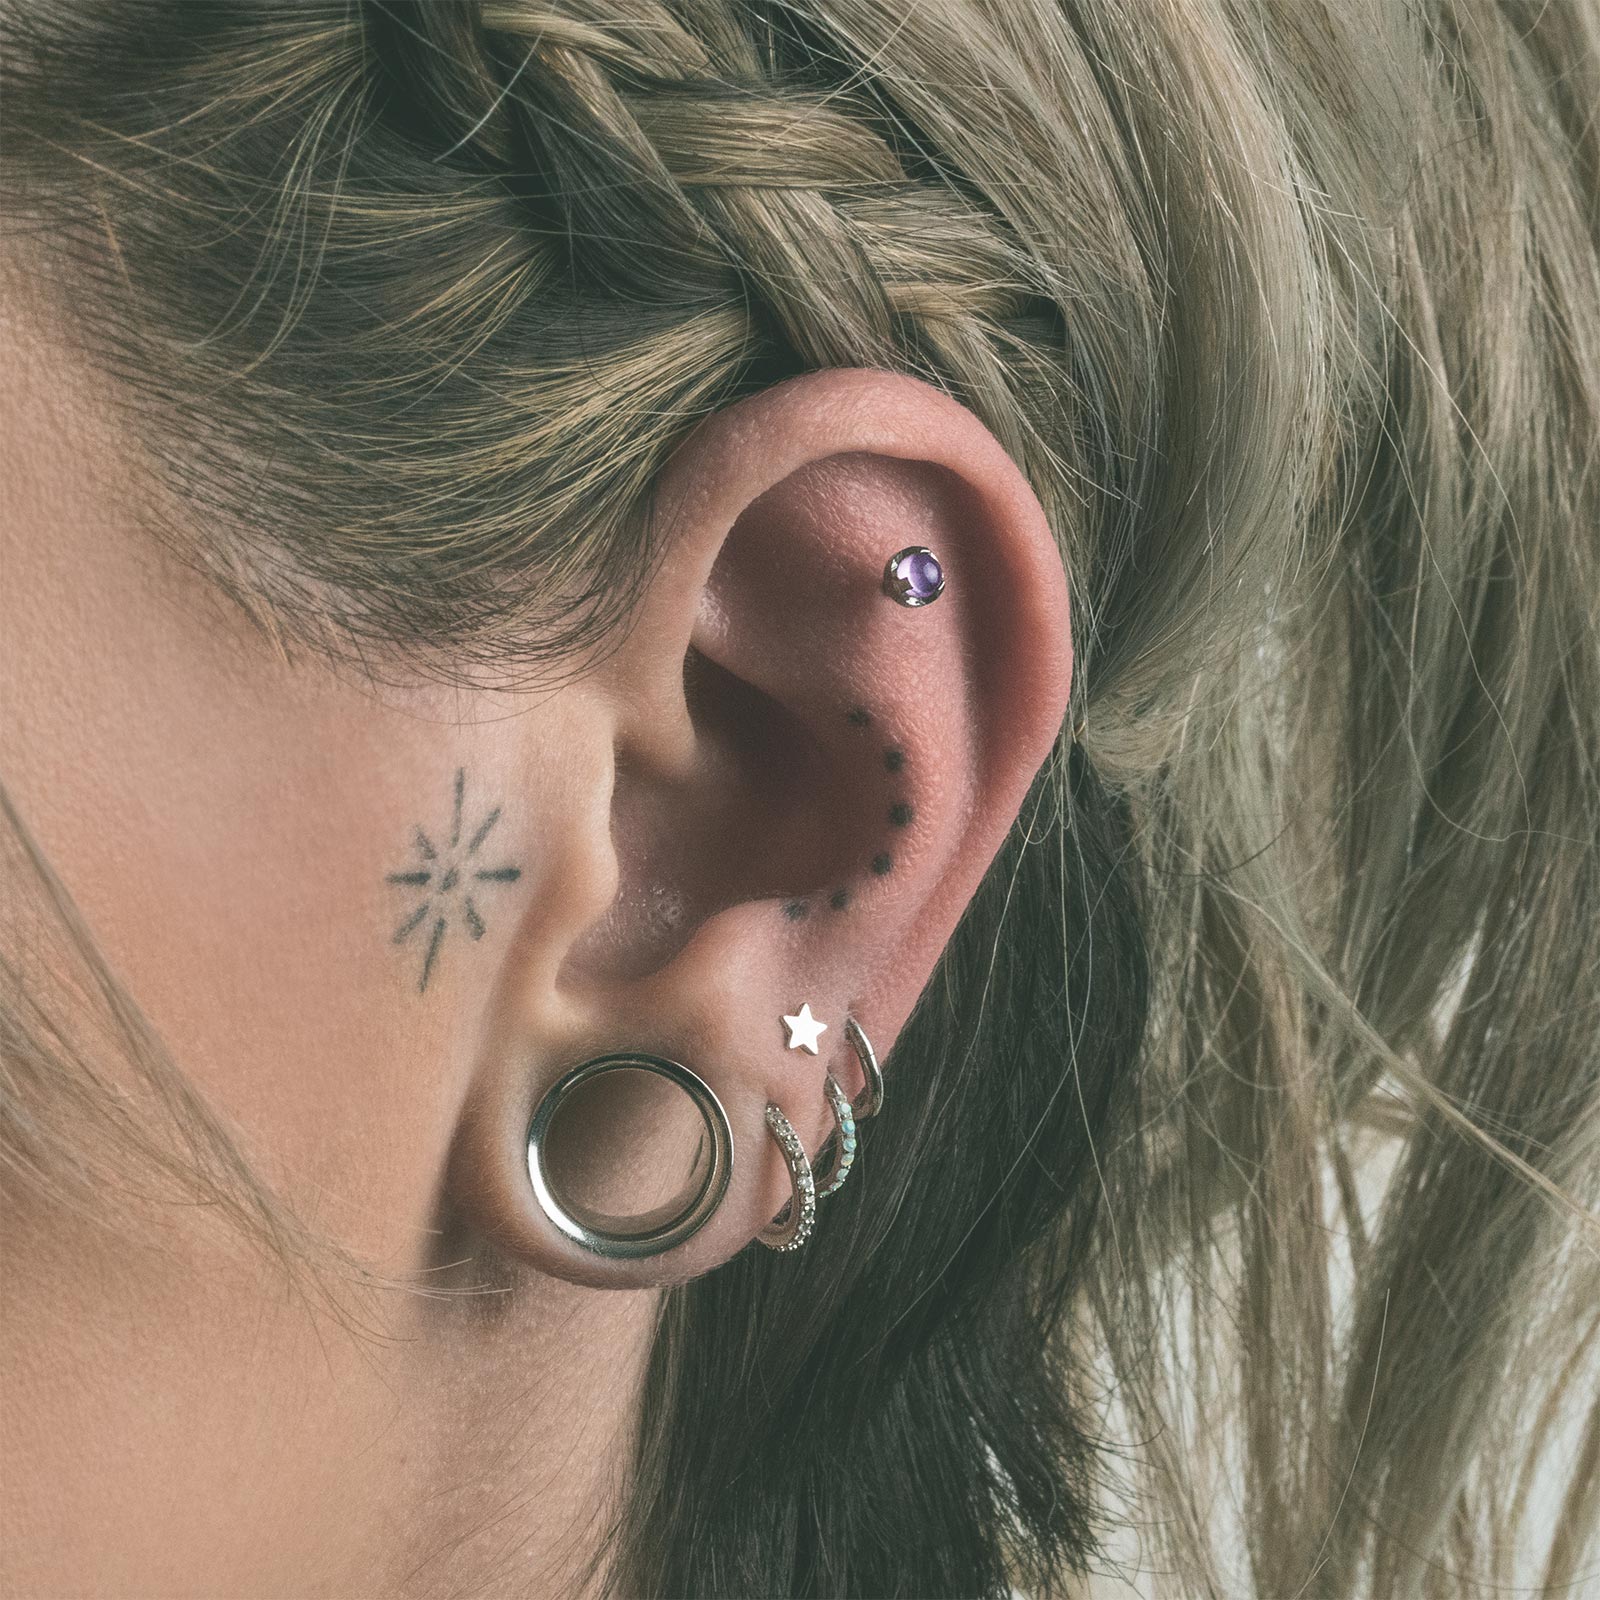
Three Prong Amethyst & Titanium Threadless Top Three Prong Amethyst & Titanium Threadless Top Model Shot
Narra Wood Ball Threadless Top Narra Wood Ball Threadless Top Model Shot
Olive Wood Ball Threadless Top Olive Wood Ball Threadless Top Model Shot
Green Aventurine Double Flare Concave Stone Tunnel Yellow Tiger's Eye Double Flare Concave Stone Tunnel Model Shot
Green Aventurine Double Flare Concave Stone Tunnel Green Aventurine Double Flare Concave Stone Tunnel Groupshot
Rainbow Fluorite Double Flare Convex Teardrop Plug Rainbow Fluorite Double Flare Convex Teardrop Plug Model Shot
Yellow Tiger's Eye Heart Shaped Double Flare Stone Plug Yellow Tiger's Eye Heart Shaped Double Flare Stone Plug Model Shot
Sodalite Single Flare Convex Stone Plug Sodalite Single Flare Convex Stone Plug Model Shot
Snowflake Obsidian Double Flare Stone Plug Snowflake Obsidian Double Flare Stone Plug Model Shot
Howlite Double Flare Stone Plug Howlite Double Flare Stone Plug Group Shot
Unakite Double Flare Convex Stone Plug Unakite Double Flare Convex Stone Plug Groupshot
Picasso Jasper Double Flare Stone Plug Picasso Jasper Double Flare Convex Stone Plug Group Shot