




263 products
Sort by
Sort by
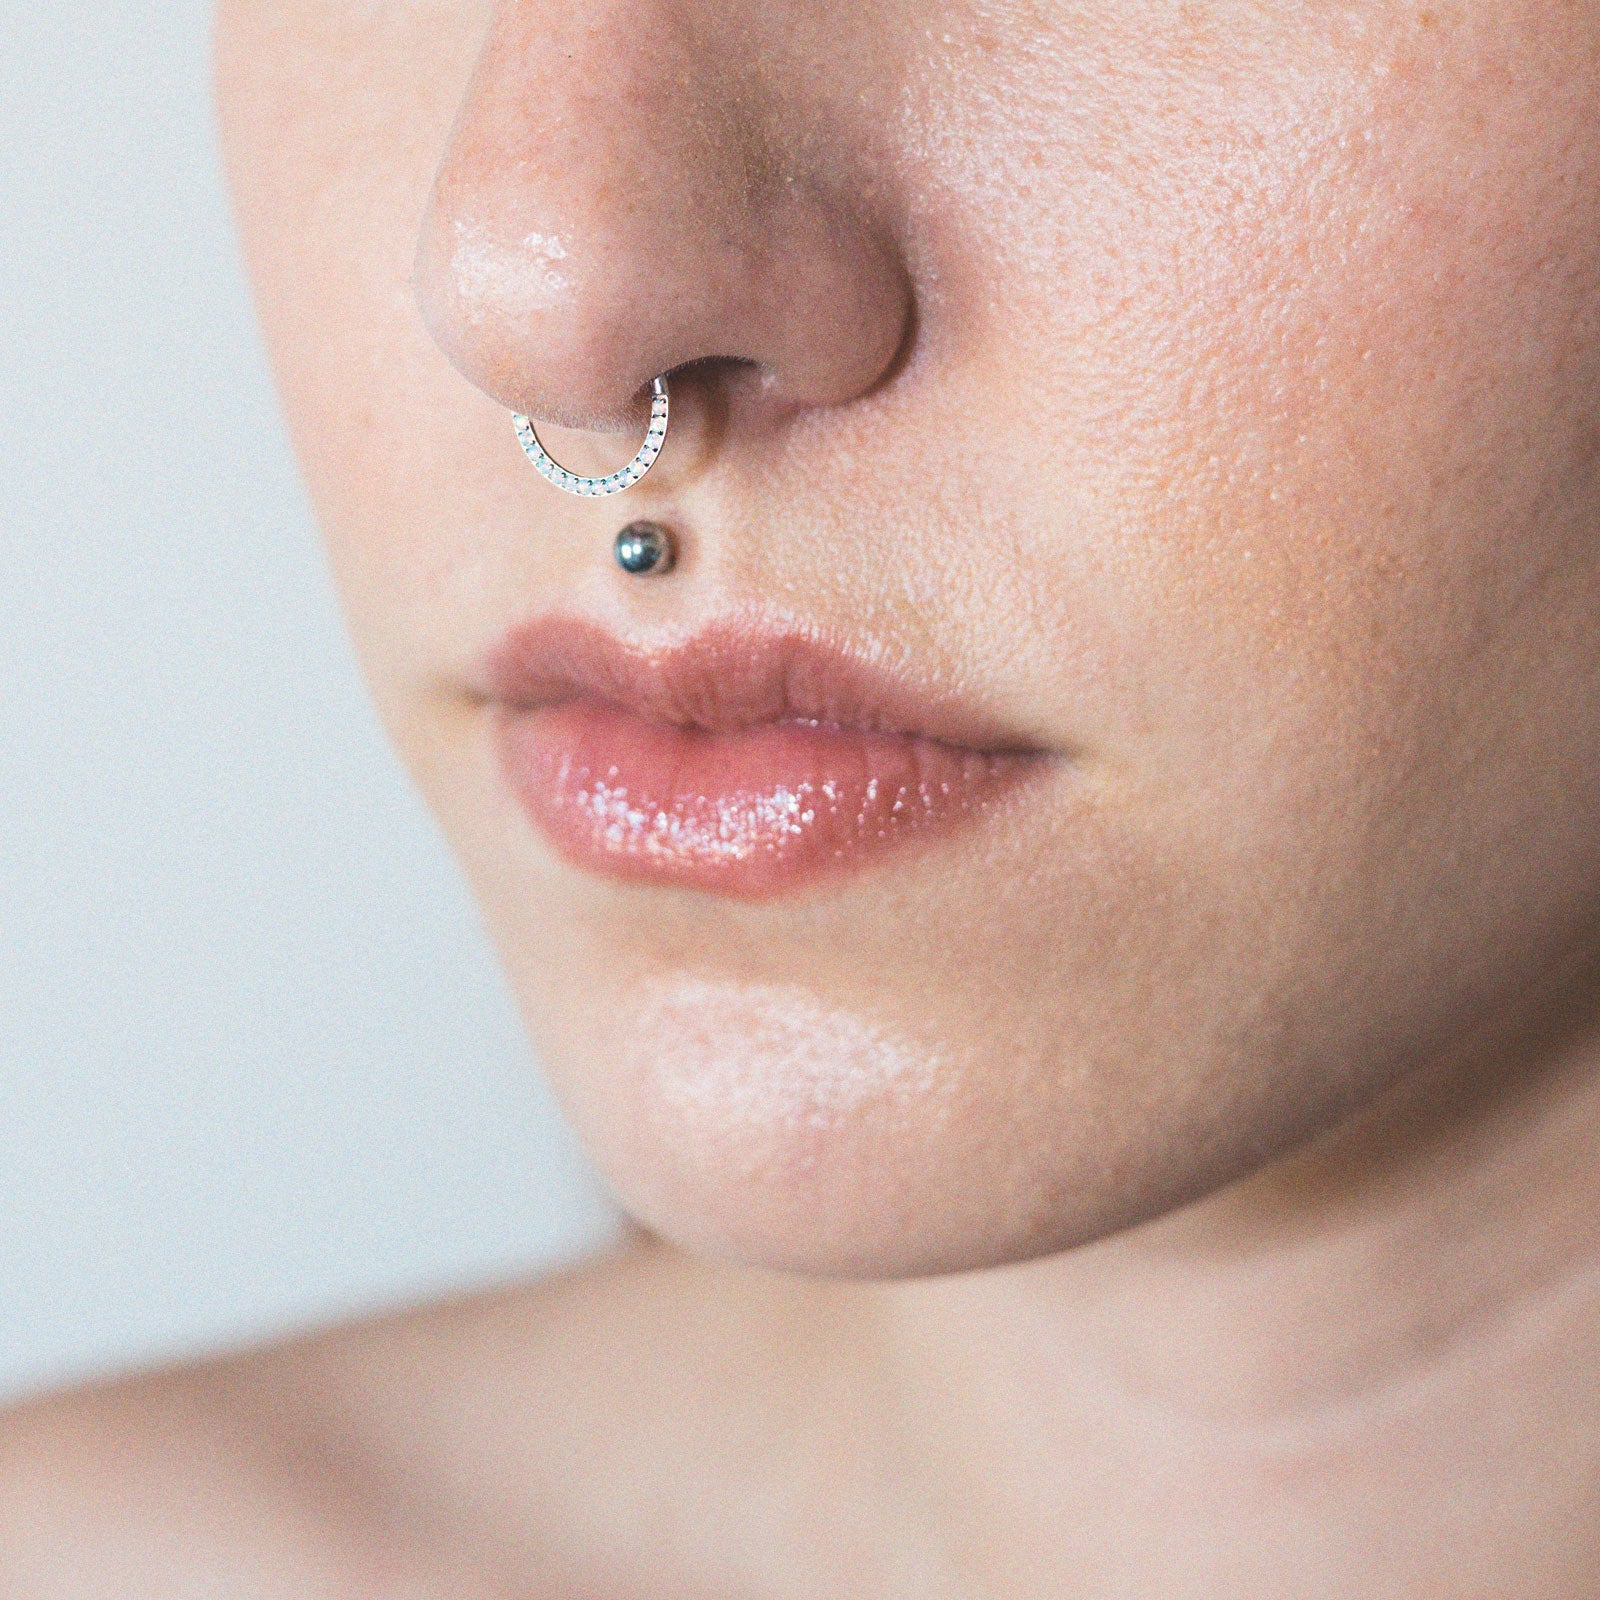
Inlaid Sun & Ice Synth Opal Titanium Septum Clicker Inlaid Sun & Ice Synth Opal Titanium Septum Clicker Model Shot
Jewelled Bumble Bee Gold PVD Titanium Septum Clicker Flower, Bumble Bee and V-Shape Bejewelled Septum Clickers Group Shot
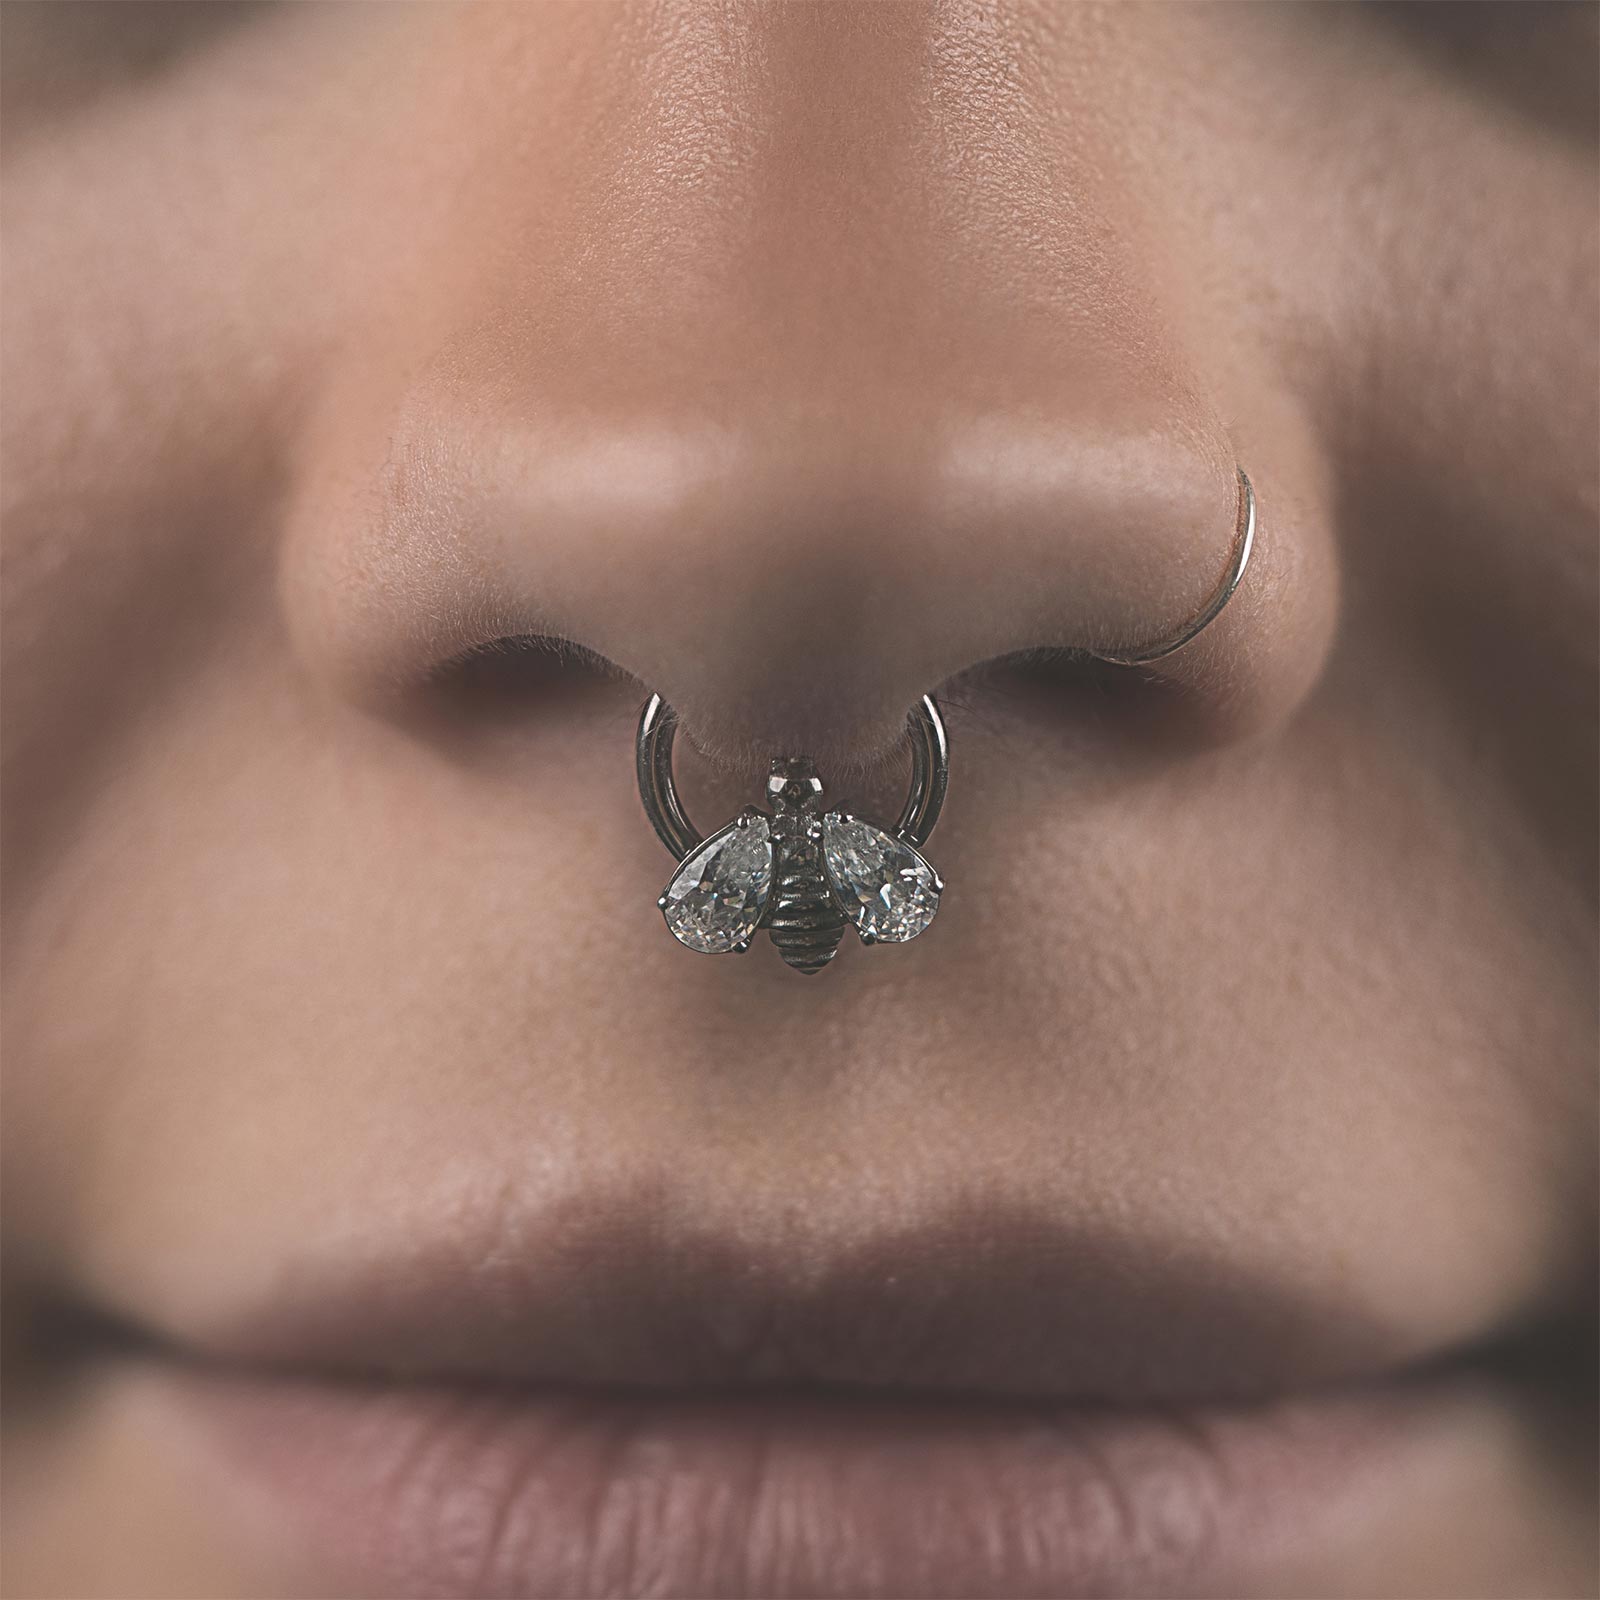
Jewelled Bumble Bee Titanium Septum Clicker Jewelled Bumble Bee Titanium Septum Clicker Model Shot
Jewelled Bumble Bee Titanium Threaded Top Stretch It Body Jewellery Pouch
Jewelled Trinity Dot Titanium Septum Clicker Ring septum-clicker-group-shot
Sold out
Four Prong Lab-Grown Diamond Titanium Threaded Top Stretch It Body Jewellery Pouch
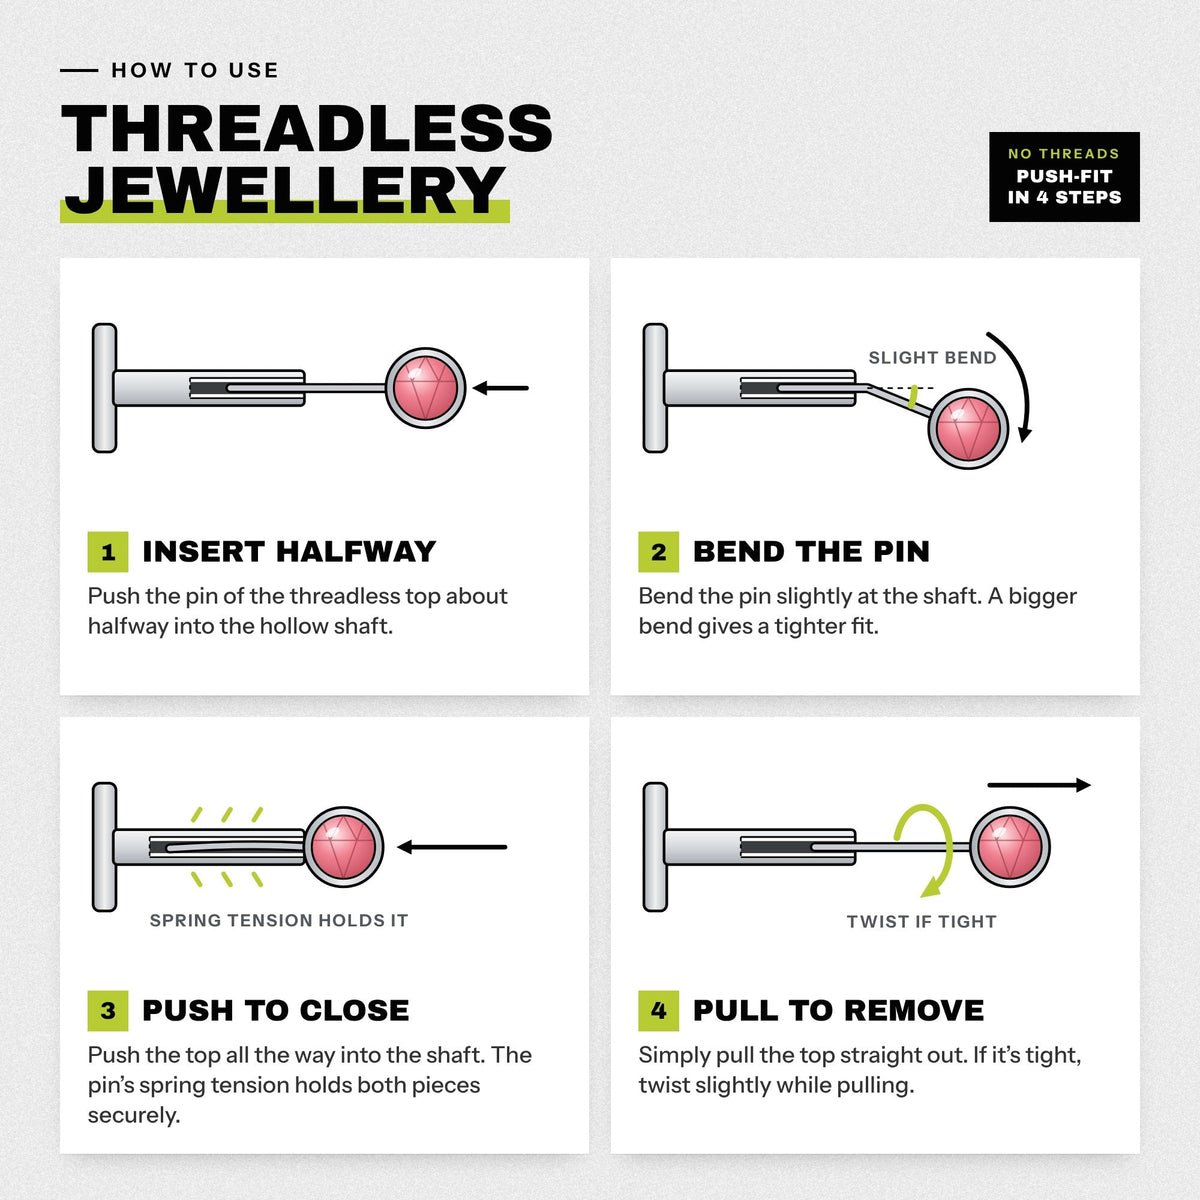
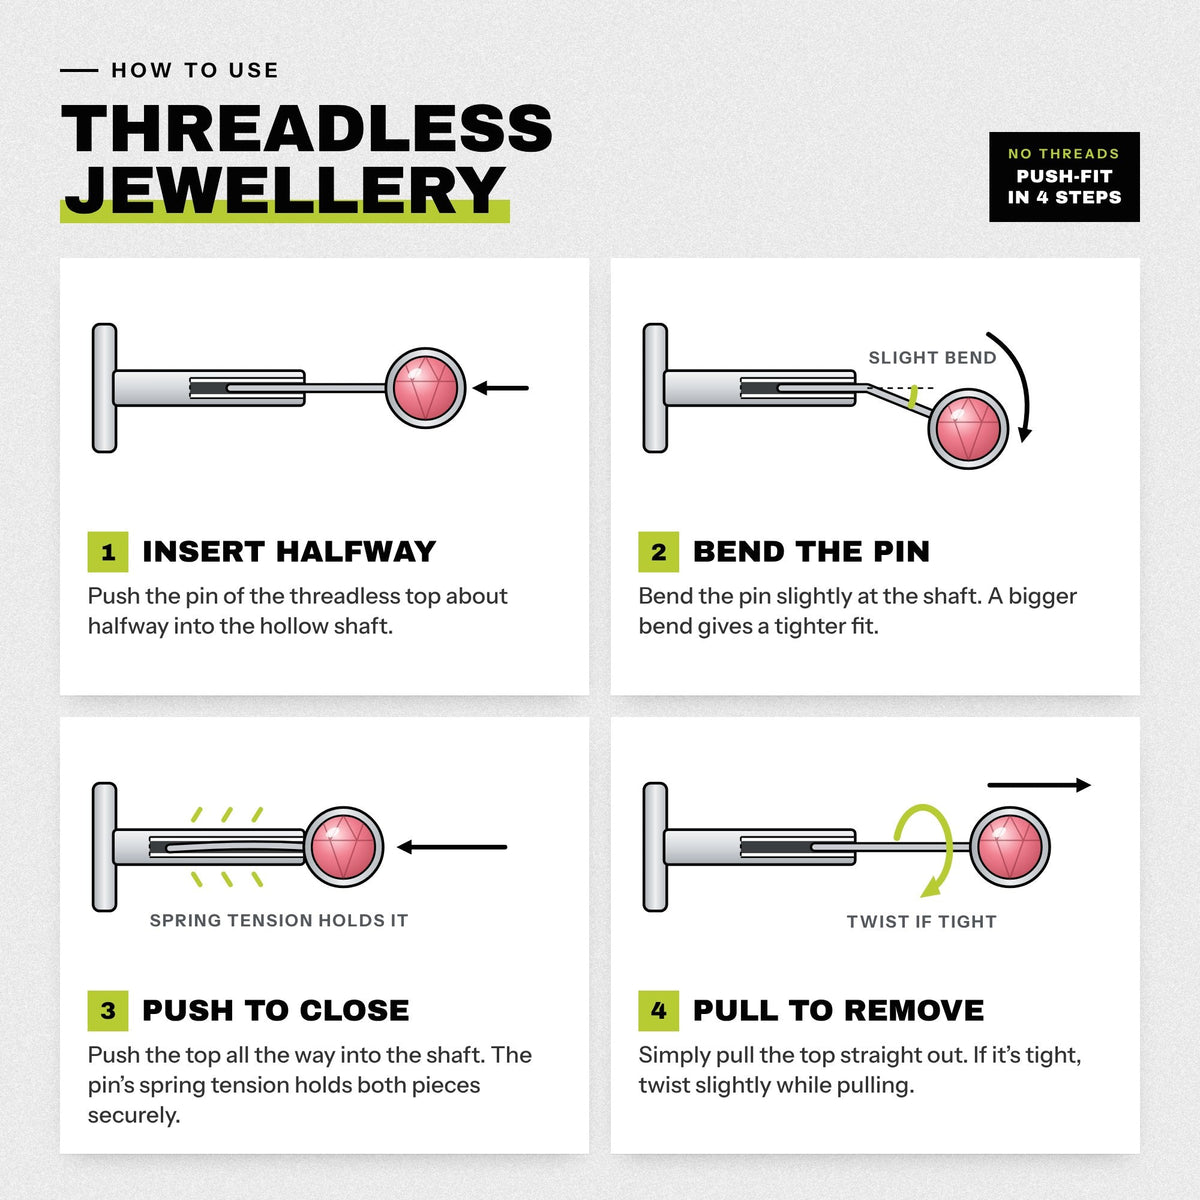
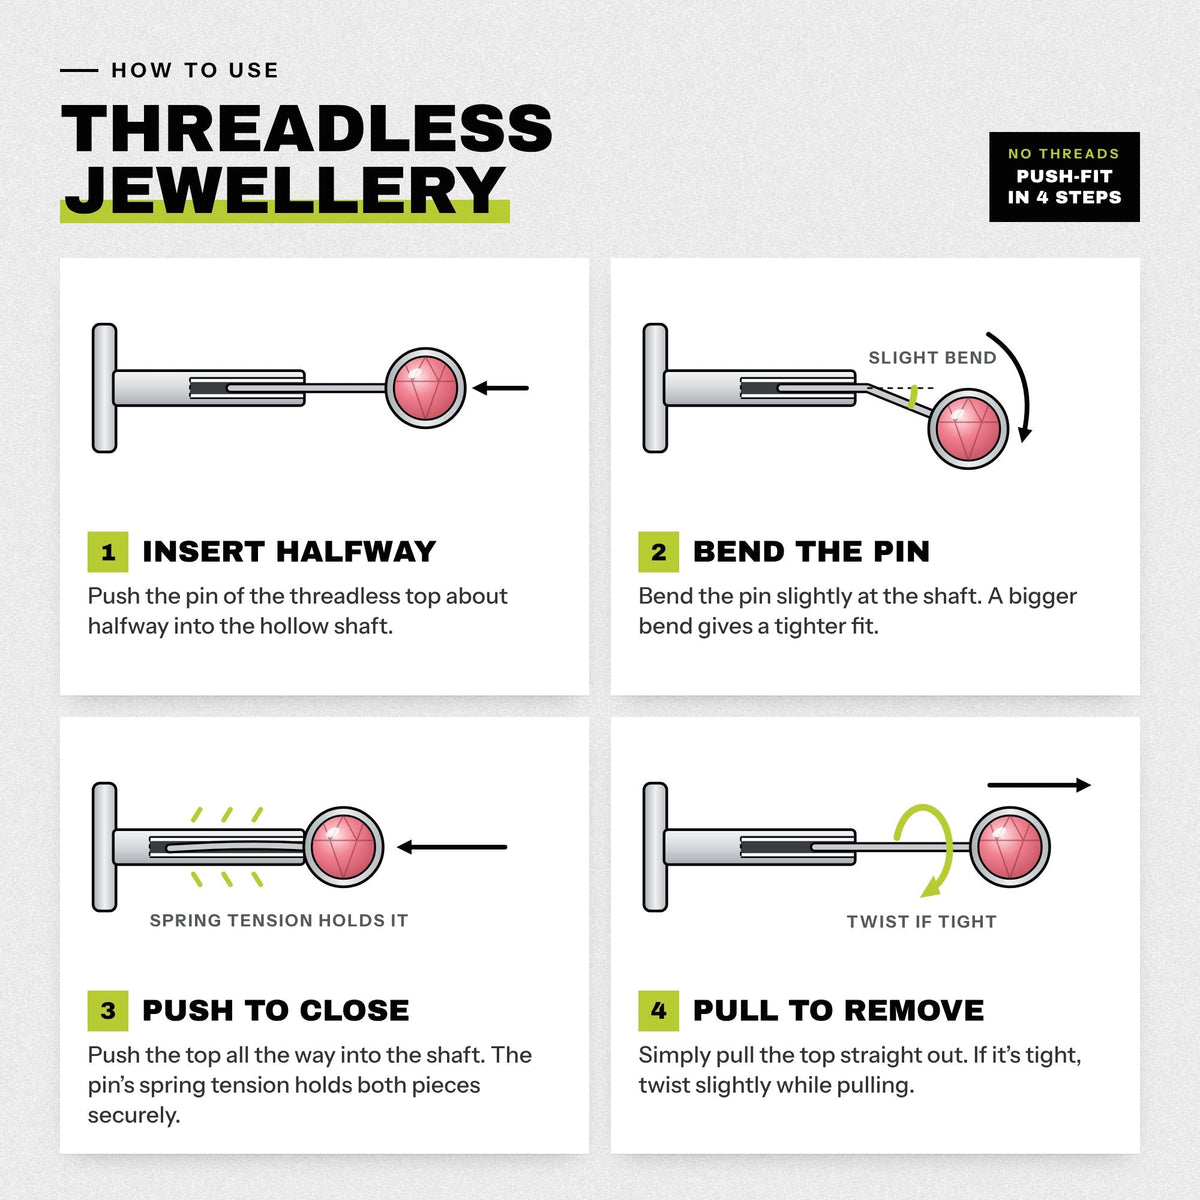
Four Prong Lab-Grown Diamond Titanium Threadless Top How to use threadless body jewellery in 4 steps
Lightning Bolt Bejewelled Titanium Hinged Segment Ring Lightning Bolt Bejewelled Titanium Hinged Segment Ring Model Shot
Lunar Aurora Borealis Bejewelled Titanium Threaded Top Stretch It Body Jewellery Pouch
Lunar Black Bejewelled Titanium Threaded Top Stretch It Body Jewellery Pouch
Lunar Emerald Bejewelled Titanium Threaded Top Stretch It Body Jewellery Pouch
Lunar Vitrail Medium Bejewelled Titanium Threaded Top Stretch It Body Jewellery Pouch
Sold out
Marquise Cut Bezel Set Jewelled Titanium Threadless Top Marquise Cut Bezel Set Jewelled Titanium Threadless Top Model Shot
Mixed Cut Black Bejewelled Titanium Hinged Segment Ring Stretch It Body Jewellery Pouch
Multi Fire & Snow Synth Opal Titanium Hinged Segment Ring Multi Fire & Snow Synth Opal Titanium Hinged Segment Ring Model Shot
Multi Pacific Blue Synth Opal Titanium Hinged Segment Ring Multi Pacific Blue Synth Opal Titanium Hinged Segment Ring Model Shot
Multi Fire & Snow Synth Opal Titanium Hinged Segment Ring Multi Rose Pink Synth Opal Titanium Hinged Segment Ring Model Shot
Mystic Bloom Gold PVD Titanium Septum Clicker Ring Mystic Bloom Gold PVD Titanium Septum Clicker Ring Model Shot
Pacific Blue Front Facing Synth Opal Titanium Threadless Barbell How to use threadless jewellery: push the top's pin halfway into the bar, bend it slightly, push it fully in, then pull straight out to remove
Pacific Blue Front Facing Synth Opal Titanium Threadless Top Pacific Blue Front Facing Synth Opal Titanium Threadless Top Model Shot
Pacific Blue Synth Opal Bar Titanium Threadless Top How to use threadless body jewellery in 4 steps
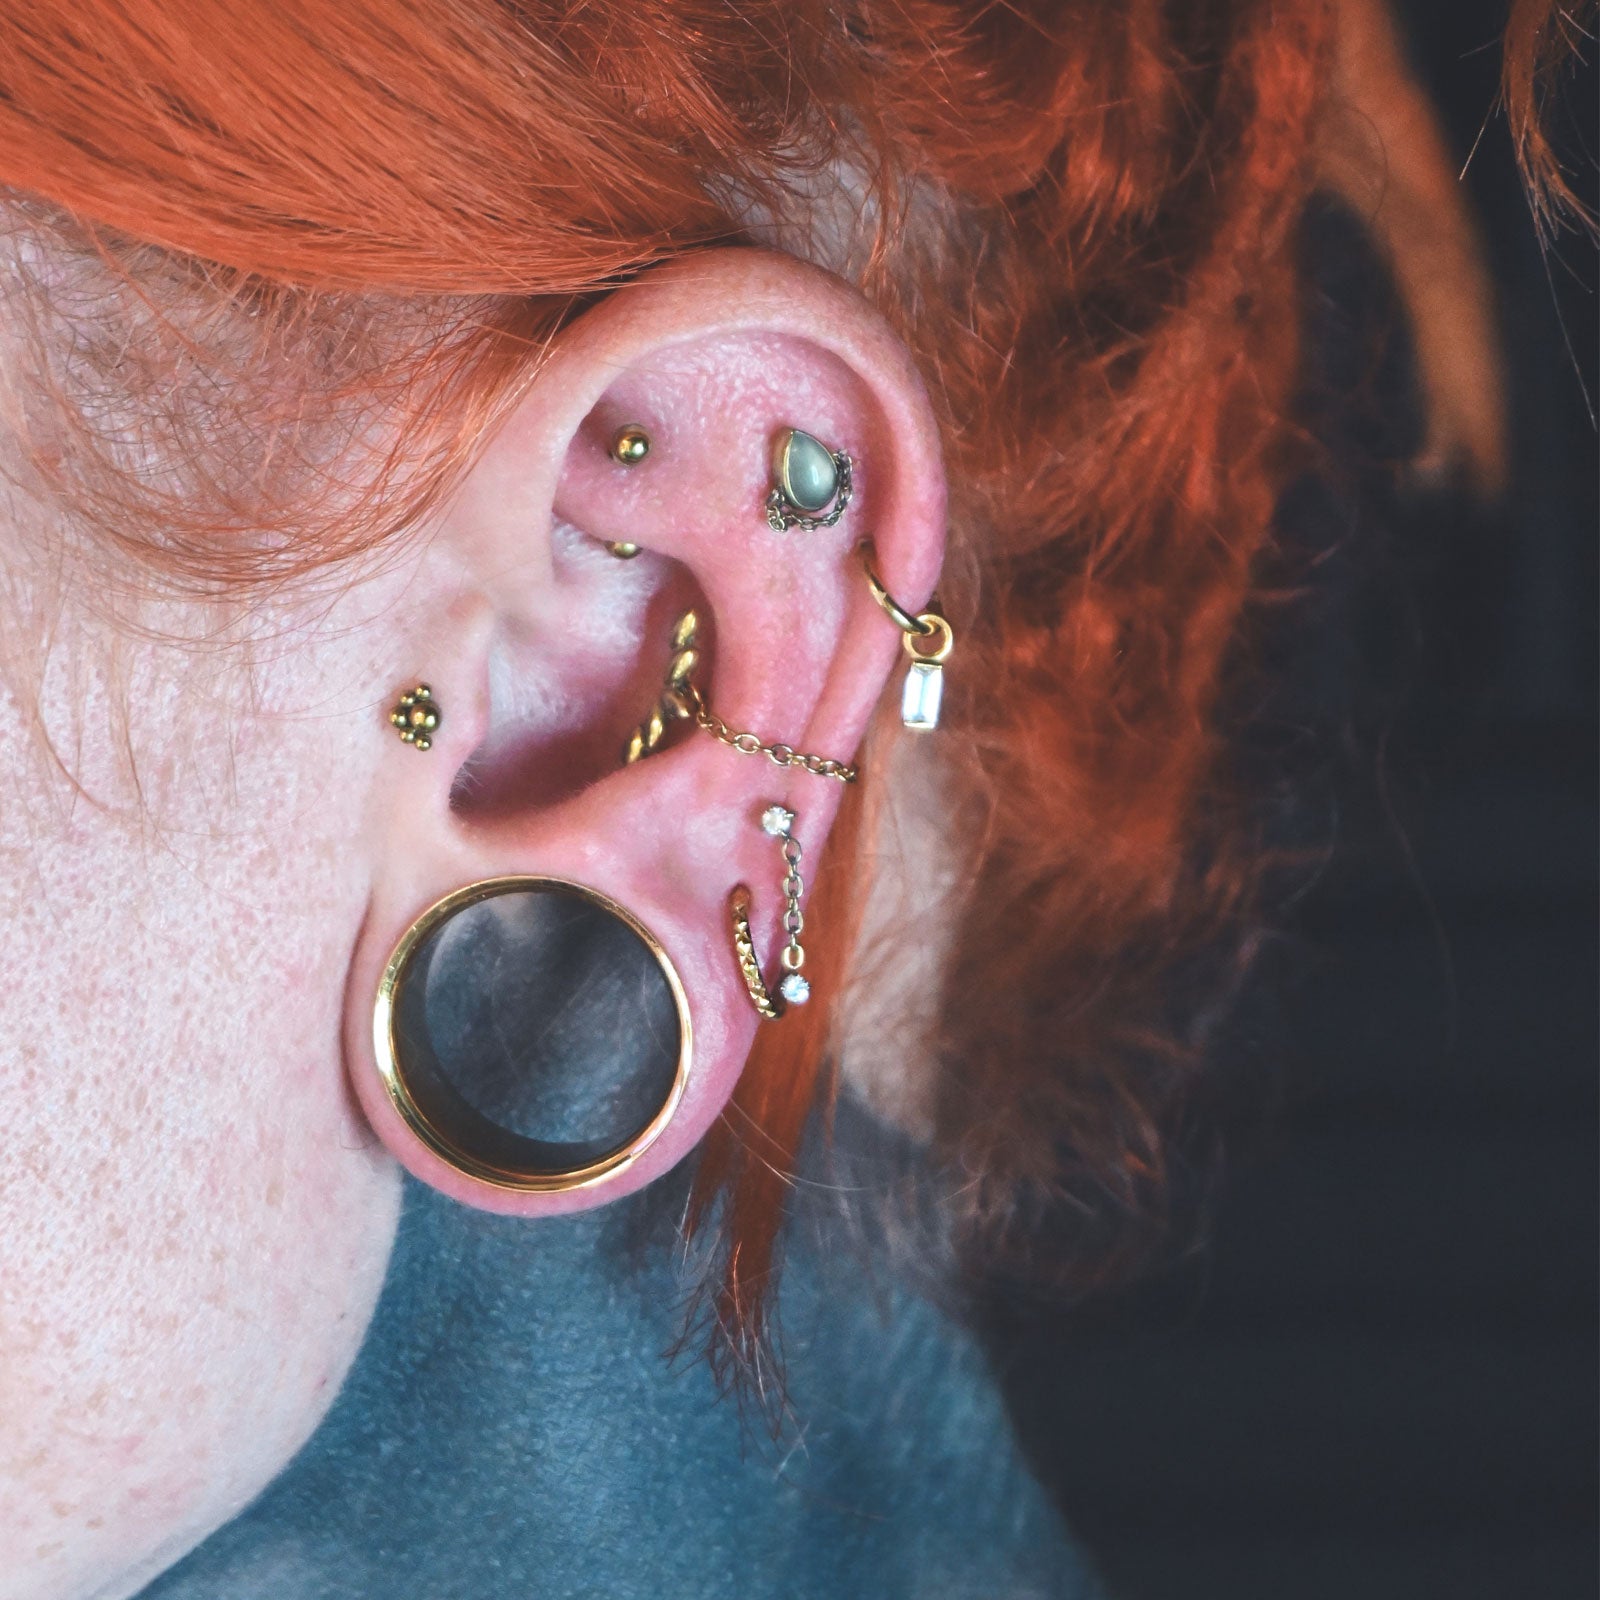
Pearl Shell Wing Titanium Hinged Segment Ring Shell Wing Titanium Hinged Segment Rings Group Shot
Pineapple Titanium Threaded Top Stretch It Body Jewellery Pouch
Pink Gem Shard Gold PVD Titanium Septum Clicker Ring Stretch It Body Jewellery Pouch
Pink Gem Shard Titanium Septum Clicker Ring Stretch It Body Jewellery Pouch
Pink Jewelled Bar Titanium Threadless Top How to use threadless body jewellery in 4 steps
Double Flash Lavender Synth Opal Titanium BCR Ball Close Ring Quad Jewelled Titanium BCR Ball Closure Ring Model Shot
Quilted Gold PVD Titanium Hinged Segment Ring Quilted Gold PVD Titanium Hinged Segment Ring Model Shot Two
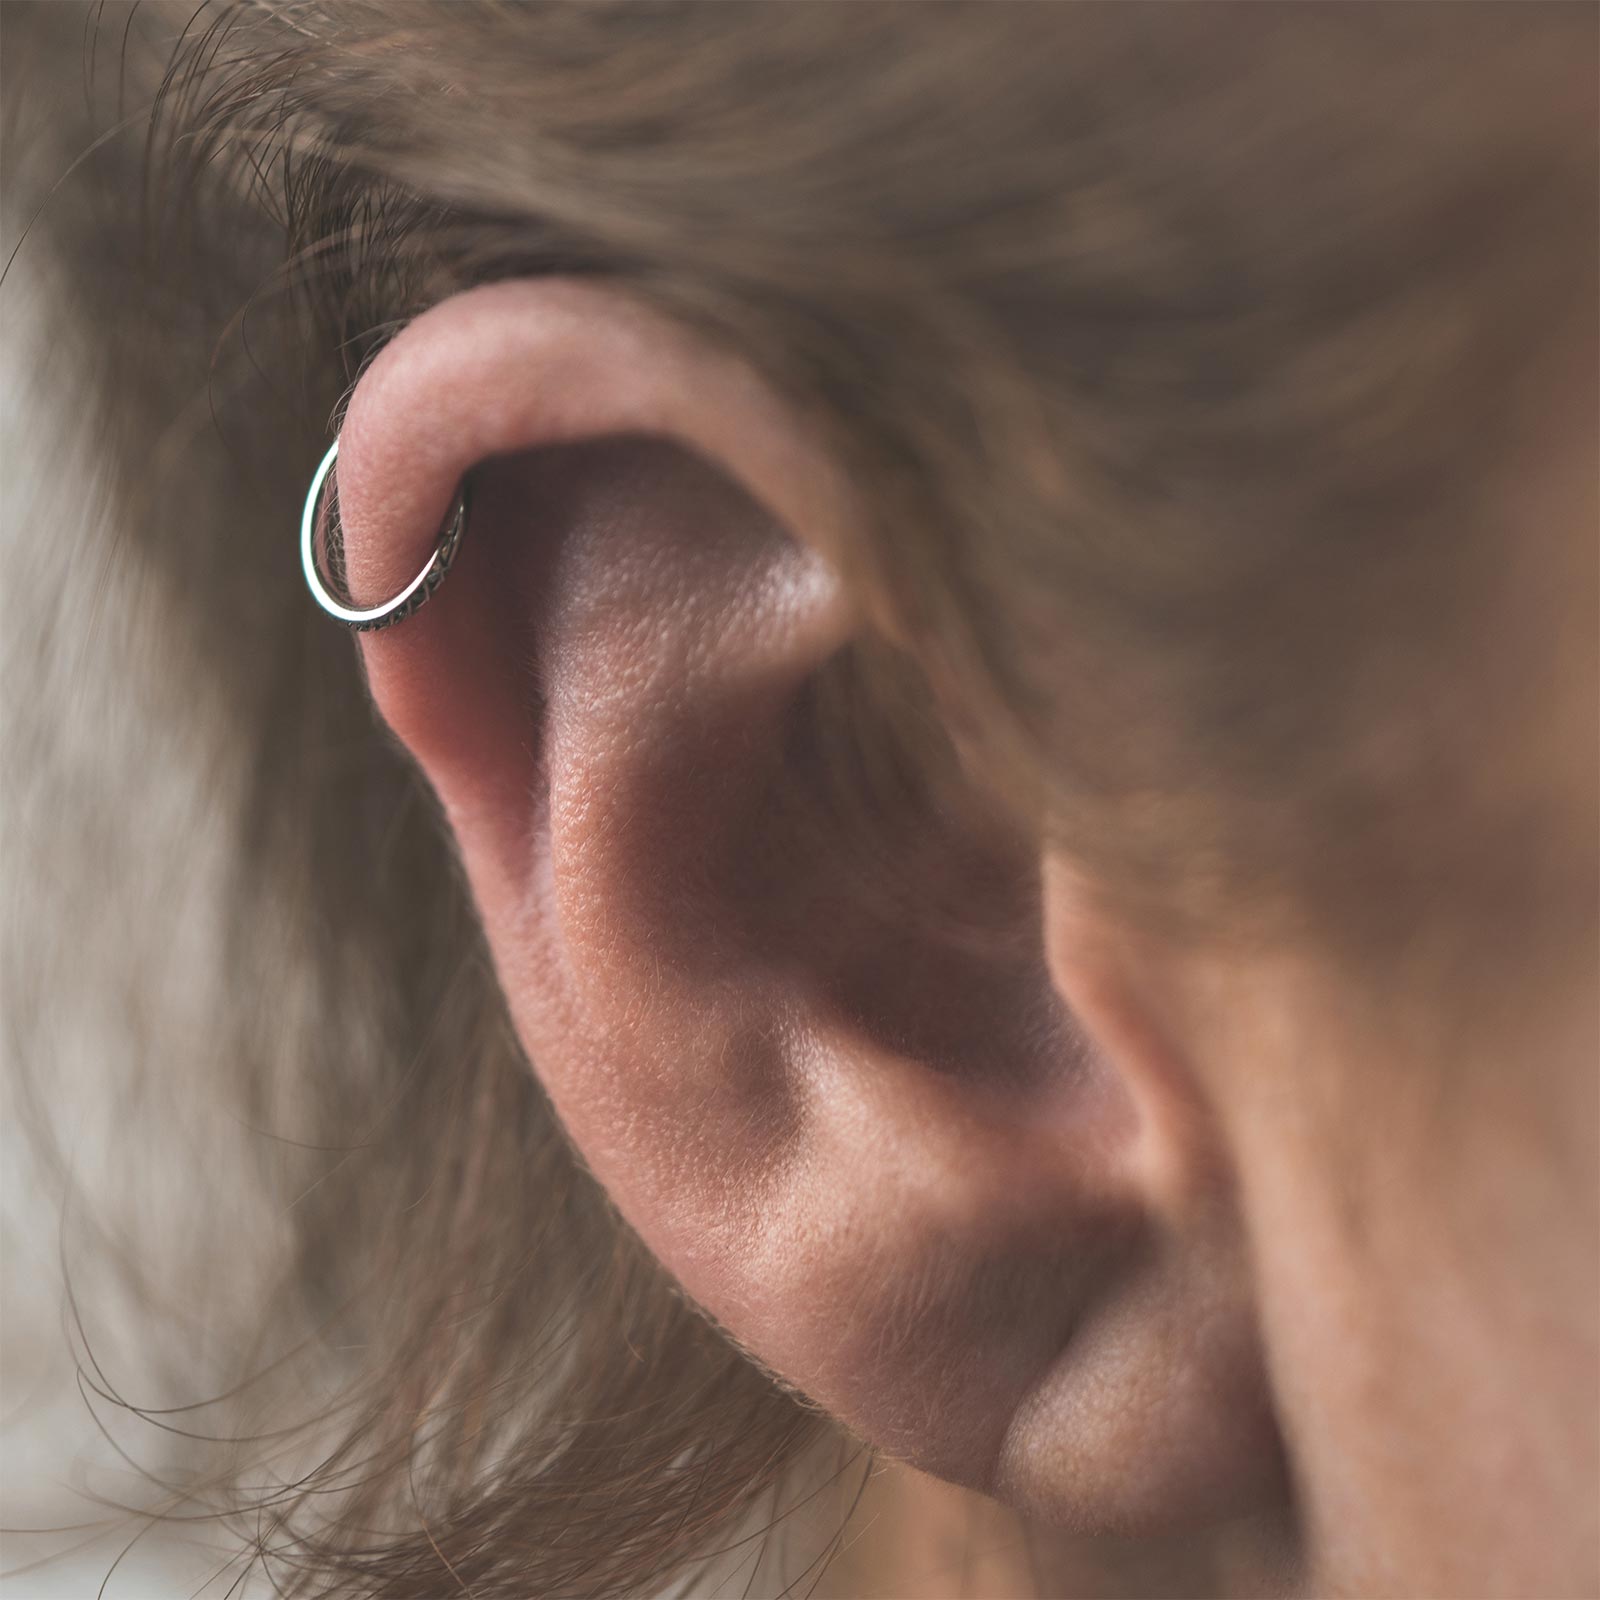
Quilted Titanium Hinged Segment Ring Quilted Titanium Hinged Segment Ring Model Shot
Rainbow Bejewelled Titanium Hinged Segment Ring Rainbow Bejewelled Titanium Hinged Segment Ring Model Shot
Rainbow Marquise Flower Front Facing Gold PVD Titanium Threadless Top How to use threadless body jewellery in 4 steps
Rainbow Offset Marquise Flower Titanium Threaded Top Stretch It Body Jewellery Pouch
Rainbow Offset Marquise Flower Titanium Threadless Top How to use threadless body jewellery in 4 steps
Rainbow PVD Titanium Hinged Segment Ring Rainbow PVD Titanium Hinged Segment Ring Model Shot
Red Gem Shard Gold PVD Titanium Septum Clicker Ring Red Gem Shard Gold PVD Titanium Septum Clicker Ring Model Shot
Sold out
Red Spider Jewelled Titanium Threaded Top Stretch It Body Jewellery Pouch
Red Teardrop and Gold PVD Chain Titanium Hinged Segment Ring Stretch It Body Jewellery Pouch
Ridged Bejewelled Cluster Gold PVD Titanium Hinged Segment Ring Stretch It Body Jewellery Pouch
Ridged Bejewelled Cluster Titanium Hinged Segment Ring Stretch It Body Jewellery Pouch
Rose Gold PVD Titanium Ball Threadless Top How to use threadless jewellery: push the top's pin halfway into the bar, bend it slightly, push it fully in, then pull straight out to remove

View our range of smaller gauge 1.2mm (16g) plugs, tunnels & body jewellery in a variety of quality materials like Surgical Steel, Silicone and Bone!