548 products
Sort by
Sort by
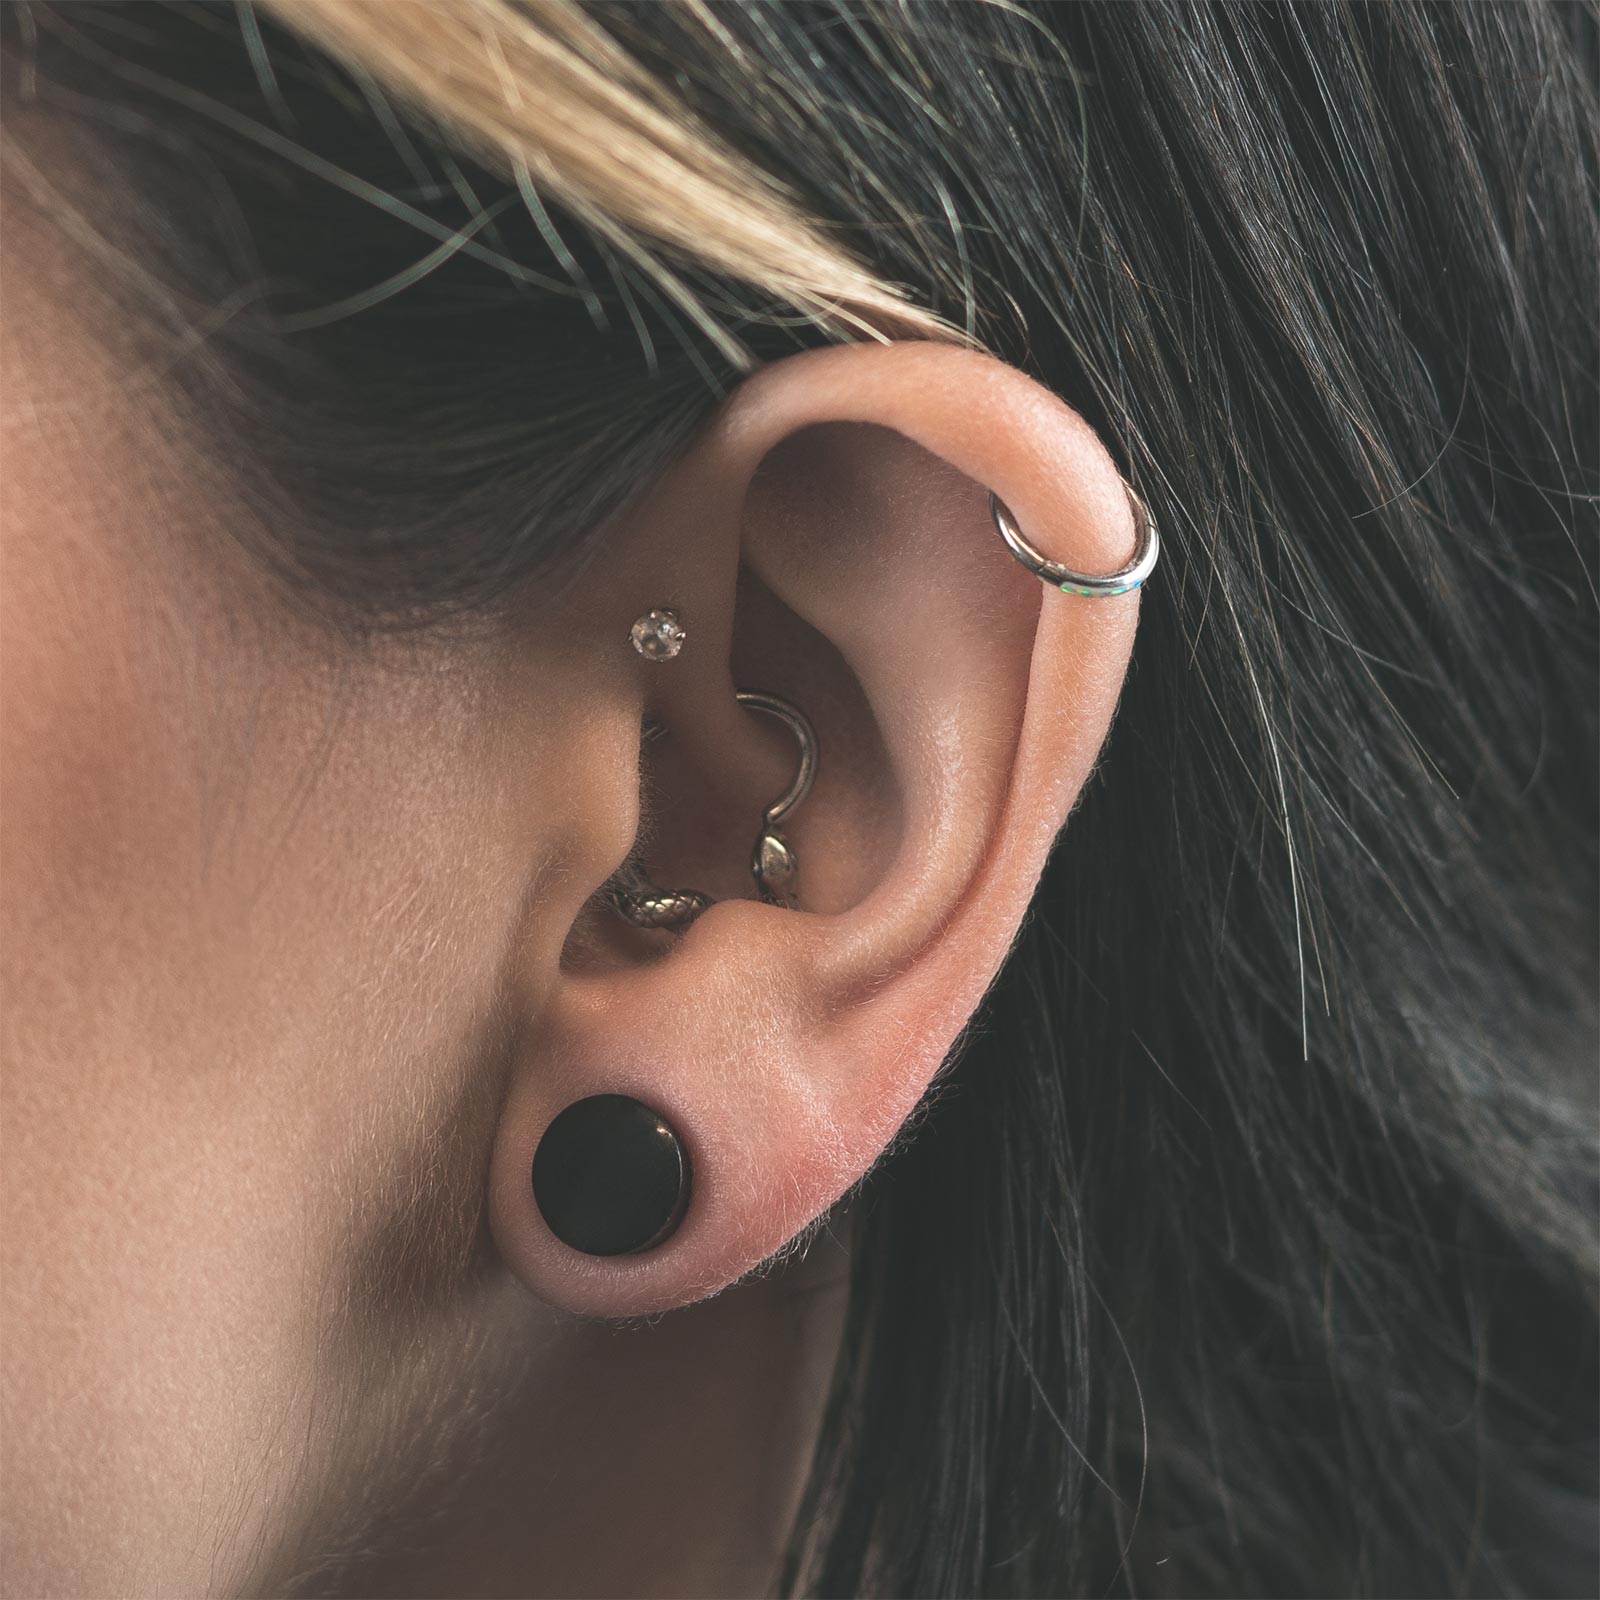
Black Onyx Double Flare Convex Stone Plug Black Onyx Double Flare Convex Stone Plug Model Shot
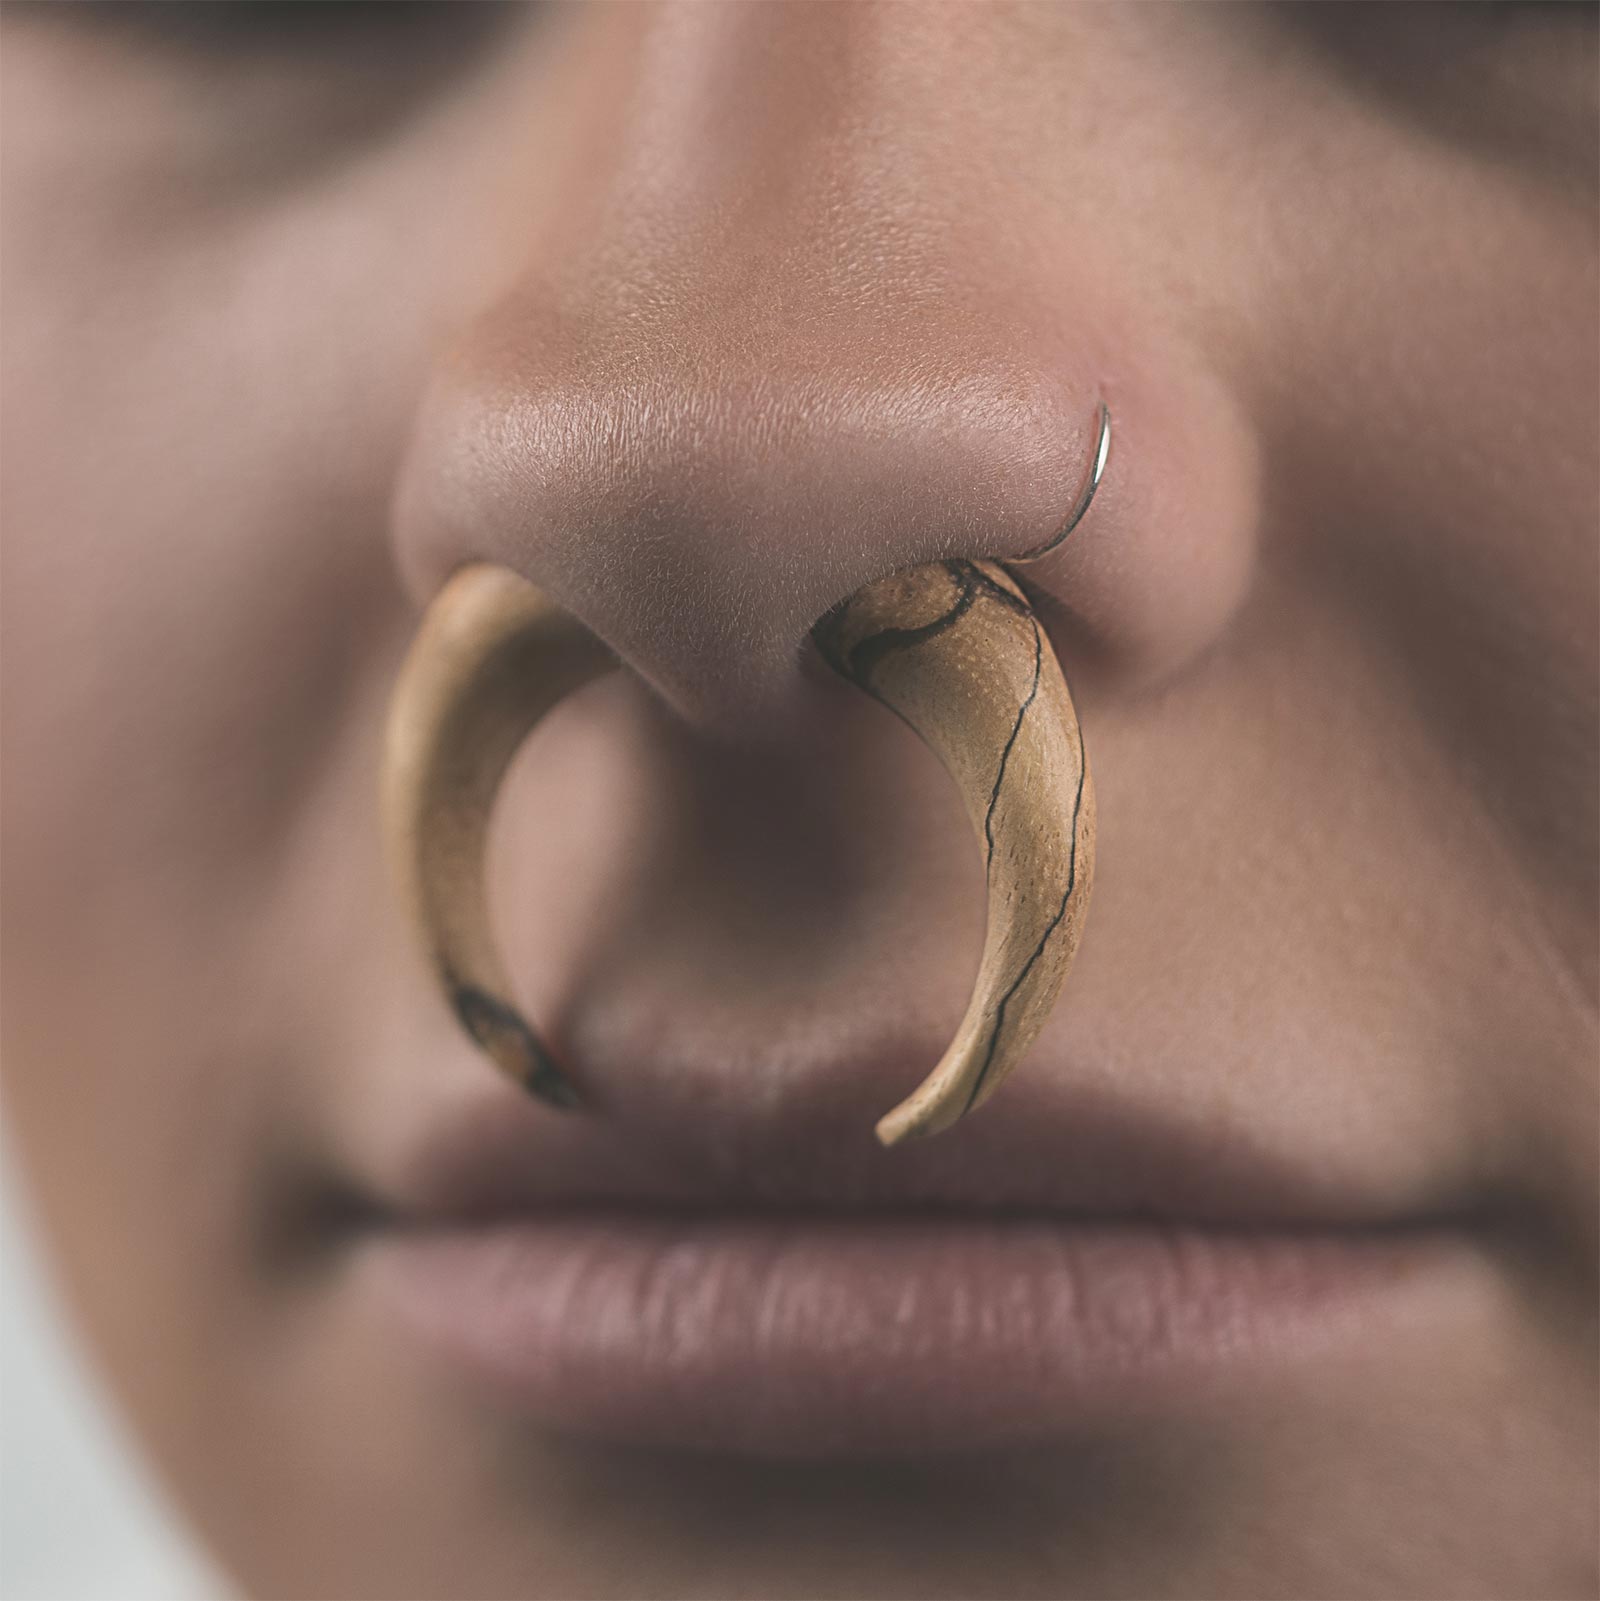
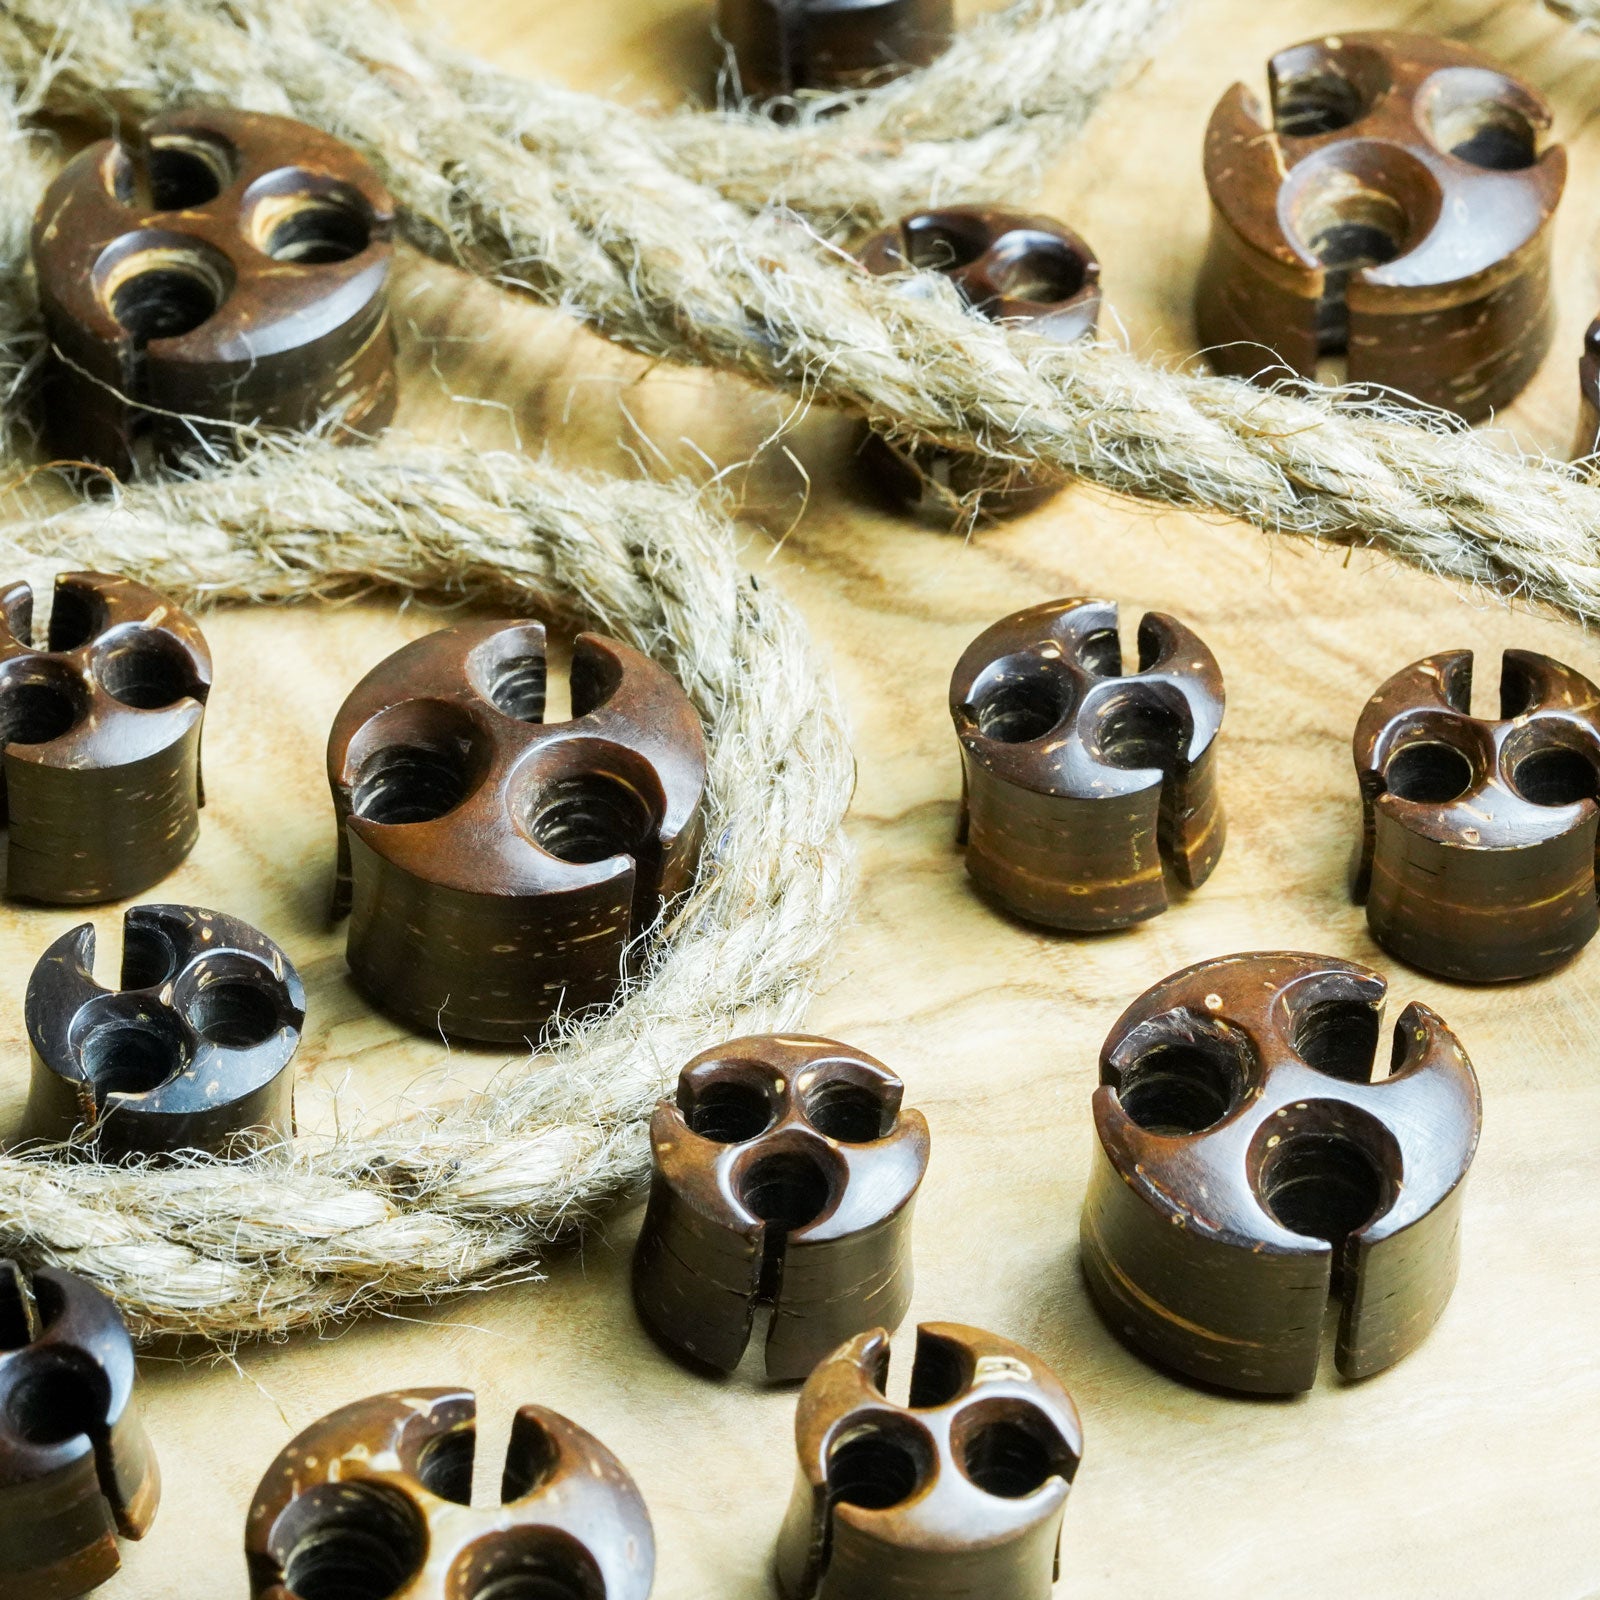
Tamarind Wood Fake Gauge Pincher Tamarind Wood Fake Gauge Pincher Model Shot
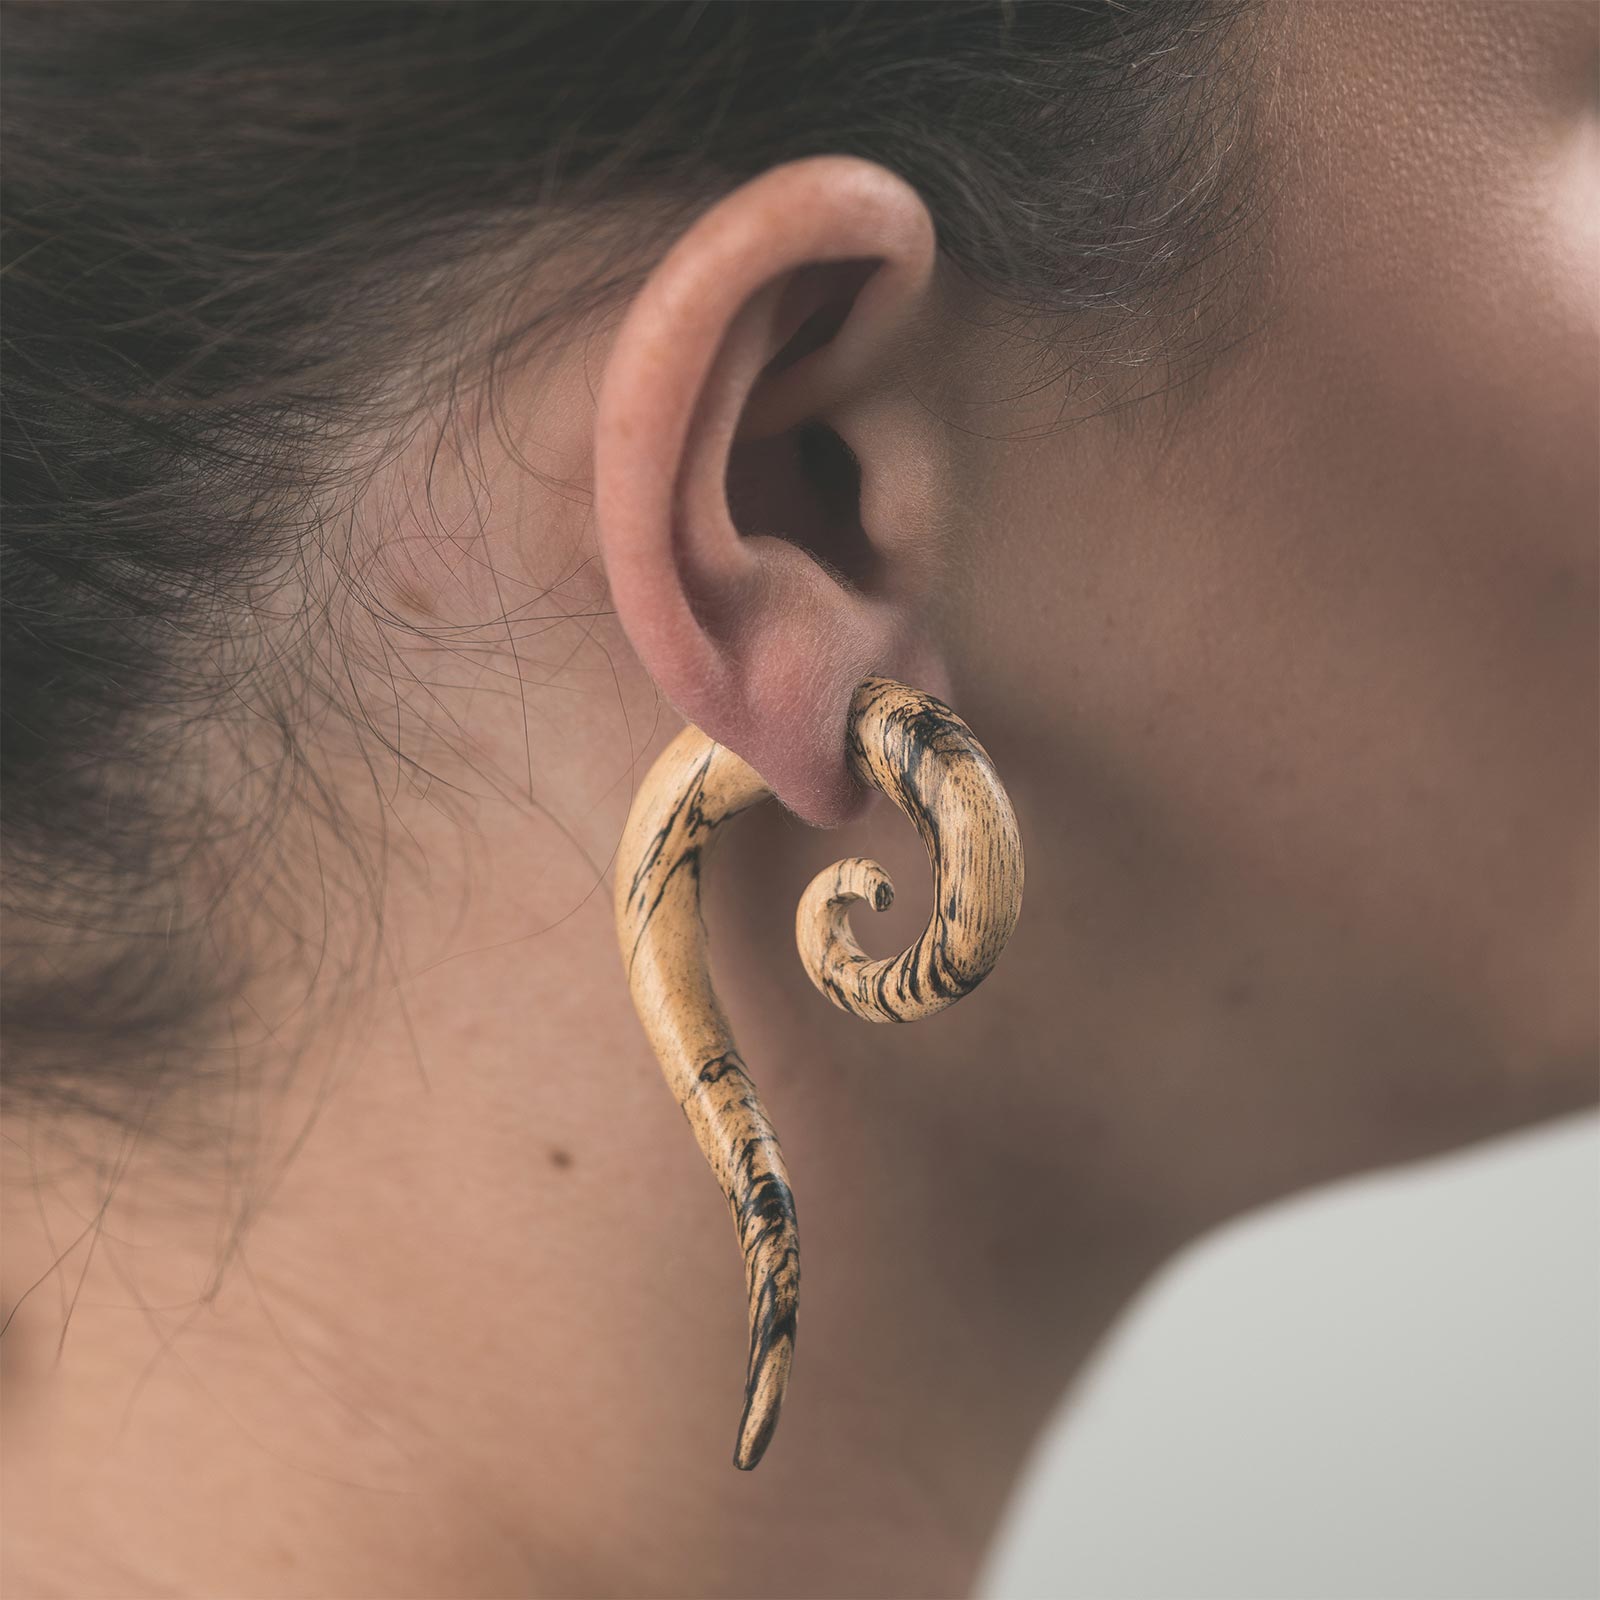
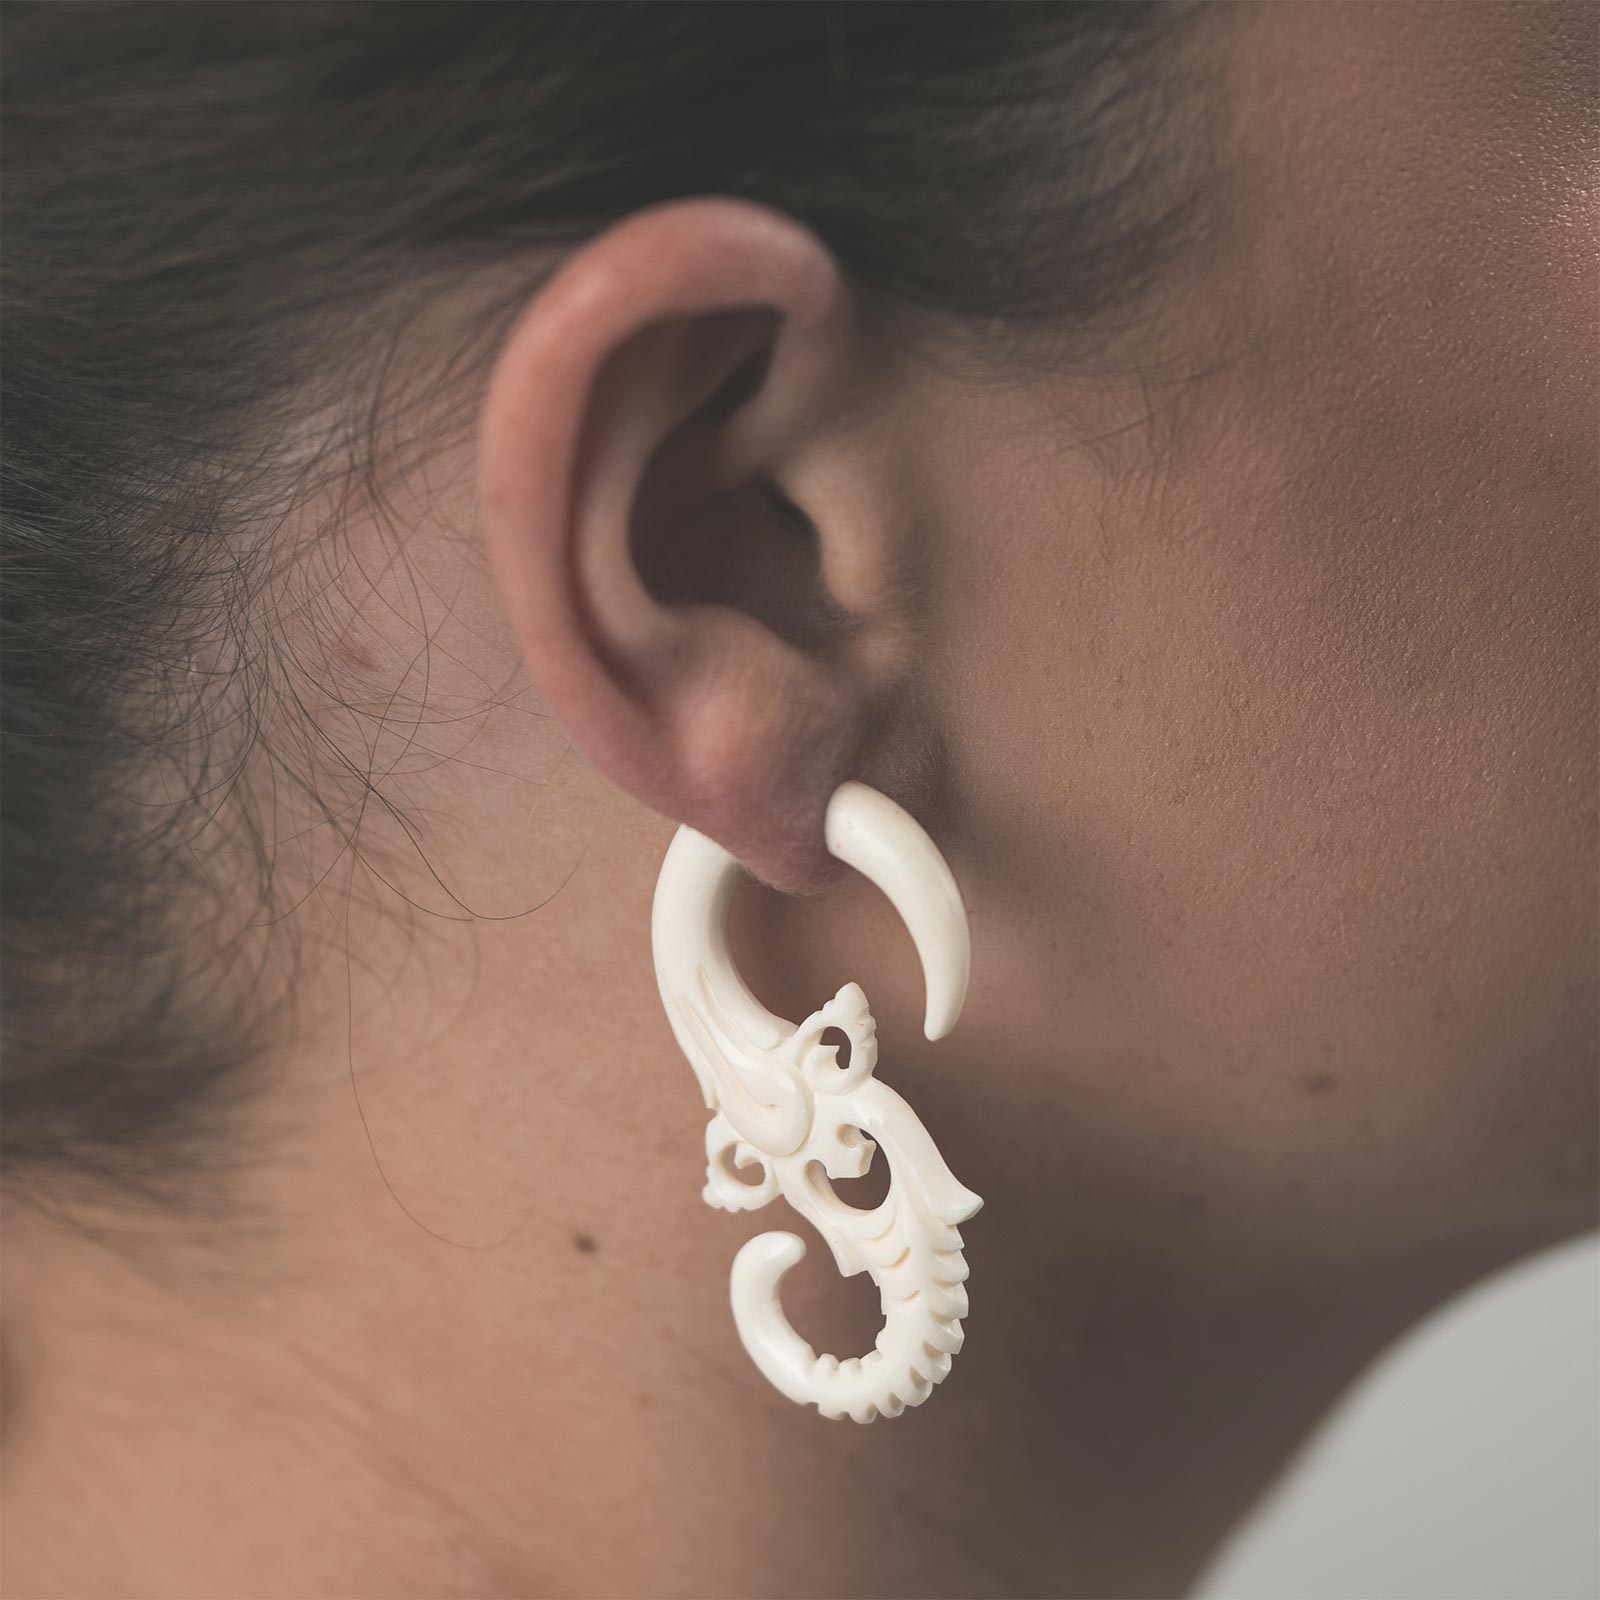
Tamarind Wood Fake Gauge Hanging Spiral Tamarind Wood Fake Gauge Hanging Spiral Model Shot
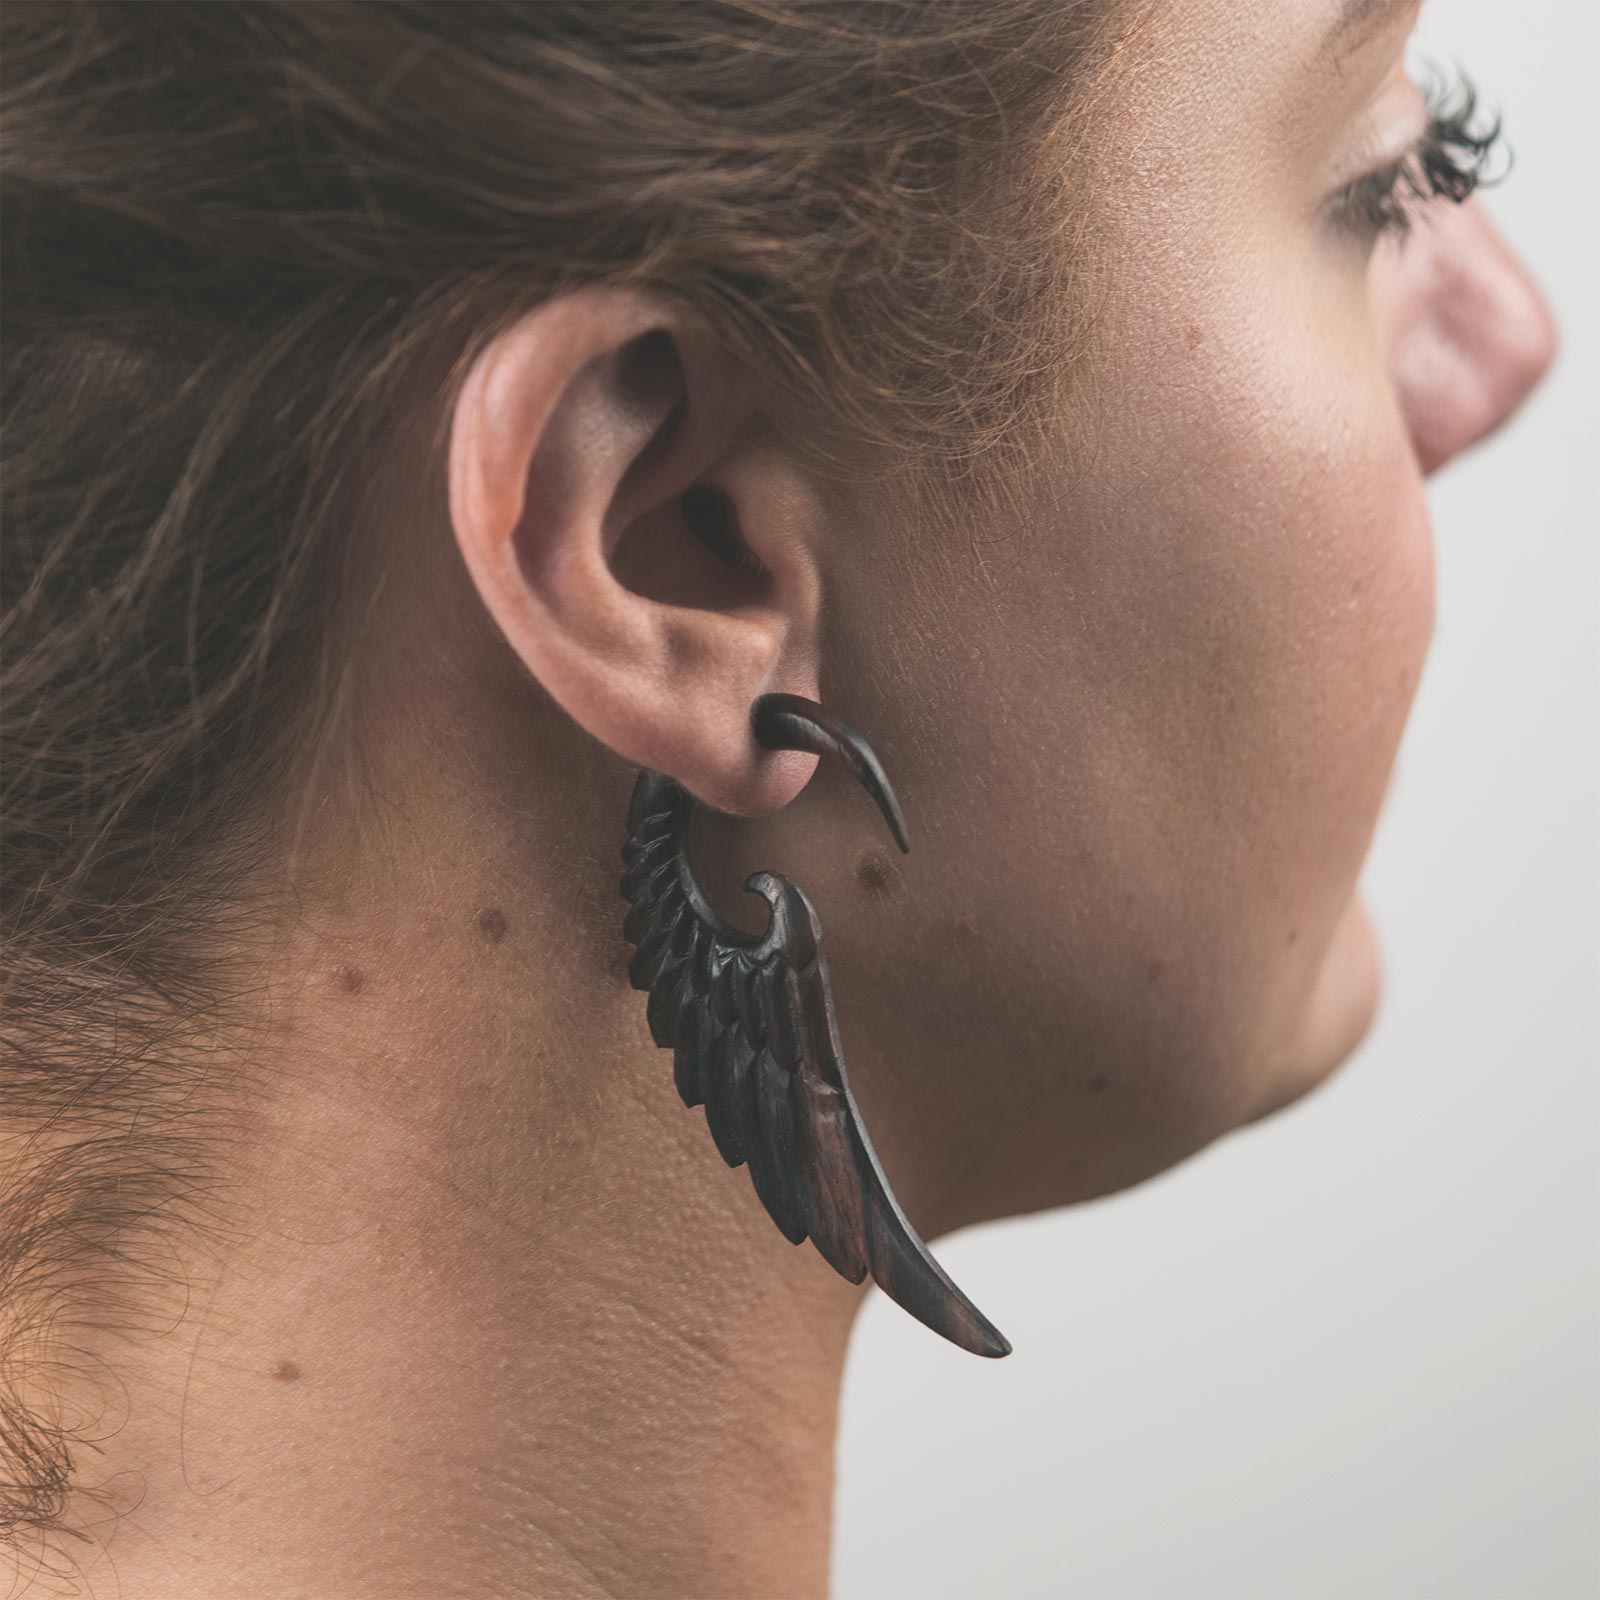
Sono Wood Fake Gauge Angel Wing Sono Wood Fake Gauge Angel Wing Model Shot
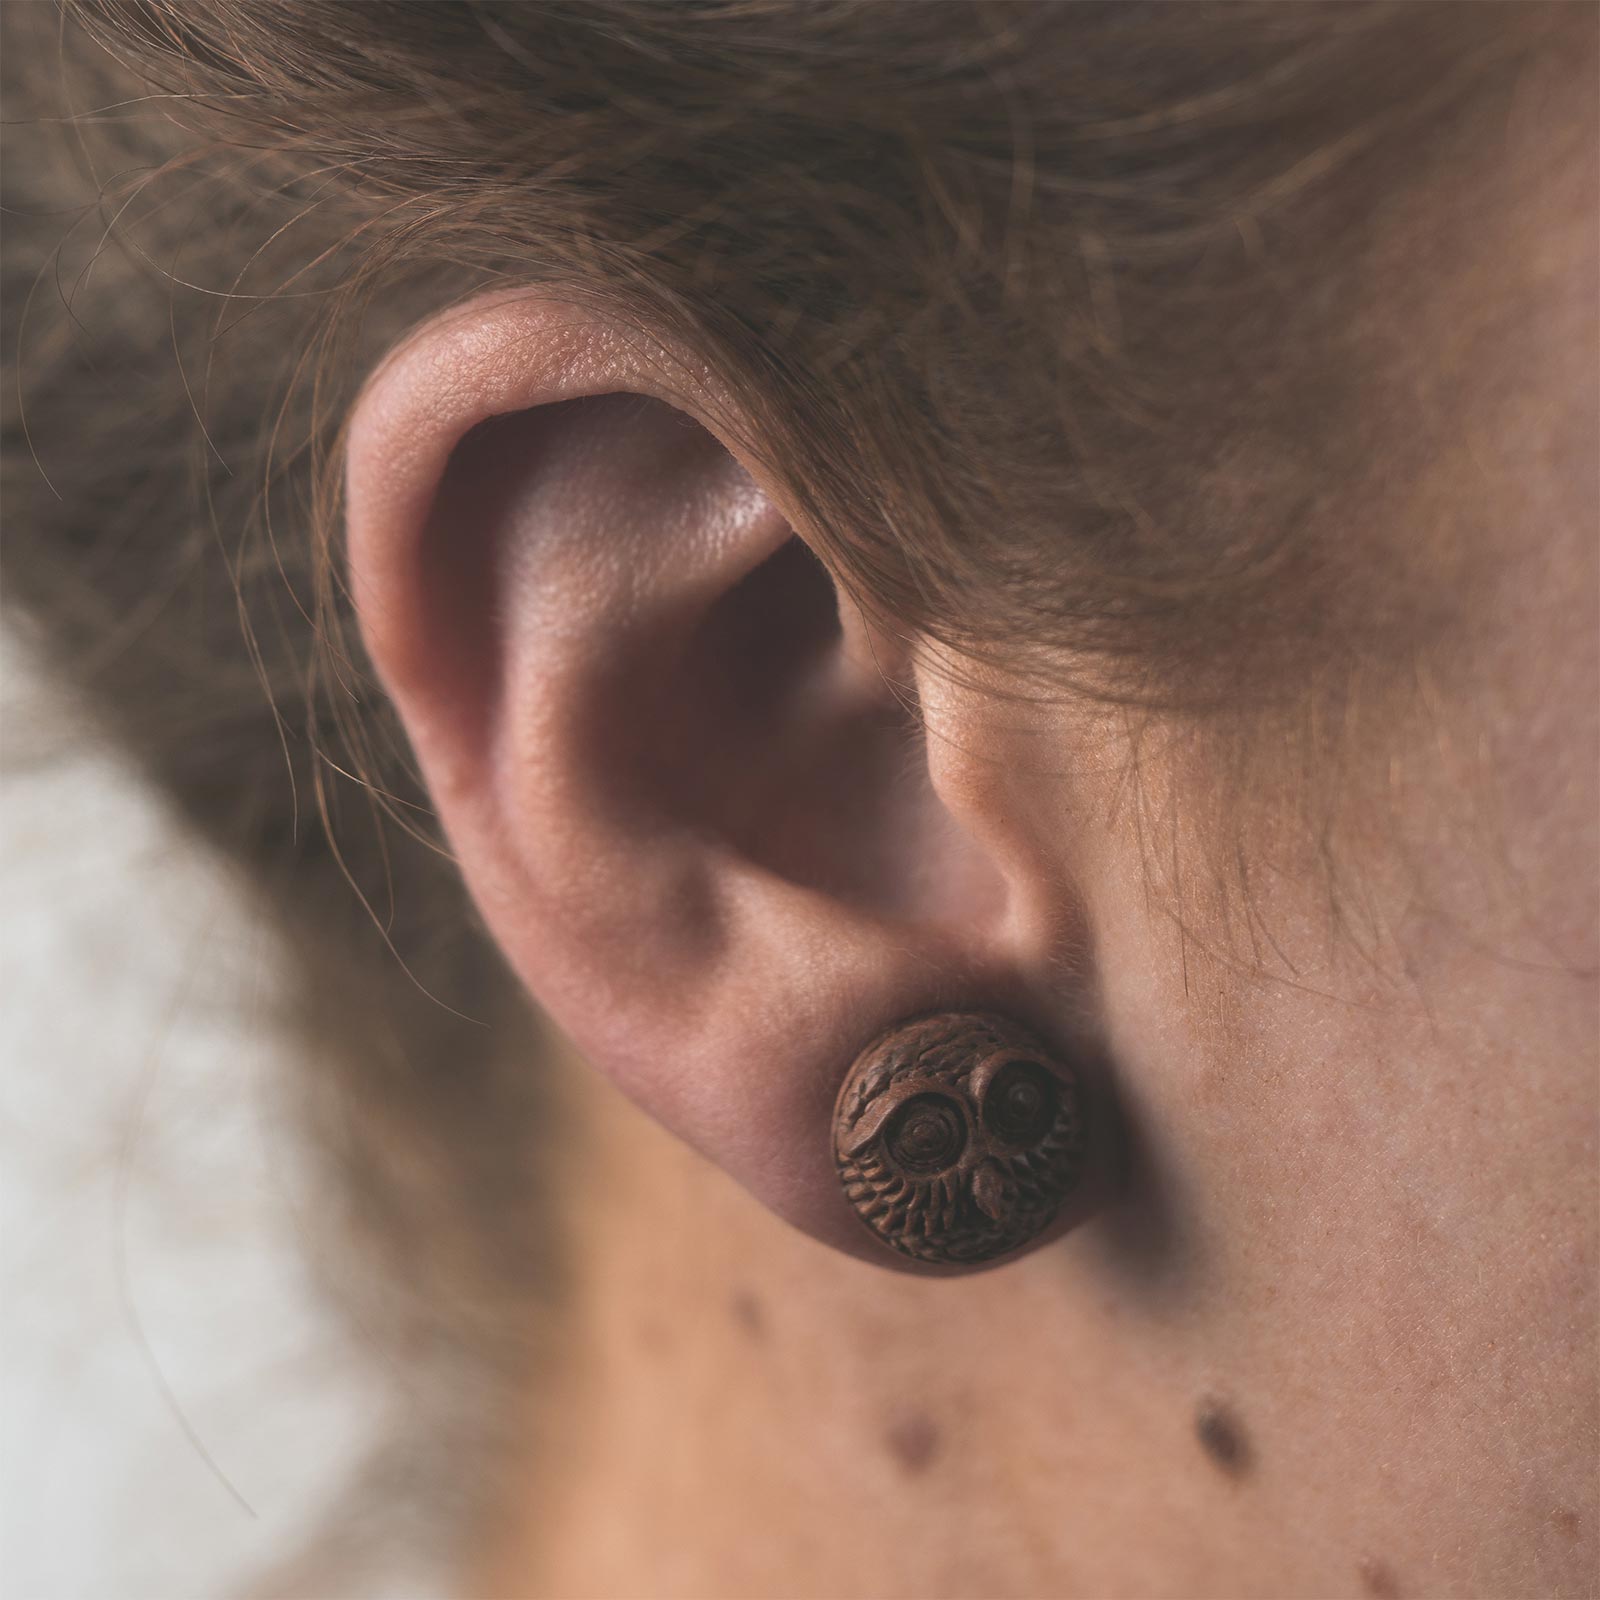
Saba Wood Fake Gauge Plug With Owl Carving Saba Wood Fake Gauge Plug With Owl Carving Model Shot
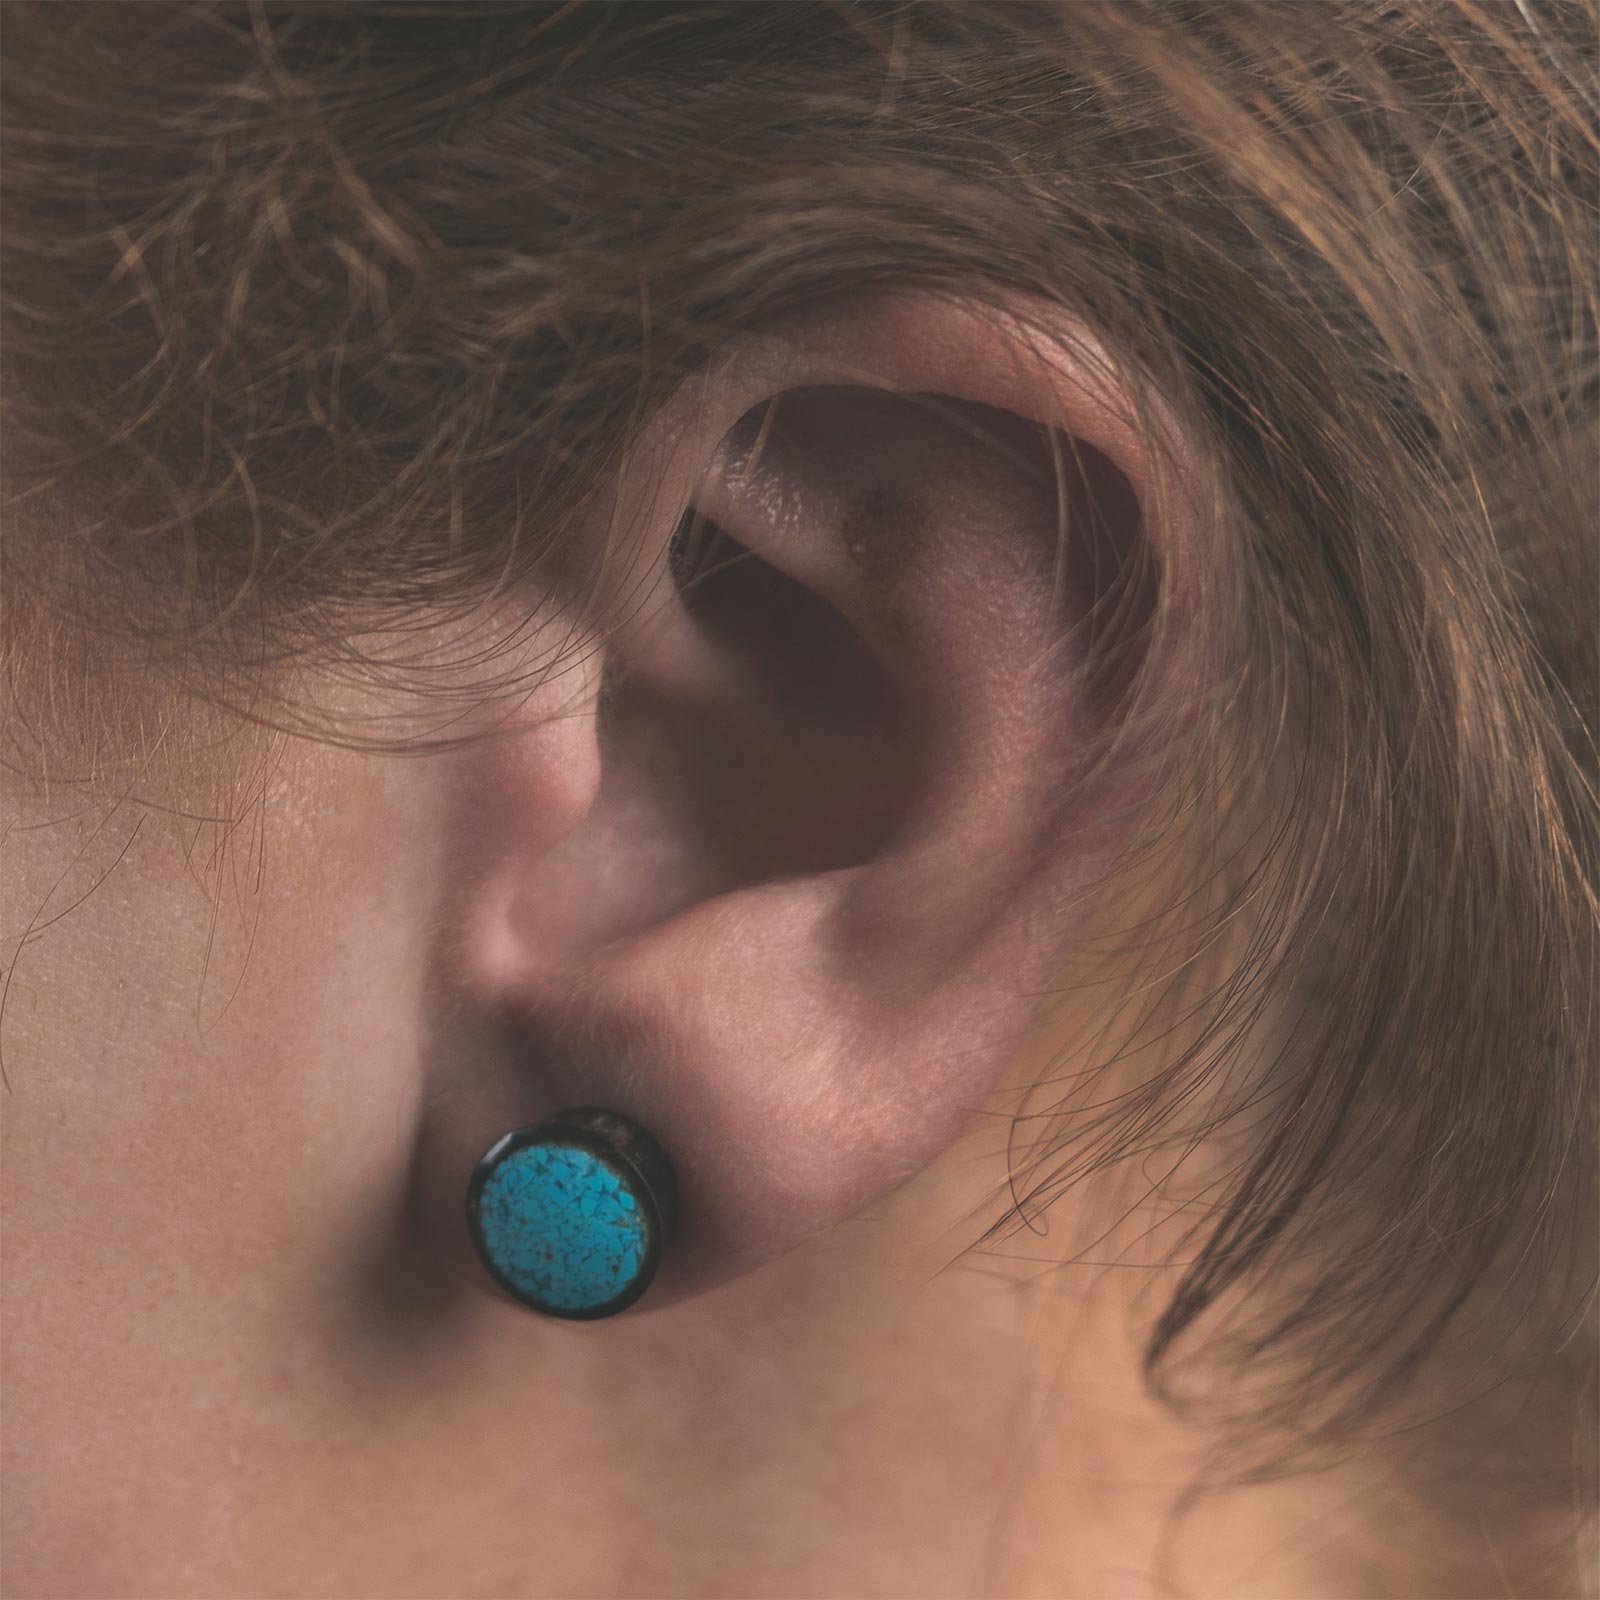
Horn Fake Gauge Plug With Crushed Turquoise Inlay Horn Fake Gauge Plug With Crushed Turquoise Inlay Model Shot
Horn Fake Gauge Pincher Stretch It Body Jewellery Pouch
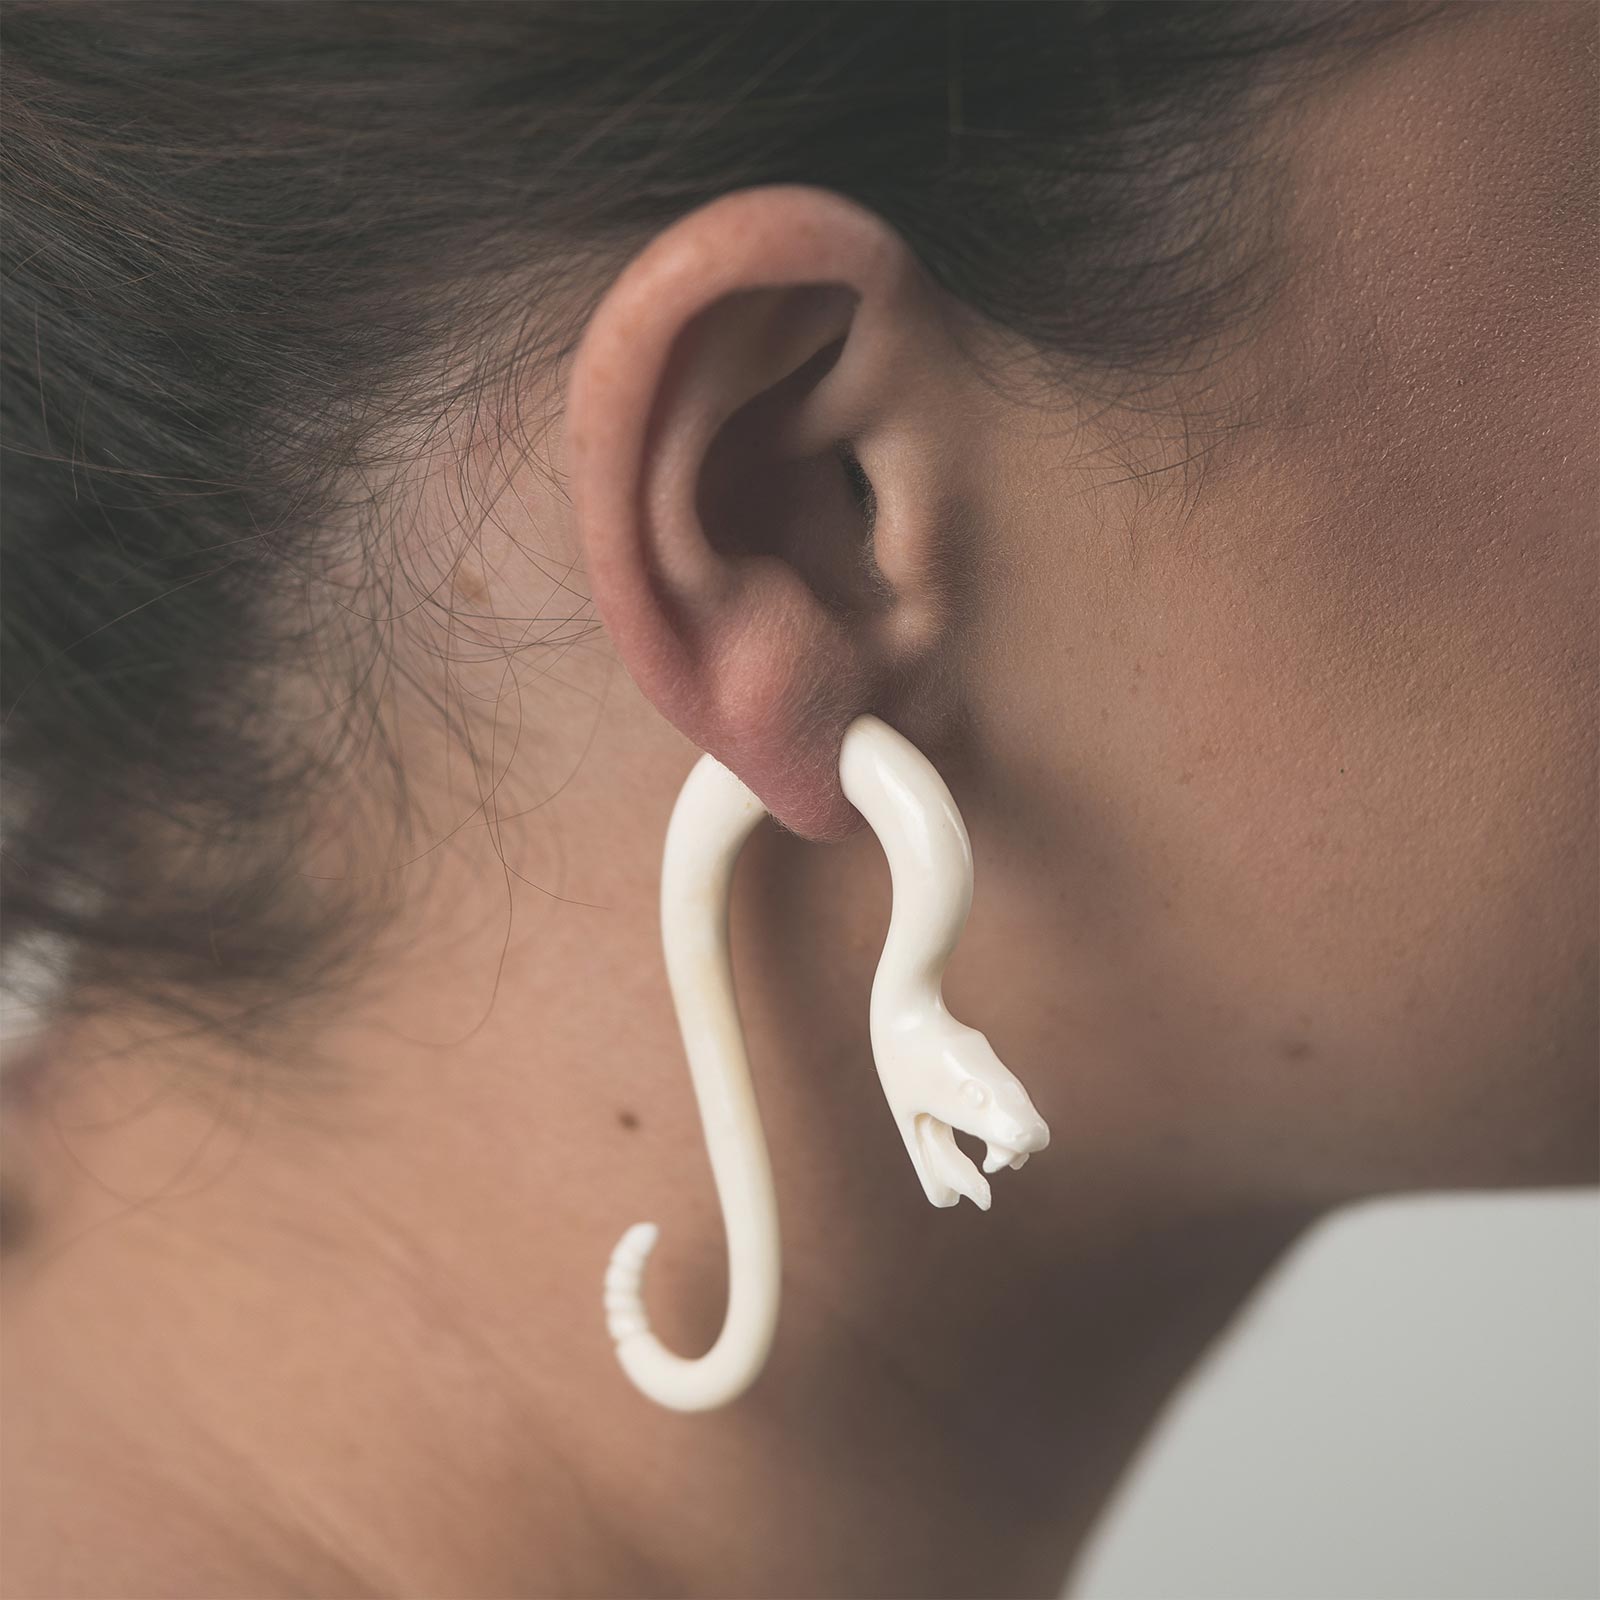
Bone Fake Gauge Rattlesnake Spiral Bone Fake Gauge Rattlesnake Spiral Model Shot
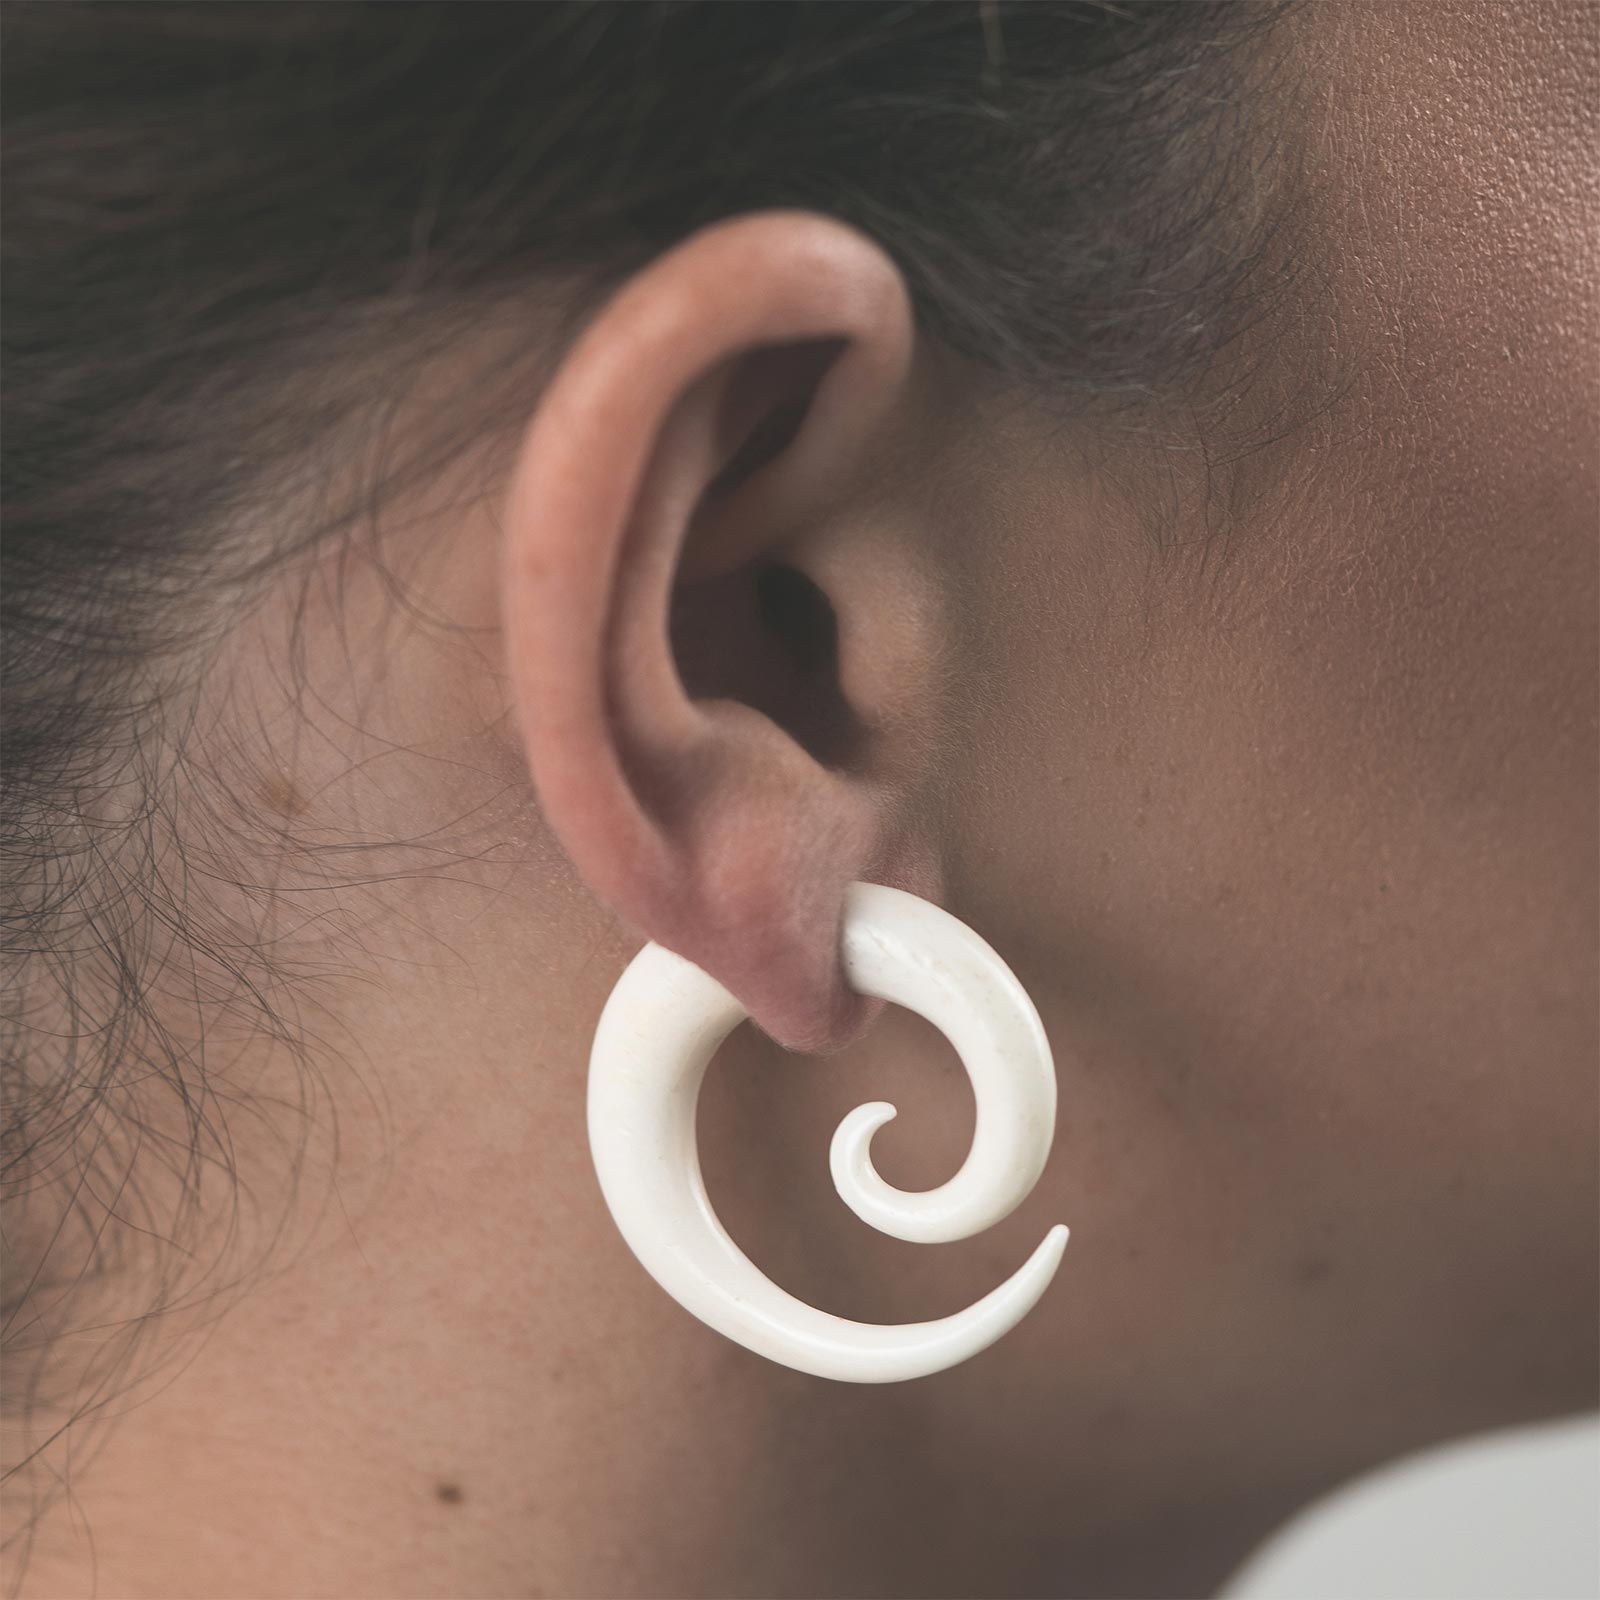
Bone Fake Gauge Spiral Bone Fake Gauge Spiral Model Shot
Bone Fake Gauge Hanging Floral Spiral Bone Fake Gauge Hanging Floral Spiral Model Shot
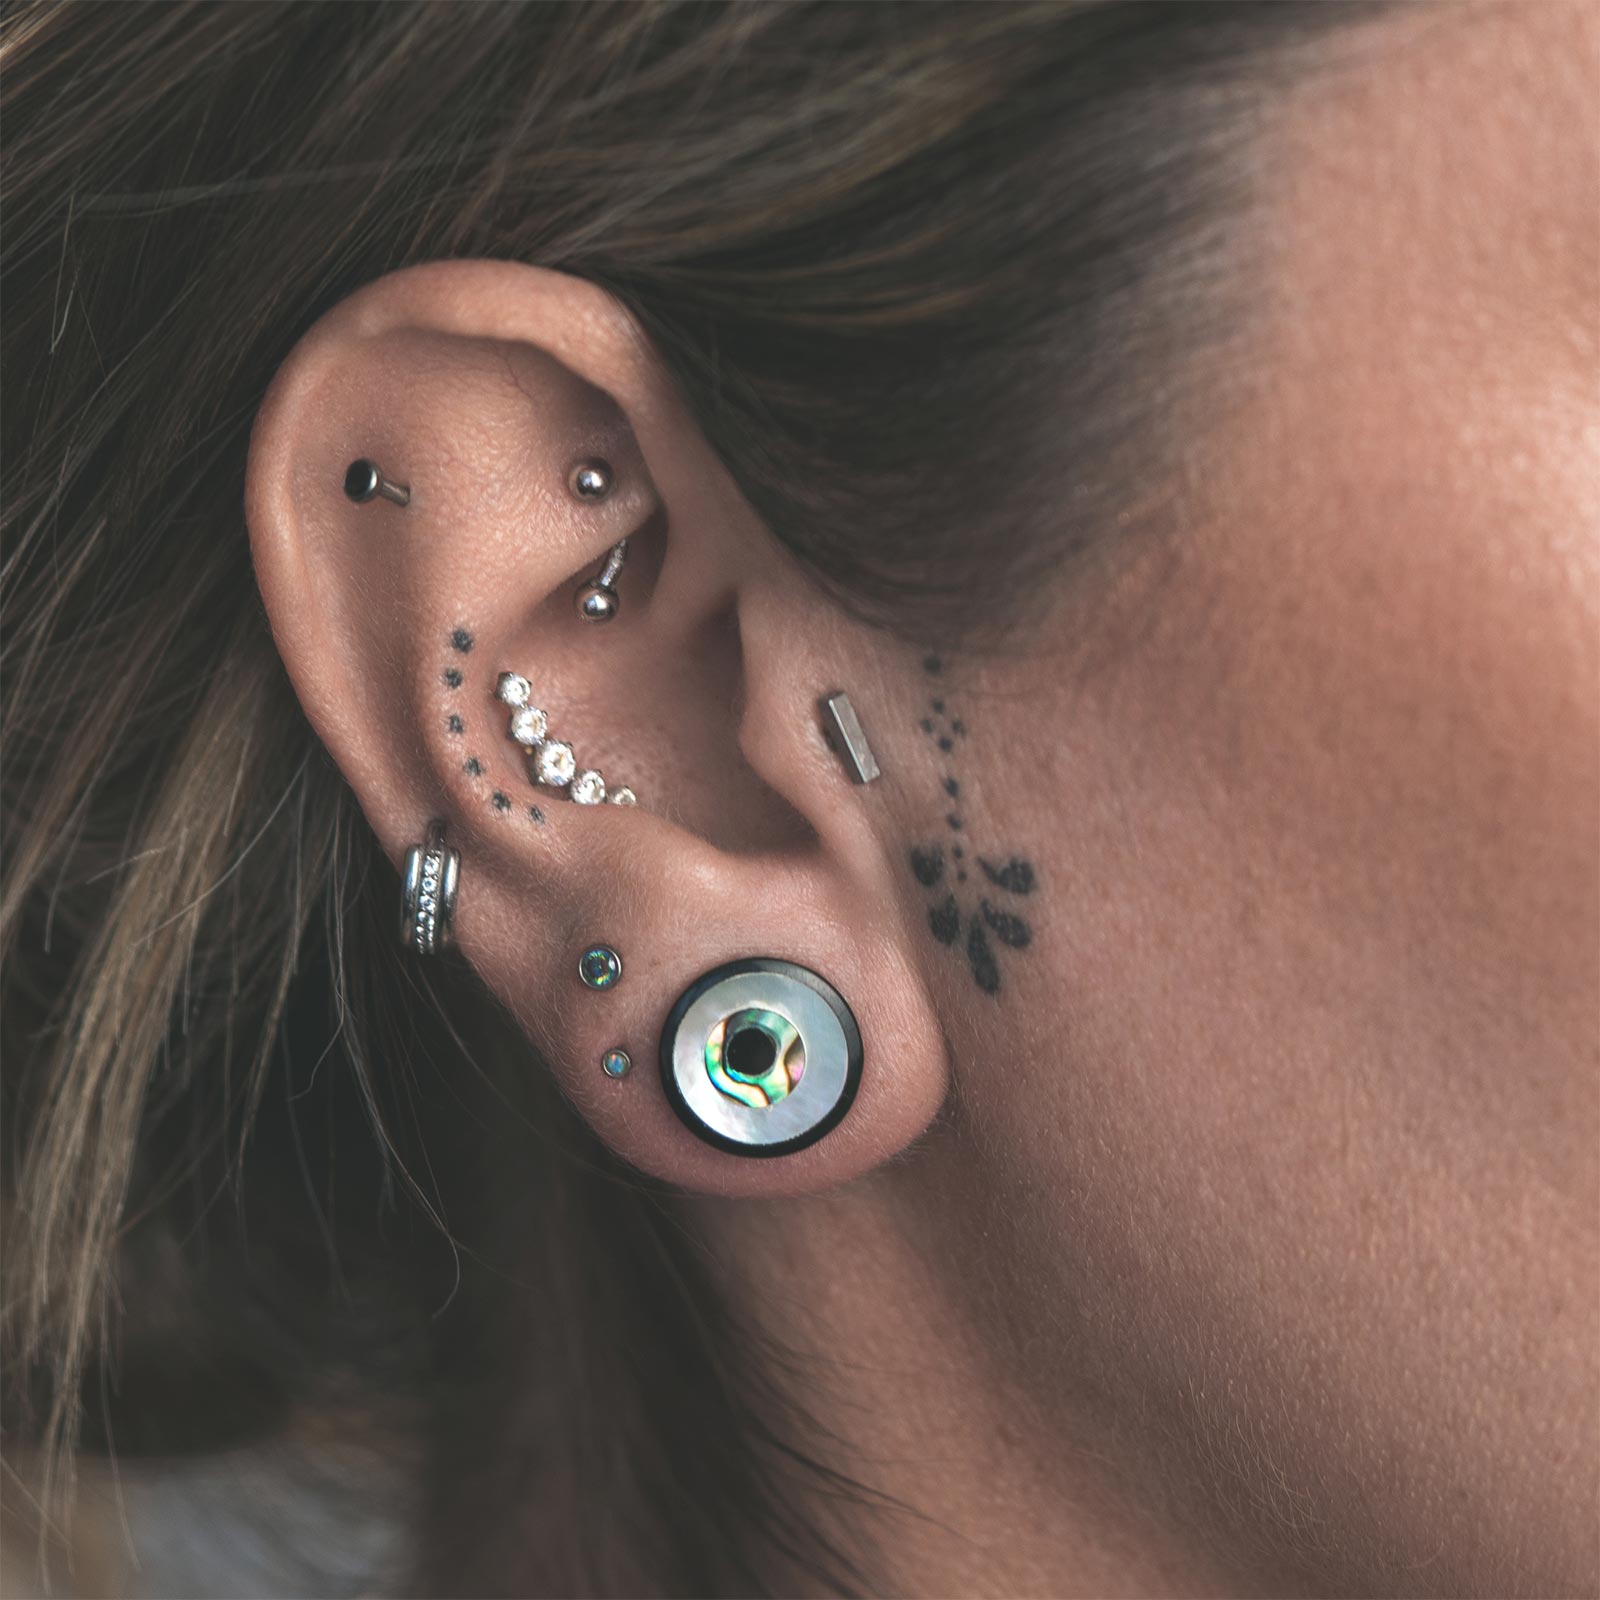
Horn Fake Gauge Plug With MOP Inlay Horn Fake Gauge Plug With MOP Inlay Model Shot
Horn Double Flare Plug With Shiva Eye Inlay Horn Double Flare Plug With Shiva Eye Inlay Model Shot
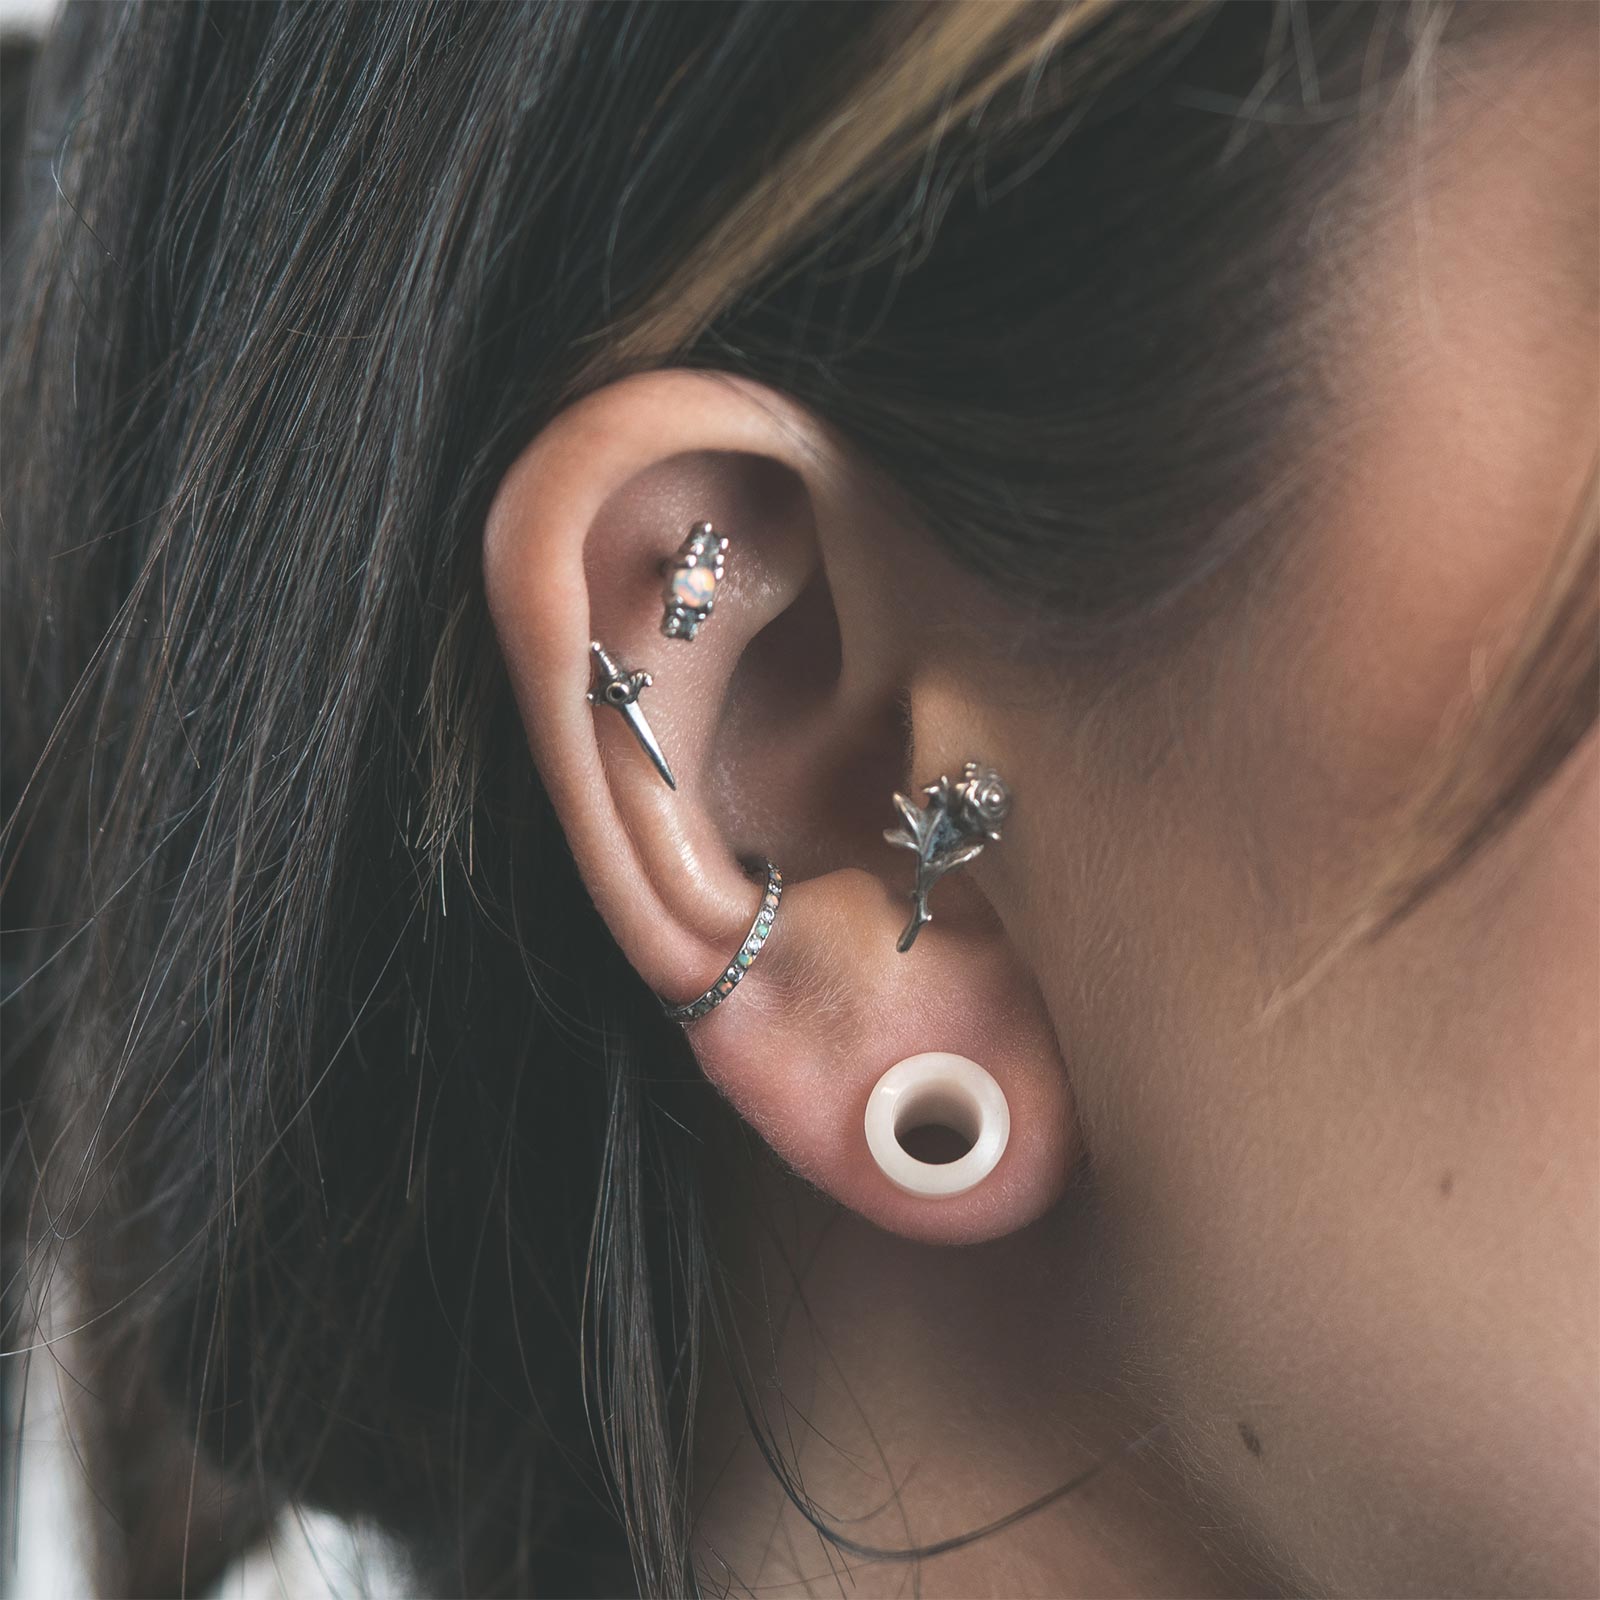
Horn Double Flare Tunnel Horn Double Flare Tunnel Model Shot
Bone Double Flare Tunnel Bone Double Flare Tunnel Model Shot
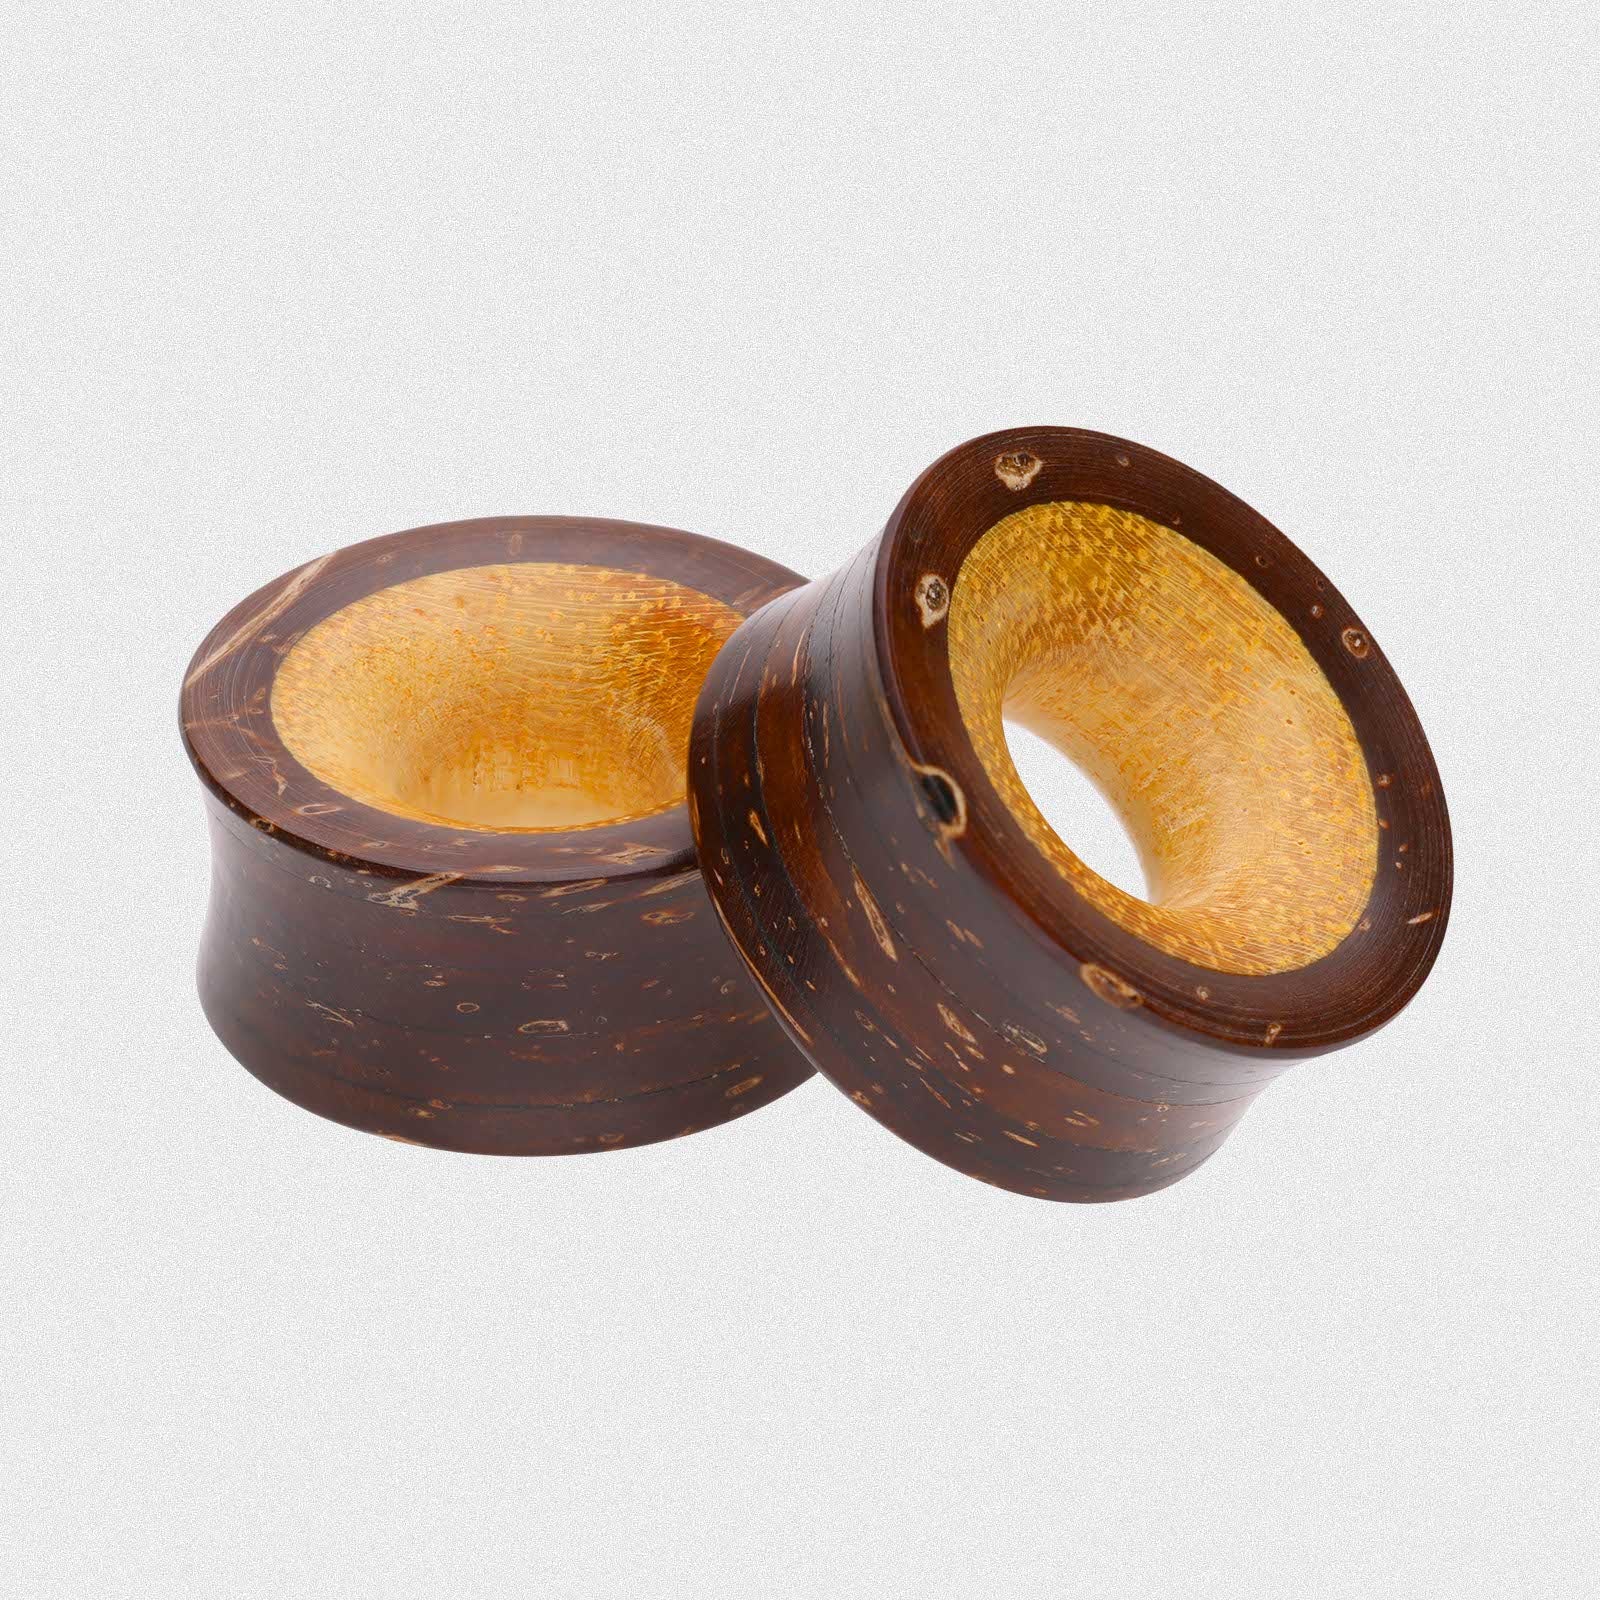
Coconut Shell Double Flare Tunnel With Tewel Wood Inlay Coconut Shell Double Flare Tunnel With Tewel Wood Inlay Model Shot Two
Coconut Shell Double Flare Tunnel With Coconut Wood Inlay Coconut Shell Double Flare Tunnel With Coconut Wood Inlay Model Shot
Sono Wood Double Flare Tunnel With Brass Insert Sono Wood Double Flare Tunnel With Brass Insert Model Shot
Sono Wood Double Flare Tunnel With Brass Halo Inlay Sono Wood Double Flare Tunnel With Brass Halo Inlay Model Shot Side Shot
Sono Wood Double Flare Tunnel With Floral Brass Inlay Sono Wood Double Flare Tunnel With Floral Brass Inlay Model Shot
Coconut Wood Double Flare Tunnel With Crocodile Wood Inlay Coconut Wood Double Flare Tunnel With Crocodile Wood Inlay Model Shot Two
Coconut Wood Double Flare Tunnel With Tewel Wood Inlay Coconut Wood Double Flare Tunnel With Tewel Wood Inlay Model Shot
Saba Wood Double Flare Tunnel With Coconut Wood Offset Inlay Saba Wood Double Flare Tunnel With Coconut Wood Offset Inlay Model Shot
Areng Wood Double Flare Tunnel With Rangas Wood Inlay Areng Wood Double Flare Tunnel With Rangas Wood Inlay Group Shot
Sono Wood Double Flare Tunnel With Bone Spiral Inlay Sono Wood Double Flare Tunnel With Bone Spiral Inlay Model Shot
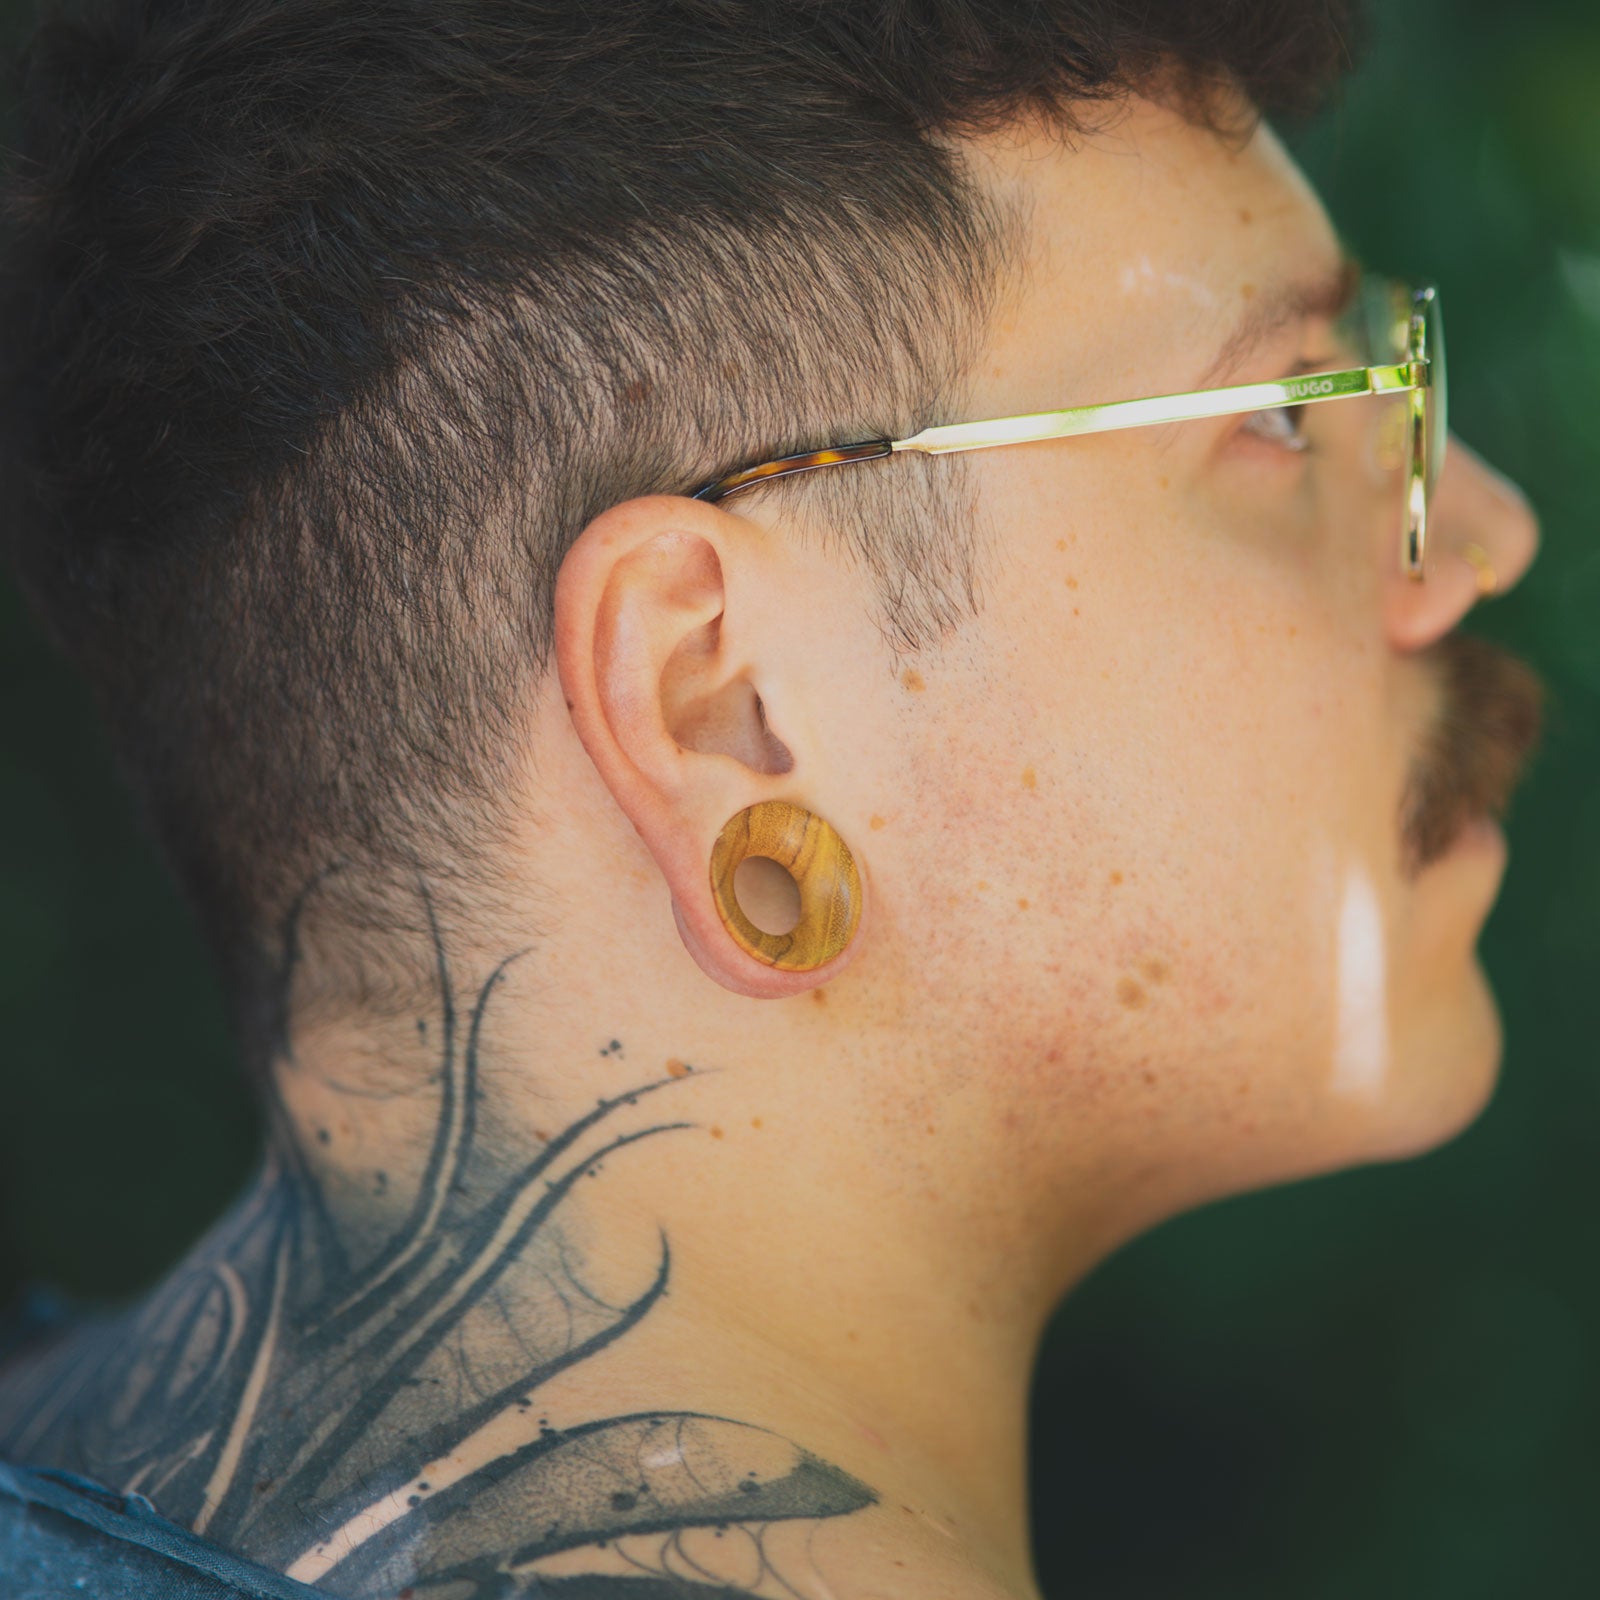
Olive Wood Double Flare Concave Tunnel Olive Wood Double Flare Concave Tunnel Model Shot
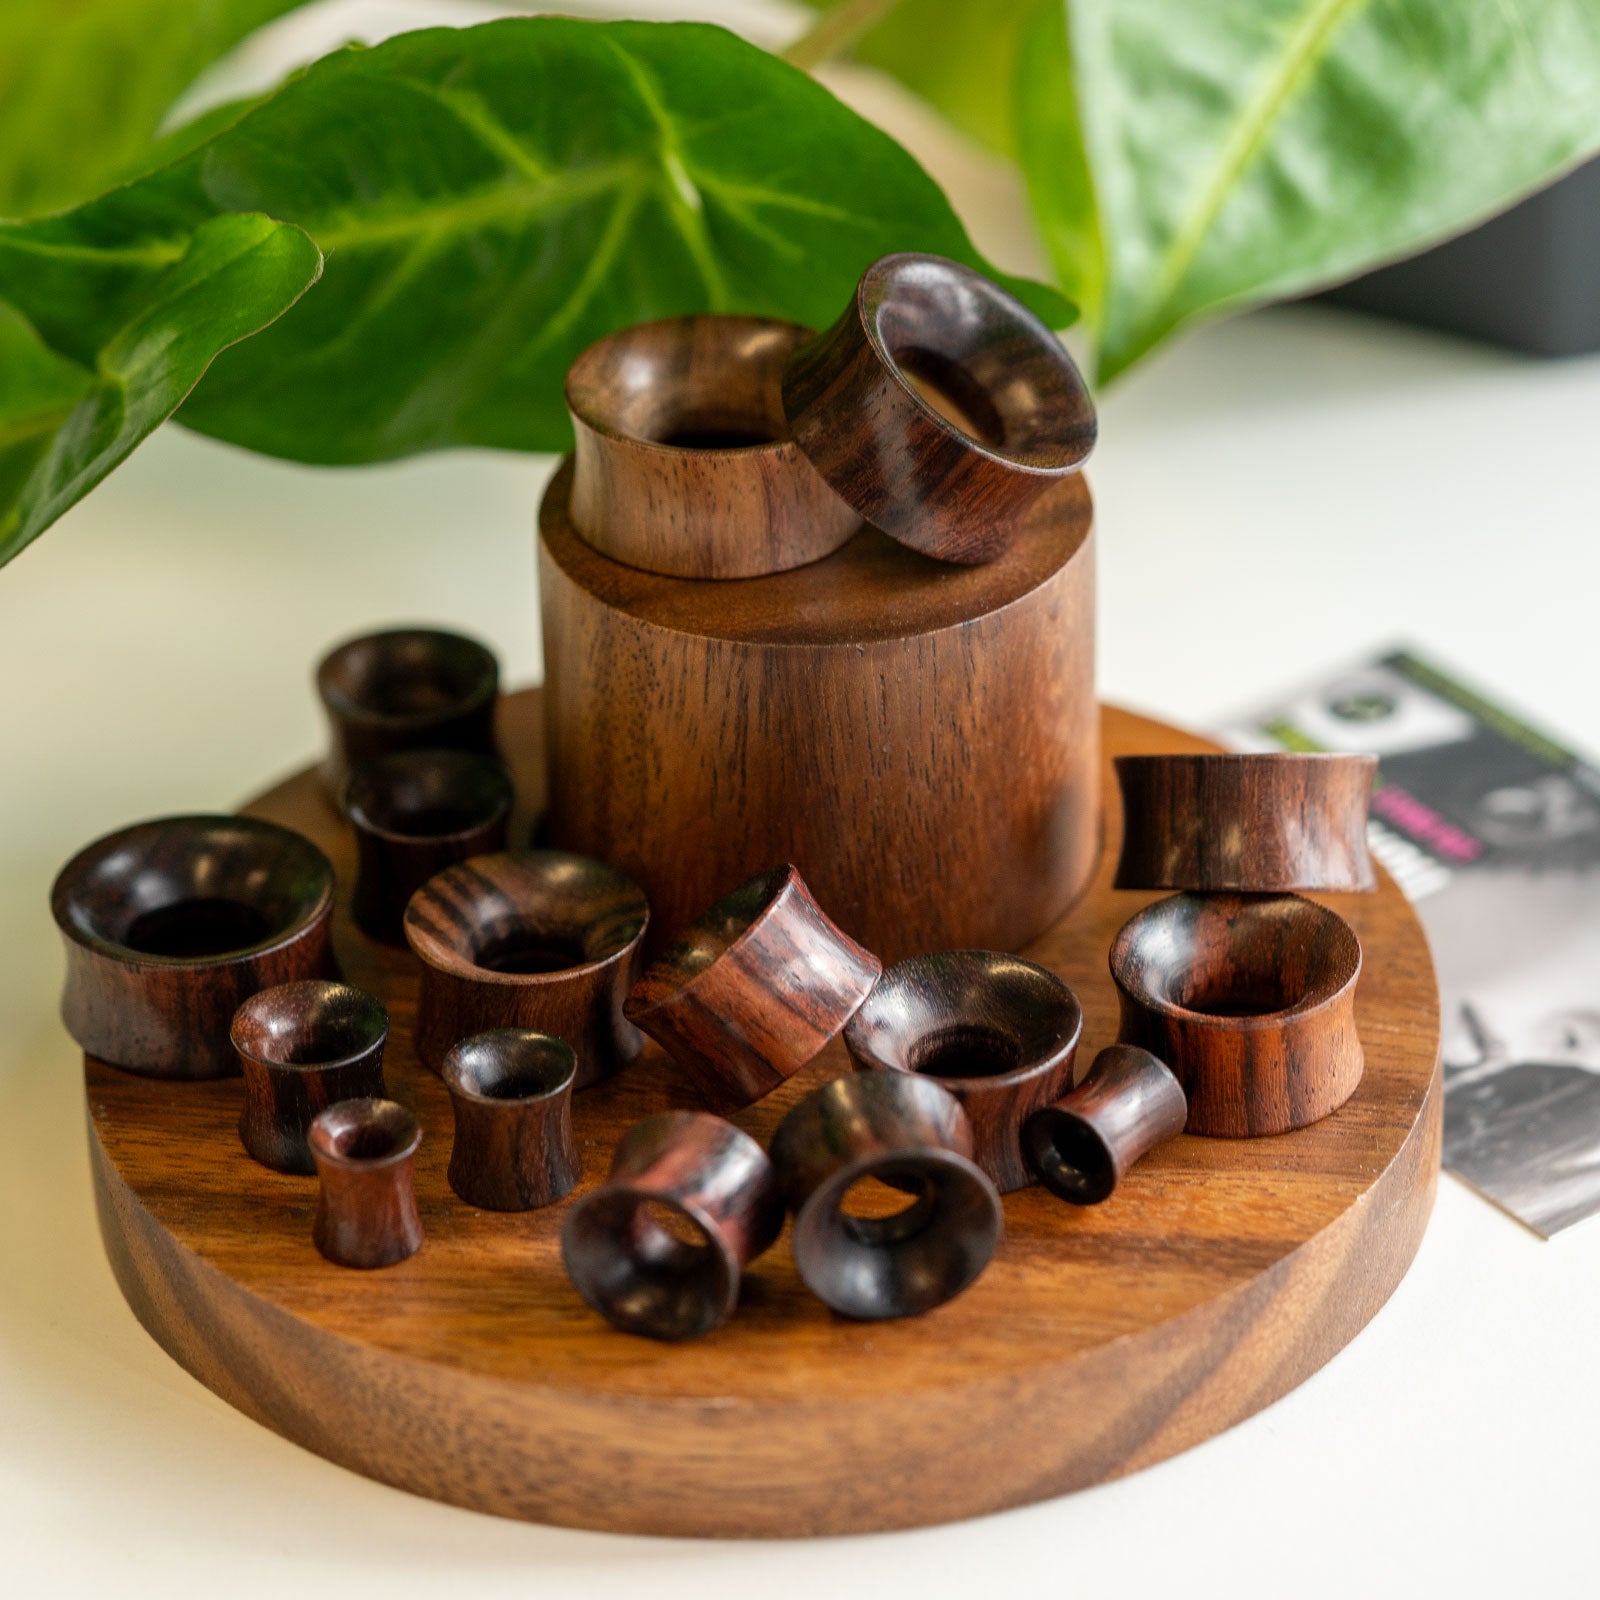
Sono Wood Double Flare Concave Tunnel Sono Wood Double Flare Concave Tunnel Group Shot
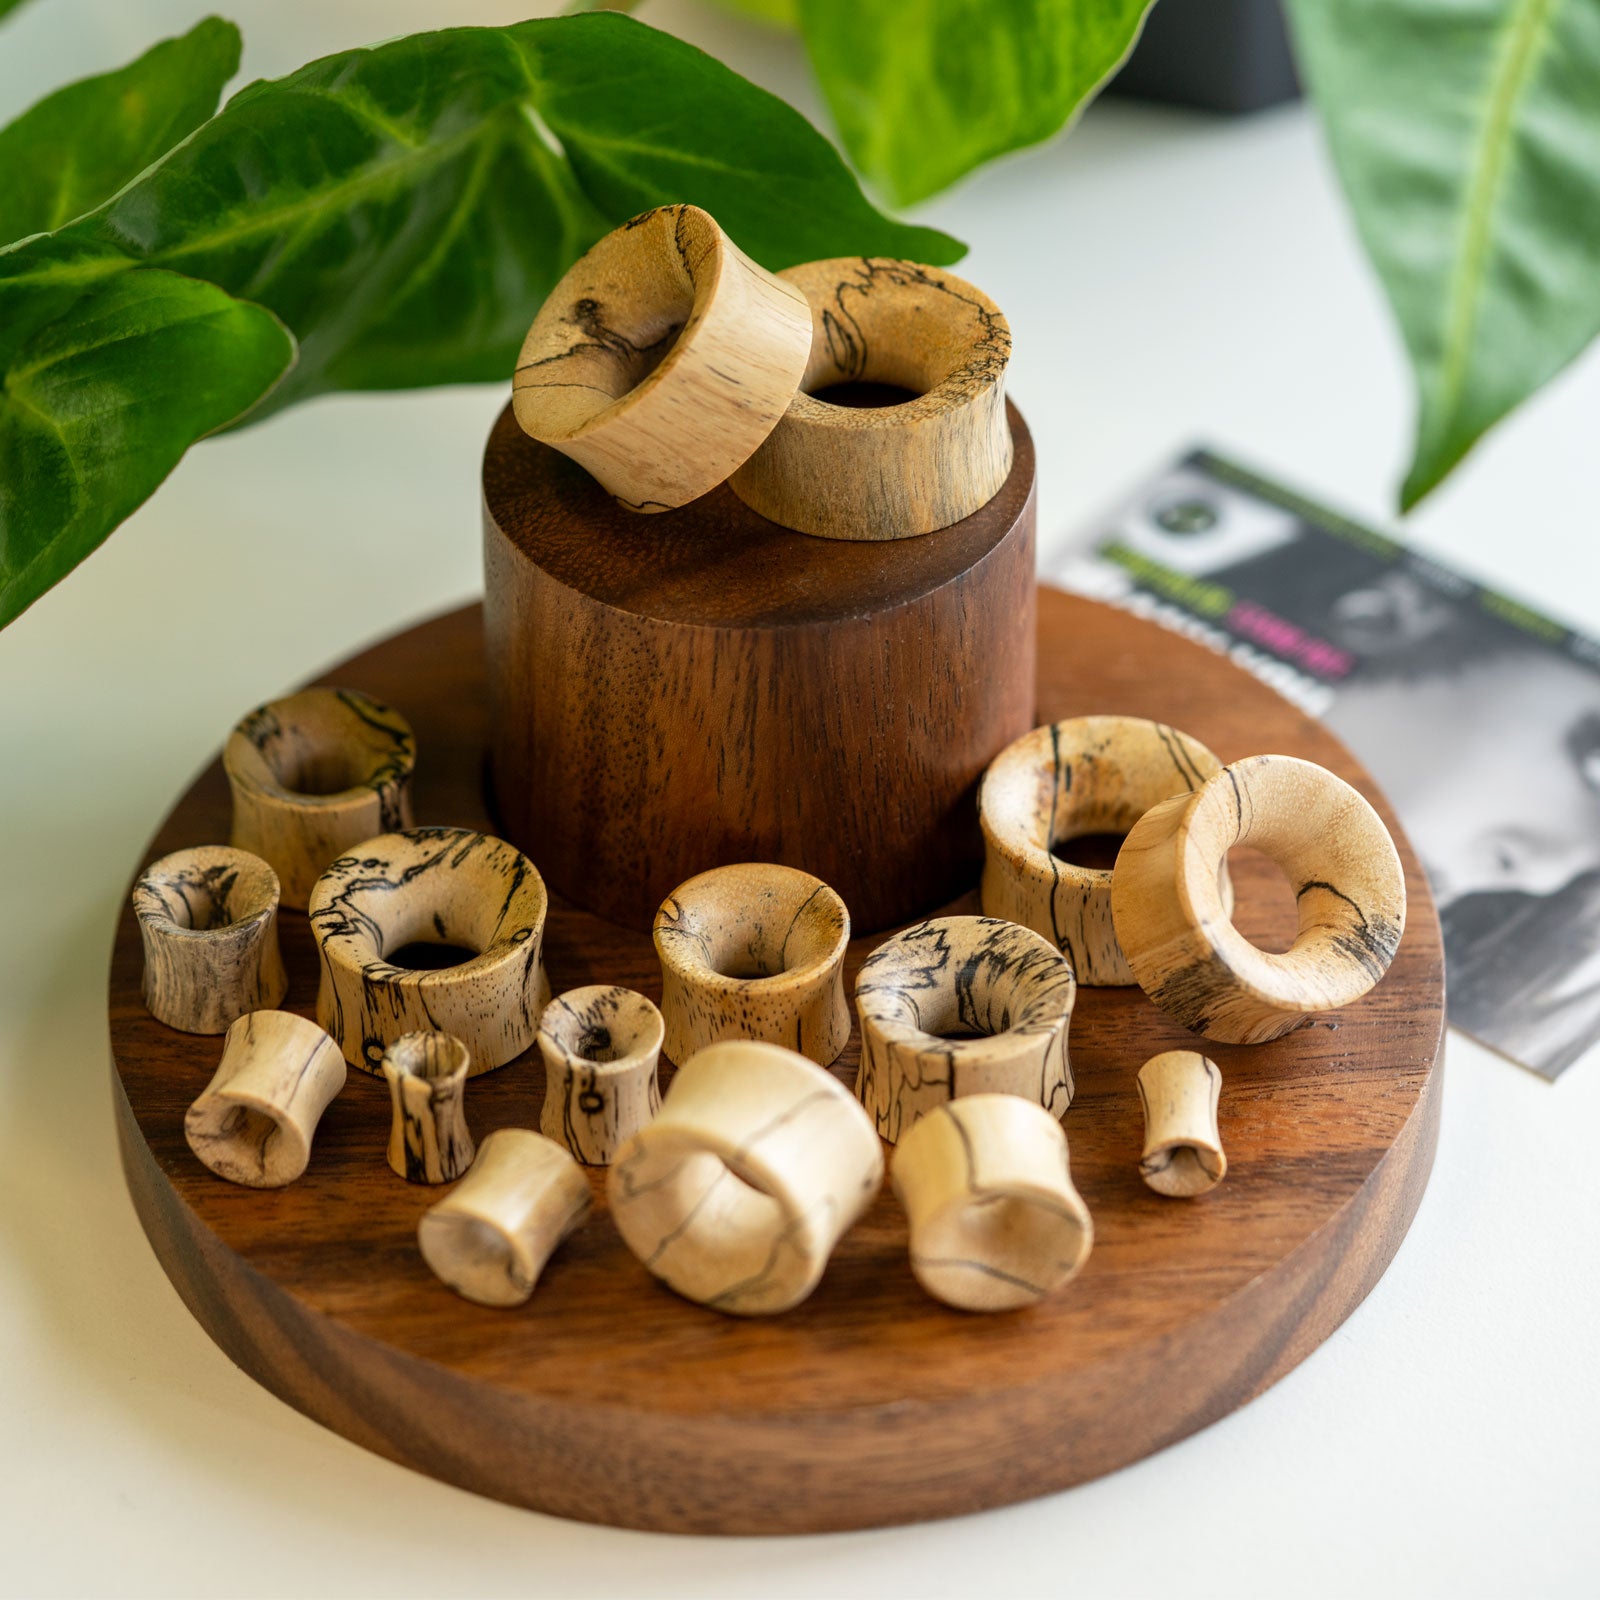
Tamarind Wood Double Flare Concave Tunnel Tamarind Wood Double Flare Concave Tunnel Group Shot
Jackfruit Wood Double Flare Concave Tunnel Jackfruit Wood Double Flare Concave Tunnel Model Shot
Areng Wood Double Flare Tunnel With Coconut Wood & Bone Halo Inlay Areng Wood Double Flare Tunnel With Coconut Wood & Bone Halo Inlay Model Shot
Sono Wood Double Flare Tunnel With Crushed Turquoise Halo Inlay Sono Wood Double Flare Tunnel With Crushed Turquoise Halo Inlay Model Shot Close Up
Coconut Wood Double Flare Convex Teardrop Plug Coconut Wood Double Flare Convex Teardrop Plug Model Shot
Narra Wood Double Flare Convex Teardrop Plug Narra Wood Double Flare Convex Teardrop Plug Model Shot
Coconut Shell Double Flare Concave Plug Coconut Shell Double Flare Concave Plug Model Shot
Coconut Shell Double Flare Viking Plug Coconut Shell Double Flare viking Plug Group Shot
Horn Double Flare Convex Plug Horn Double Flare Convex Plug Model Shot
Horn Double Flare Plug With Ammonite MOP Carving Inlay Horn Double Flare Plug With Ammonite MOP Carving Inlay Model Shot
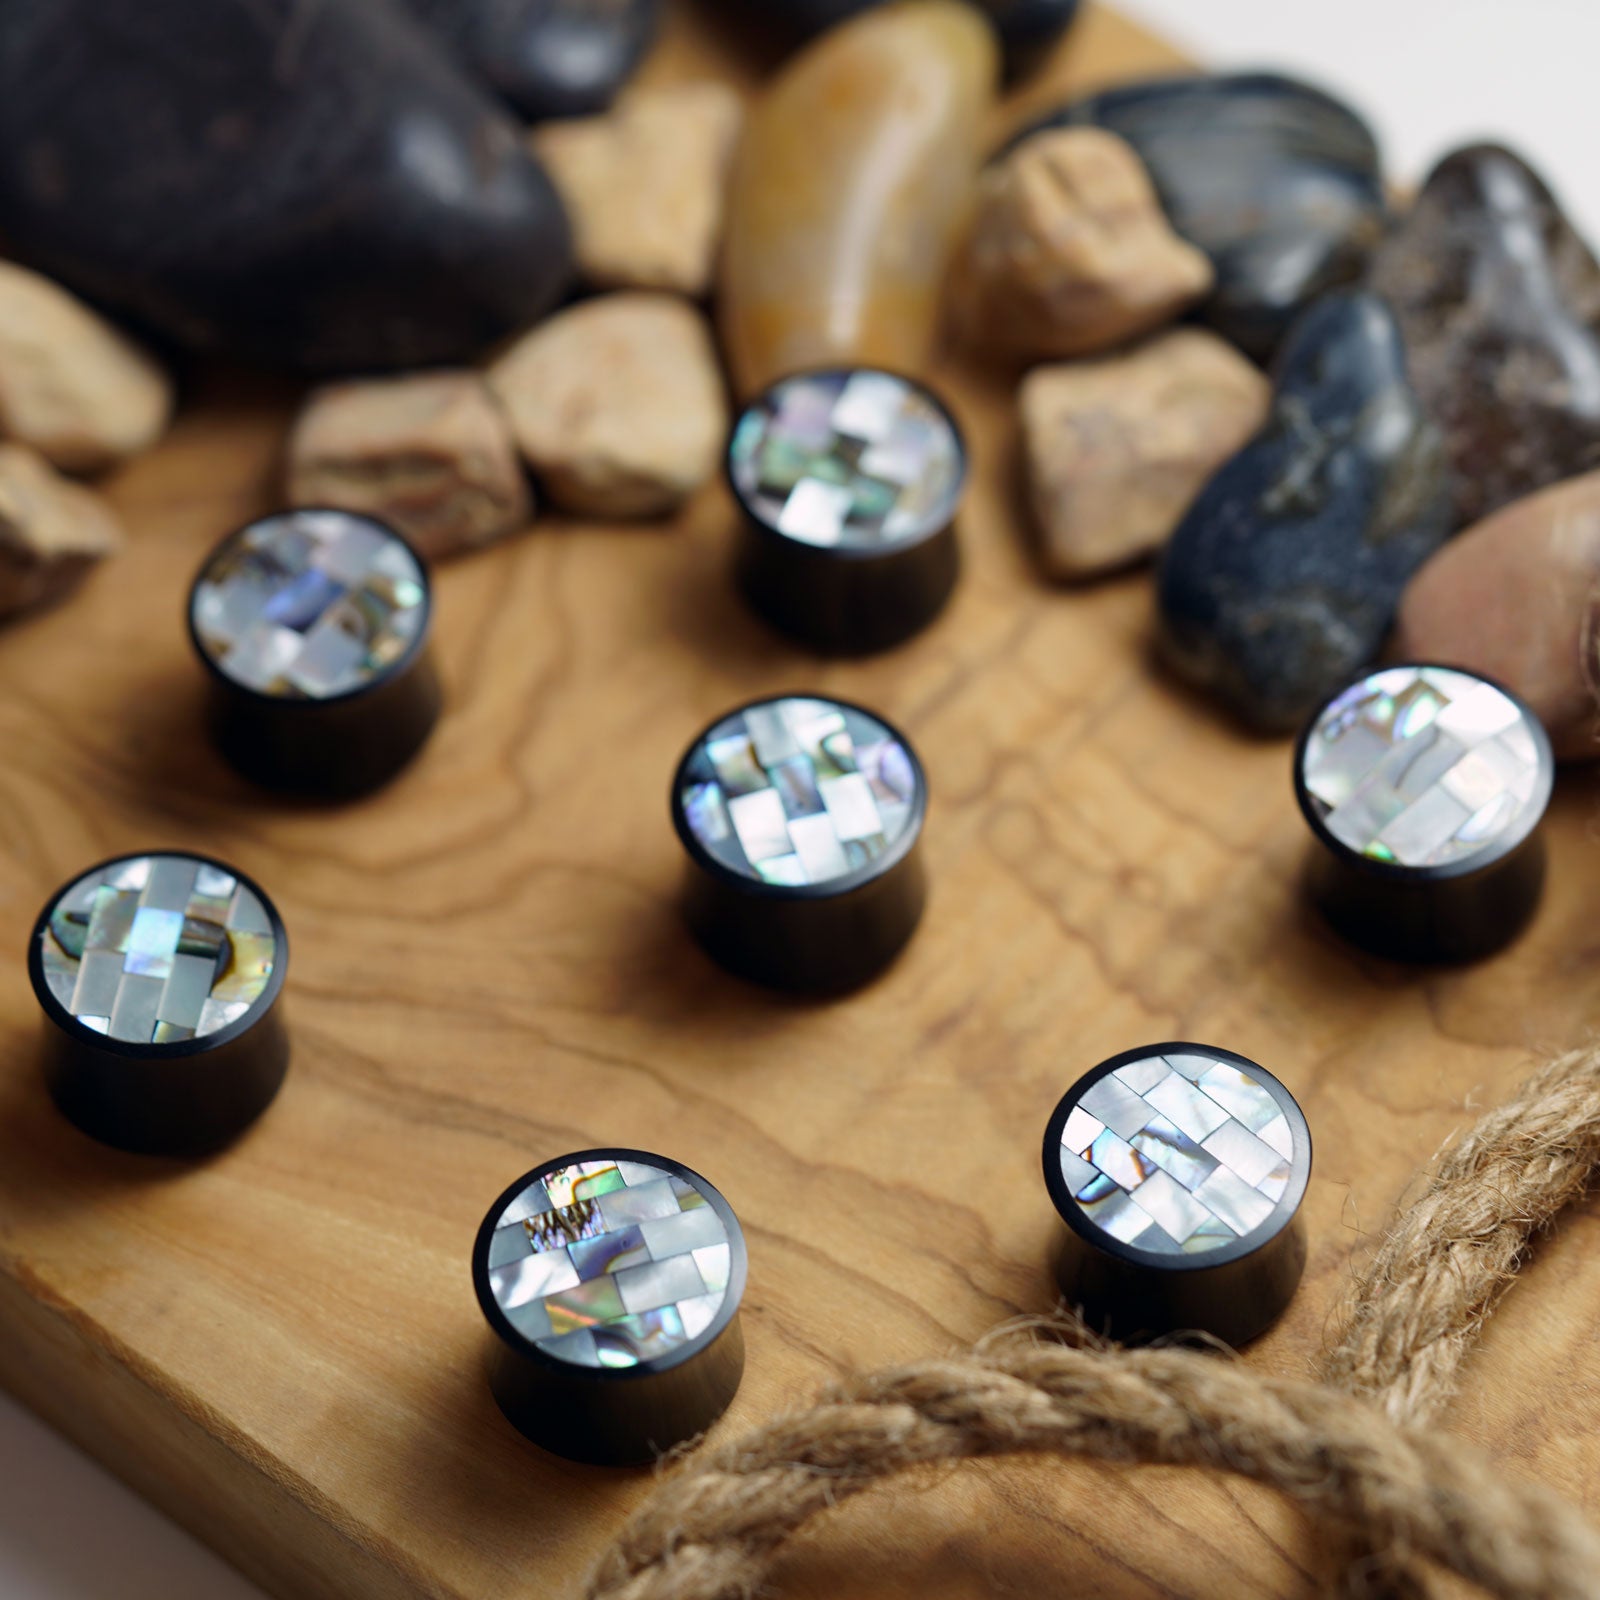
Horn Double Flare Plug With Shell Mosaic Inlay Horn Double Flare Plug With Shell Mosaic Inlay Group Shot
Horn Double Flare Plug With Raw Face Horn Double Flare Plug With Raw Face Model Shot
Horn Double Flare Plug With Shell Fish Eye Design Inlay Horn Double Flare Plug With Shell Fish Eye Design Inlay Model Shot
Horn Double Flare Plug With MOP Inlay Horn Double Flare Plug With MOP Inlay Model Shot